Contact Us

Use the form on the right to contact us.

You can edit the text in this area, and change where the contact form on the right submits to, by entering edit mode using the modes on the bottom right. 


123 Street Avenue, City Town, 99999

(123) 555-6789

email@address.com


You can set your address, phone number, email and site description in the settings tab.
Link to read me page with more information.

Blog

Filtering by Category: DIY Plans

How to Build a Kitchen Helper

Montessori in Real Life

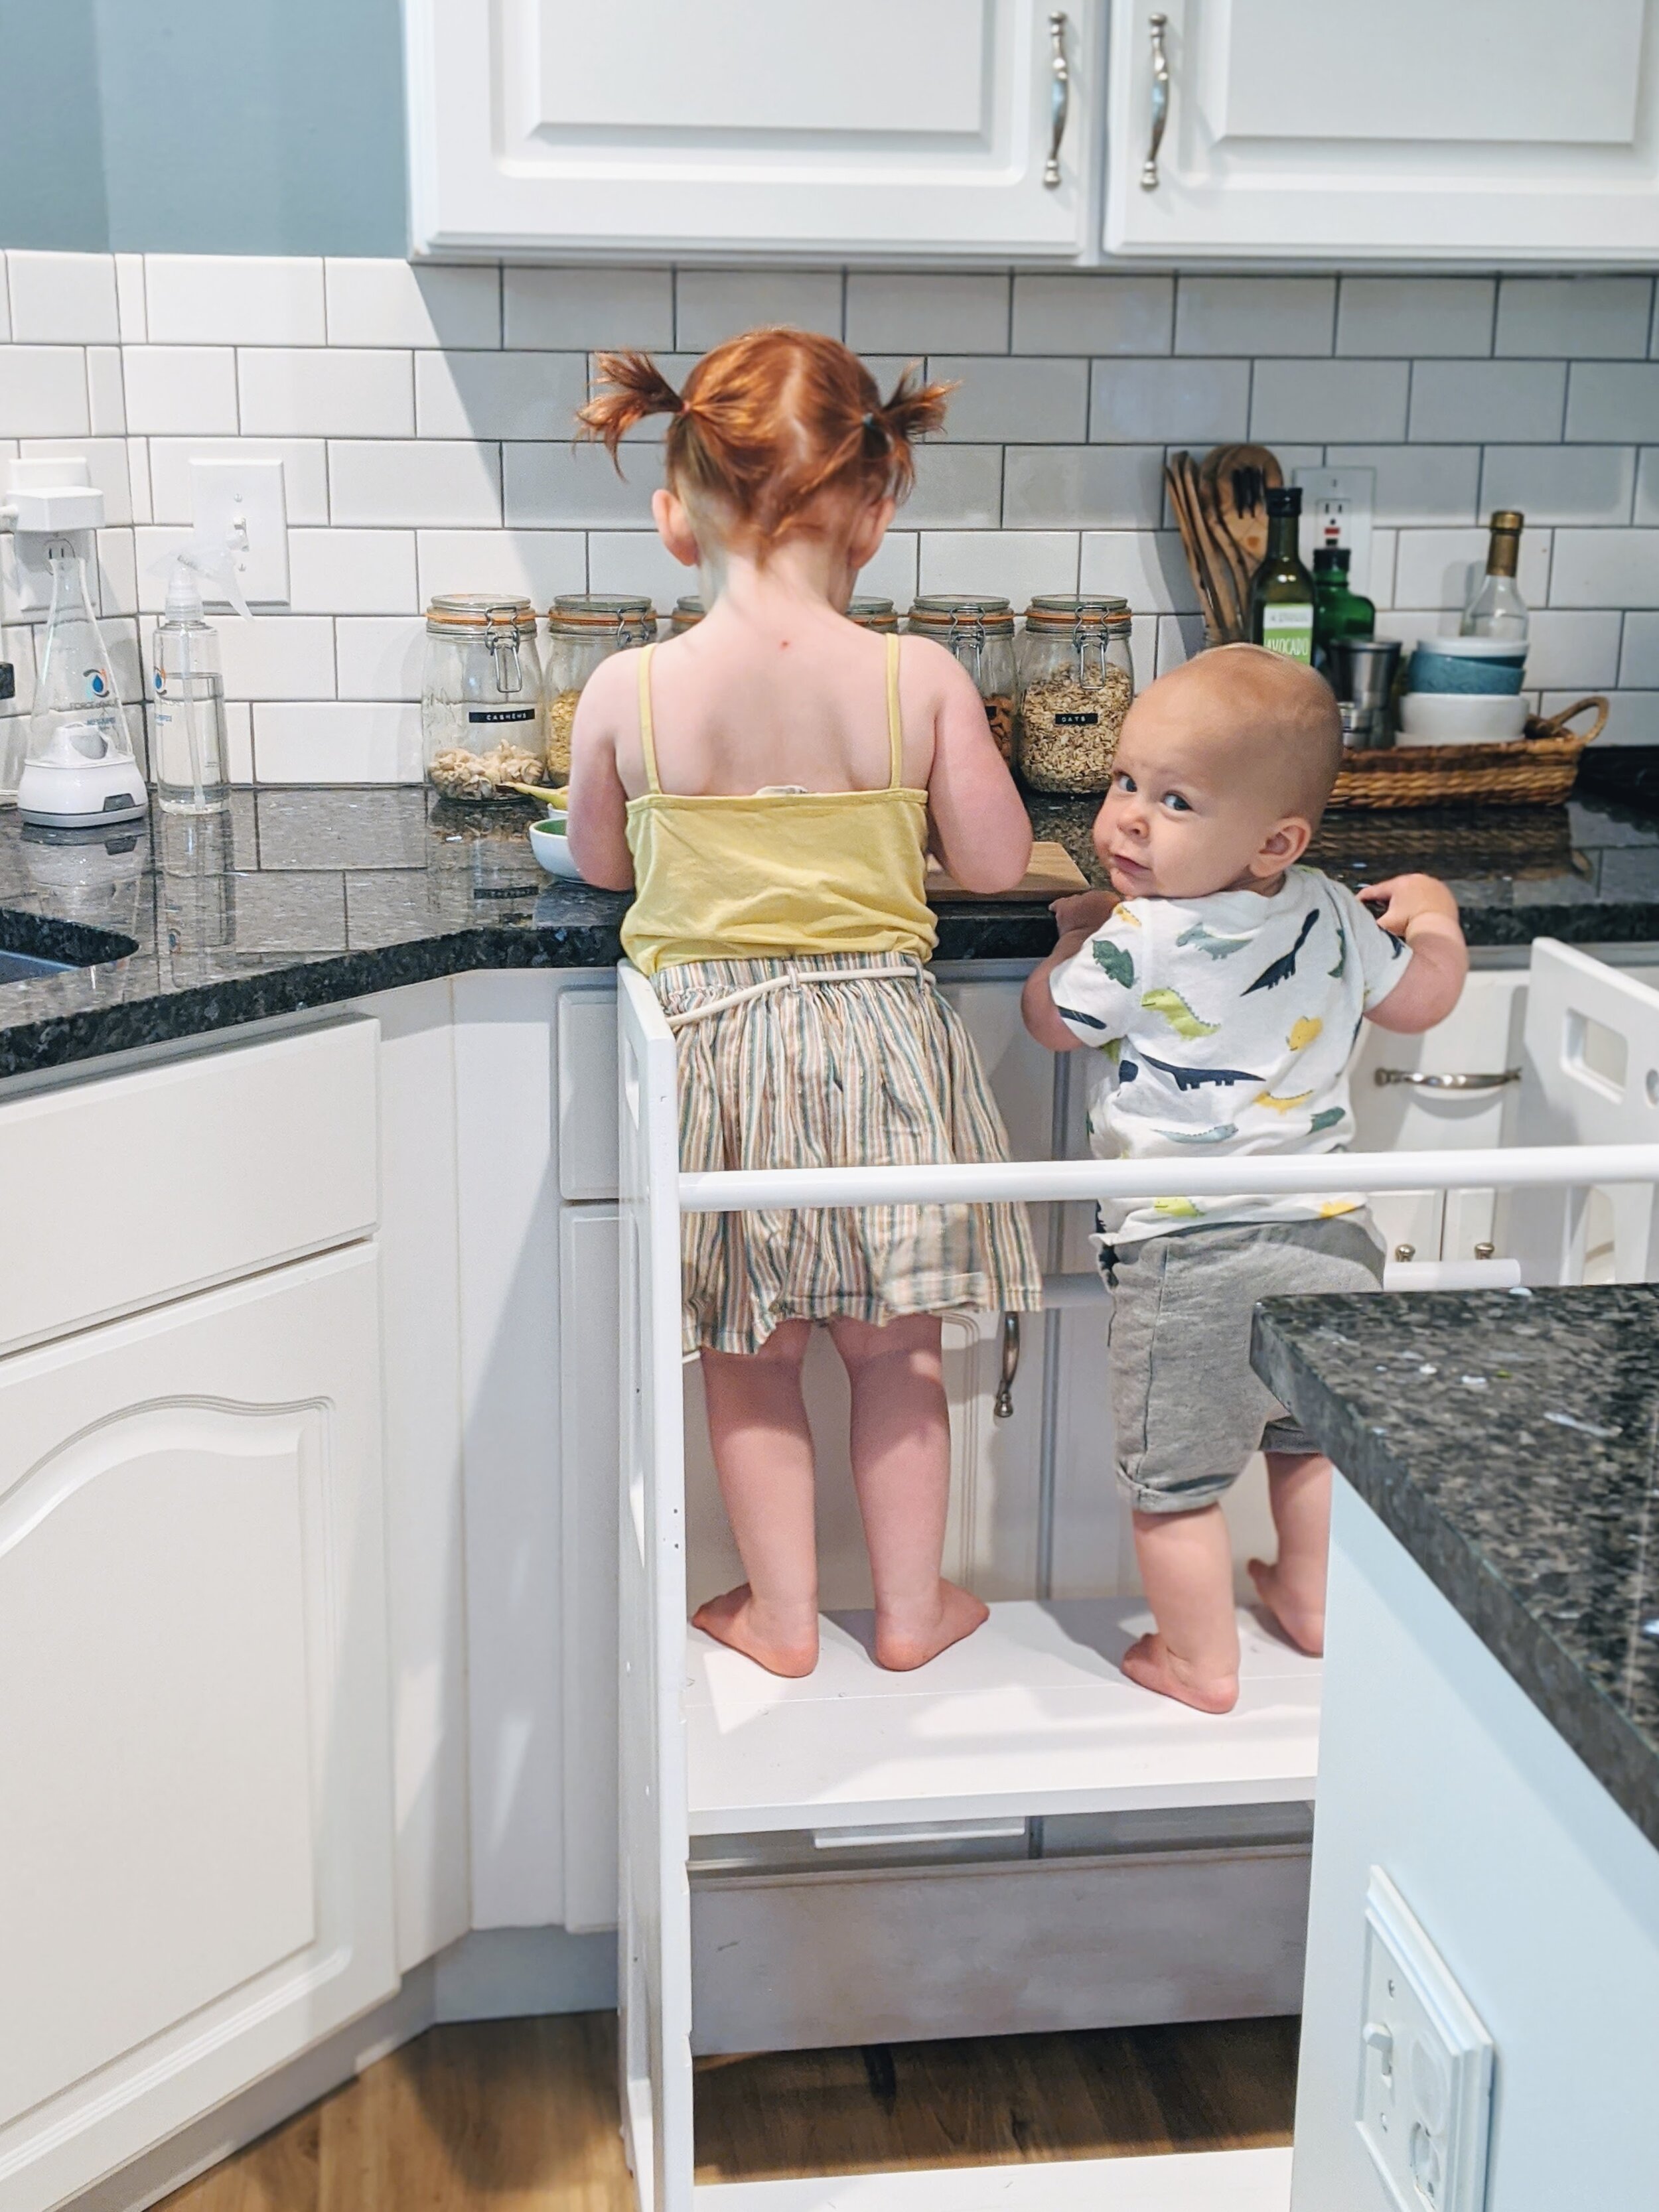
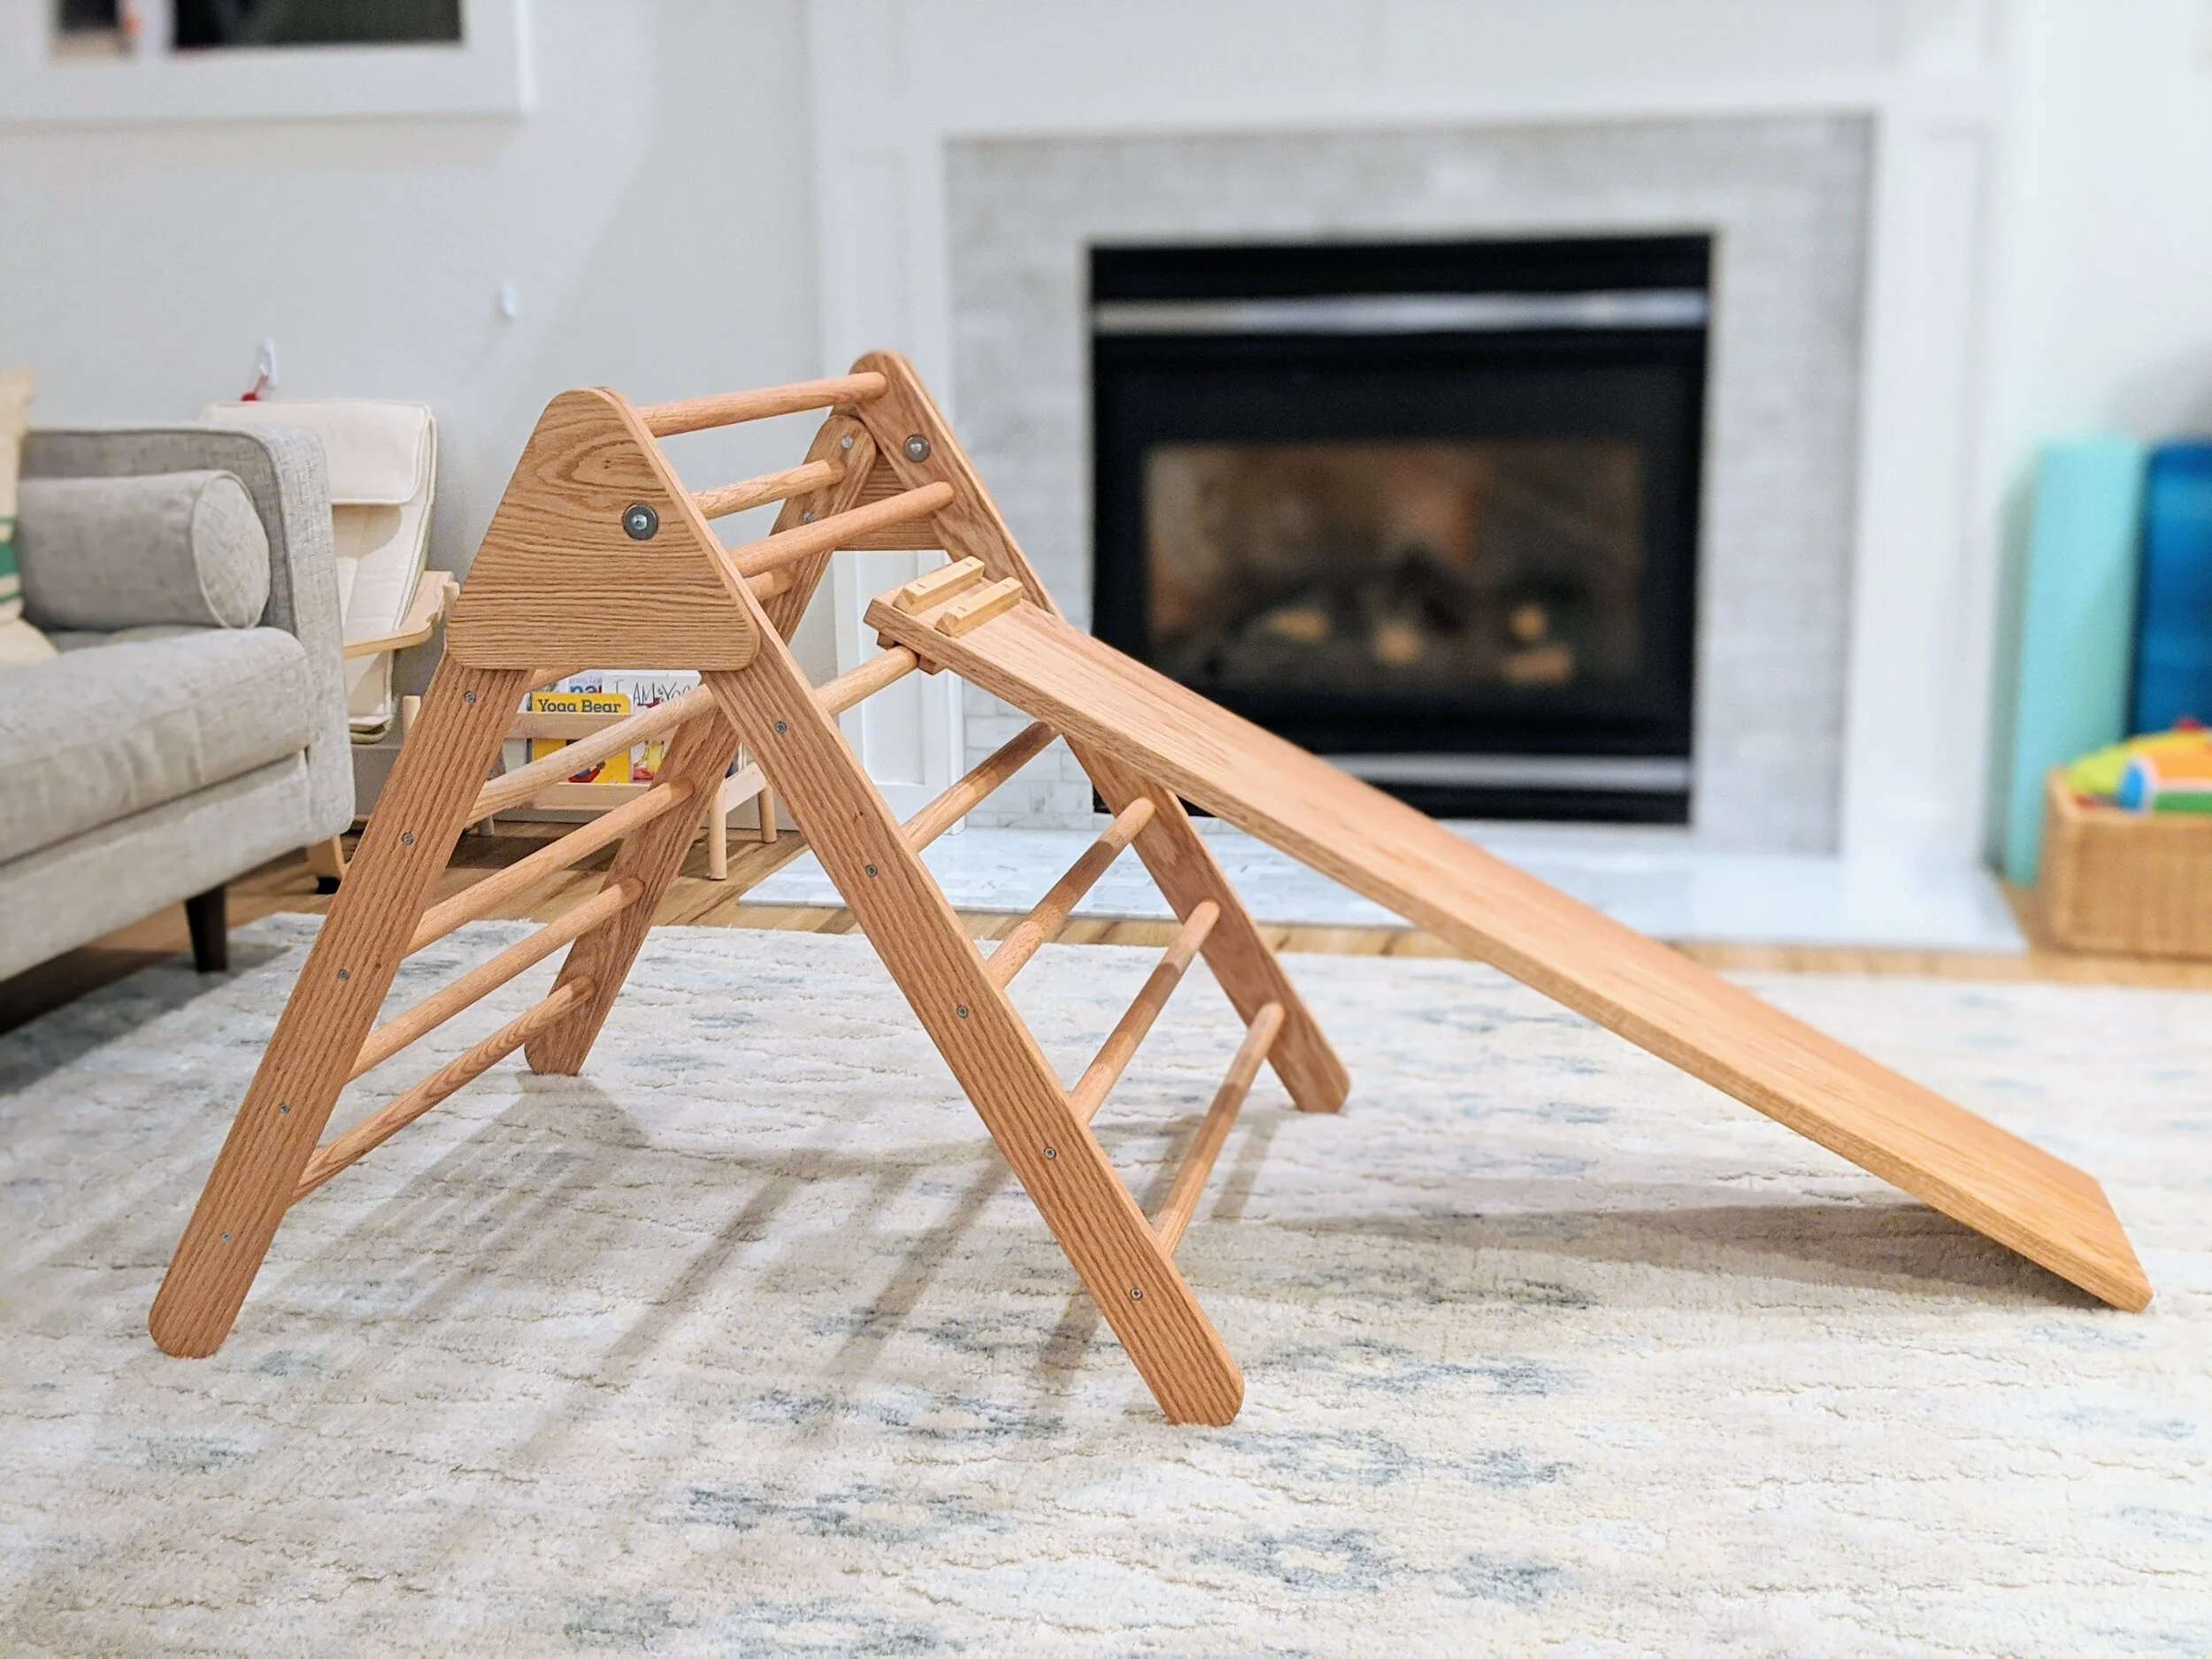
My husband made our first kitchen helper for D when she was 14 months old. She was the same age as S is now, with the same needs: to be close to Mama and close to the action (and food). The kitchen helper saved us then, and the double kitchen helper is saving us again now. Goodbye to days of leg clinging or trying to cook an entire dinner with one hand. Hello to days of learning and cooking together (or at least to days where one of us is playing with a whisk, the other is tasting ingredients, and the third is cooking in relative peace!)

How to Build a Kitchen Helper - Montessori in Real Life

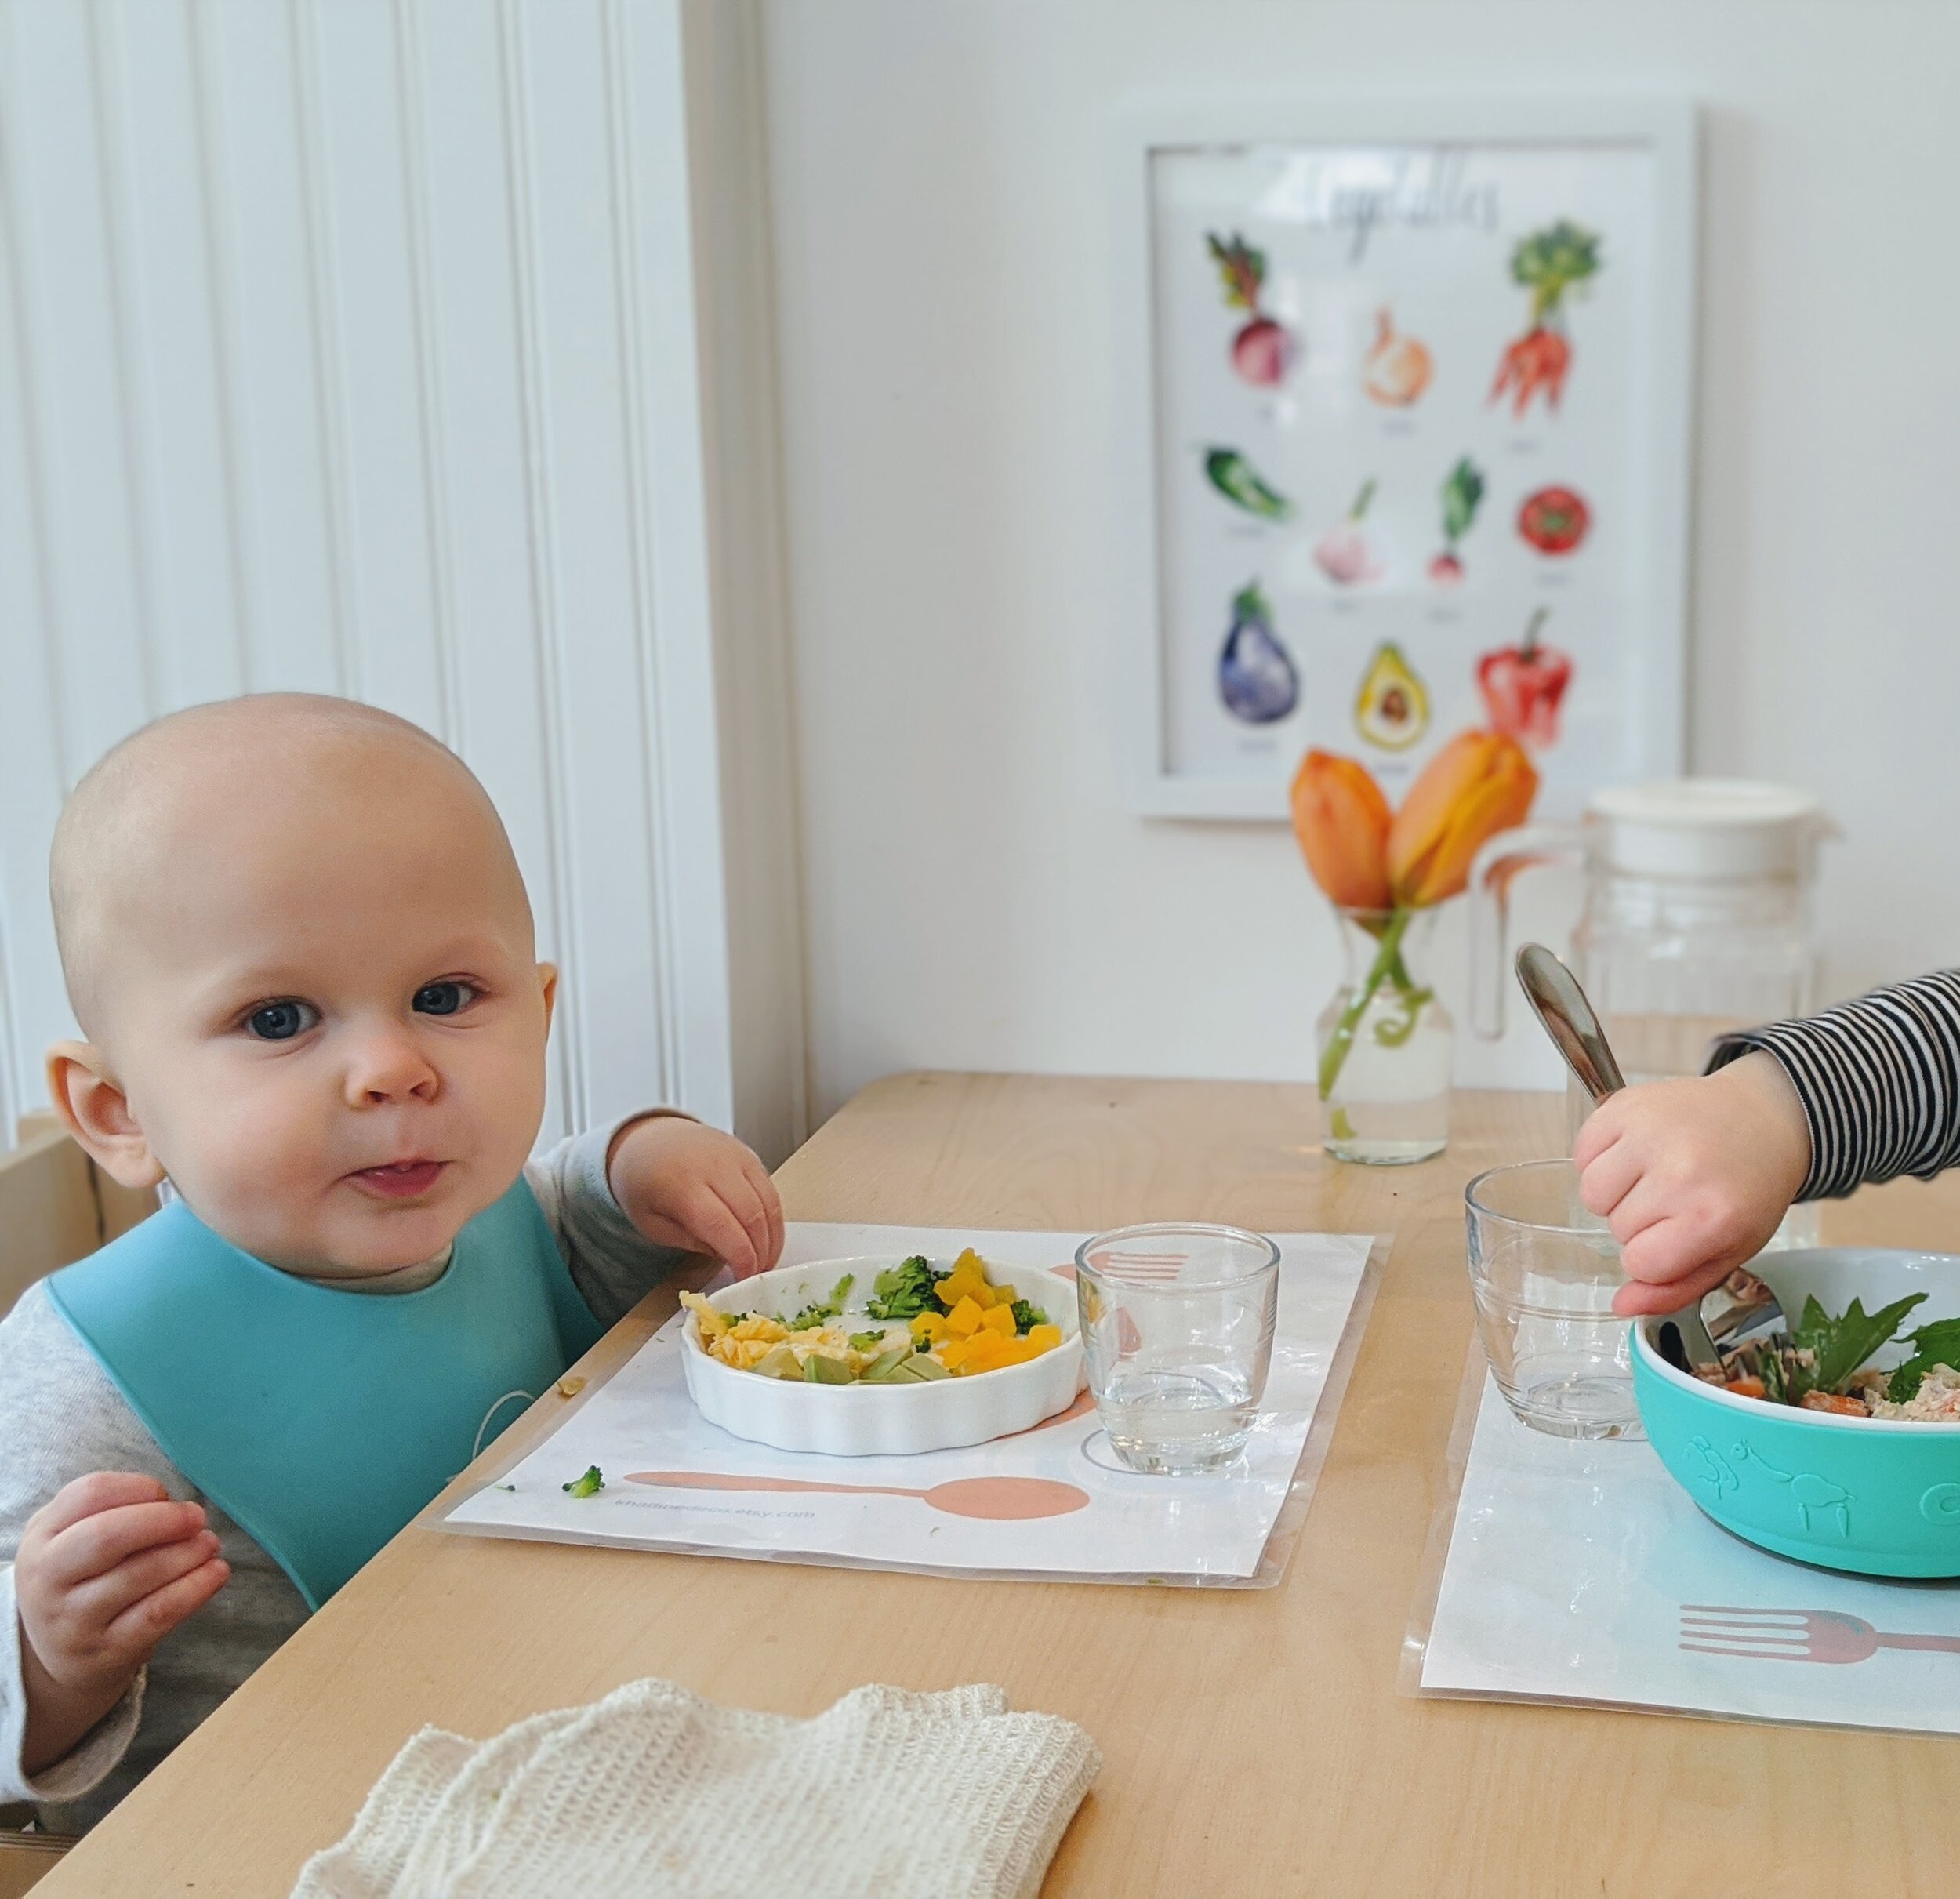
This double kitchen helper has made my life easier, but it is also such a wonderful opportunity for the kids. D really does love to help prepare her meals, and enjoys trying new foods so much more because of it. S is already excited to be a part of the process, and soon he will probably be mixing, spreading, chopping, and baking away. I can’t wait to see what they cook up together.

How to Build a Kitchen Helper - Montessori in Real Life

Now that I’ve hopefully convinced you of the need for a kitchen helper, I’ll talk a bit about the plans. My husband gets all the credit. He build this helper in a weekend and wrote the plans in a night so I could get this in our kitchen and on my blog asap. We are so grateful to him! Before downloading these plans, keep in mind he is not a professional builder. He has taught himself along the way, so we cannot guarantee perfection or a safety guarantee. He does work in analytics, so you can count on these plans being extremely detailed and well thought out, with photos and diagrams along the way. These plans will lead you through making a single or a double helper. We can’t wait to see your littles enjoying their kitchen helpers too!

How to Build a Kitchen Helper - Montessori in Real Life

How to Build a Pikler Triangle

Montessori in Real Life

This post goes out to my husband! He has spent countless hours learning how to woodwork and building shelves, kitchen helpers, floor beds, and Pikler triangles for our family and others. Now he has so kindly spent many more hours putting together these step-by-step, incredibly detailed plans for those who are brave enough to build one too. Now that he’s built one for D, and one for a school auction, he’s learned a lot along the way, and shares all his tips and tricks in these plans. We hope you find these useful!

DIY Pikler Triangle Plans - Montessori in Real Life

The Pikler Triangle may look like a simple climbing frame, but it is so much more. It allows for natural gross motor development, freedom of movement, and learning one’s own boundaries. Older babies can pull themselves up on it, toddlers can gradually find their way over the top and slide down, and children as old as 5 or 6 can use it to climb, build forts, and for other imaginative play. Though some toddlers as young as 12 months are climbing up this Pikler, D didn’t go over the top until 21 months. Even before that, she enjoyed climbing it up to her limit, climbing up and down the ramp, and using it as a tunnel. These days (at 32 months), she climbs and slides on repeat, and in new, creative and challenging ways. It is always a hit when friends come over to play, and she even has her dolls and animals sliding with her. We’ve also used Sarah’s Silks to make forts, and included it in our indoor obstacle courses on rainy days. The possibilities are endless!

DIY Pikler Triangle Plans - Montessori in Real Life

The Pikler pictured above is made of Oak, but the one we have in our home is made of Pine (less expensive). Both work great! The Pikler is completely foldable, making it easy to store away when not in use. The ramp is also optional, but is a really fun addition if your little one likes to slide! You can even add hand-holds on the other side for a “rock-climbing” experience. There are so many ways to customize this beautiful climber.

DIY Pikler Triangle Plans - Montessori in Real Life

DISCLAIMER: This is the DIY approach Montessori in Real Life’s husband took to building a Pikler Triangle.  He made it up as he went along. The plans below are the product of building two Piklers and learning along the way.  These are not intended to be perfect and are not in any way tested for structural integrity or safety standards. Proceed at your own risk: (1) because we can’t be held liable for the resulting work product and (2) because building one of these takes more time than it seems like it should.  There is very little magic in these plans. Modify as needed. Have fun, and happy climbing!

DIY Pikler Triangle Plans - Montessori in Real Life