What Comes Before Writing?
Montessori in Real Life
Often as parents, we want to rush into teaching our children how to write. I get it - it’s such an exciting time! However, if we push our children into something before they’ve built the foundation and before the intrinsic motivation is there, it leads to frustration all around. When we wait until our child is in the sensitive period for writing and we’ve helped build a strong foundation through grasp refinement, there is joy and confidence.
It also helps to keep in mind that children’s hands must go through a long series of micro-developments before they are able to hold a pencil properly. Preparation of the hand starts in infancy, and many of the materials we give infants and toddlers help them to coordinate movements and build up the hand muscles that will help them to accomplish many tasks, including writing when the time is right for them.
A Timeline: The lead-up to writing
3-5 months: purposeful grasp
6-8: whole hand “raking” grasp
9-10: pre-pincer grasp (between thumb and fist)
11: inferior pincer grasp (finger pad to pad)
12: pincer grasp
12-18 months: begins to hold a pencil with a fisted grasp
2-3yrs: begins to use all fingers on a pencil with arm movements
3-4yrs: begins to use tripod grasp when holding a pencil
*Note that all children have their own timelines. This is simply a typical progression.

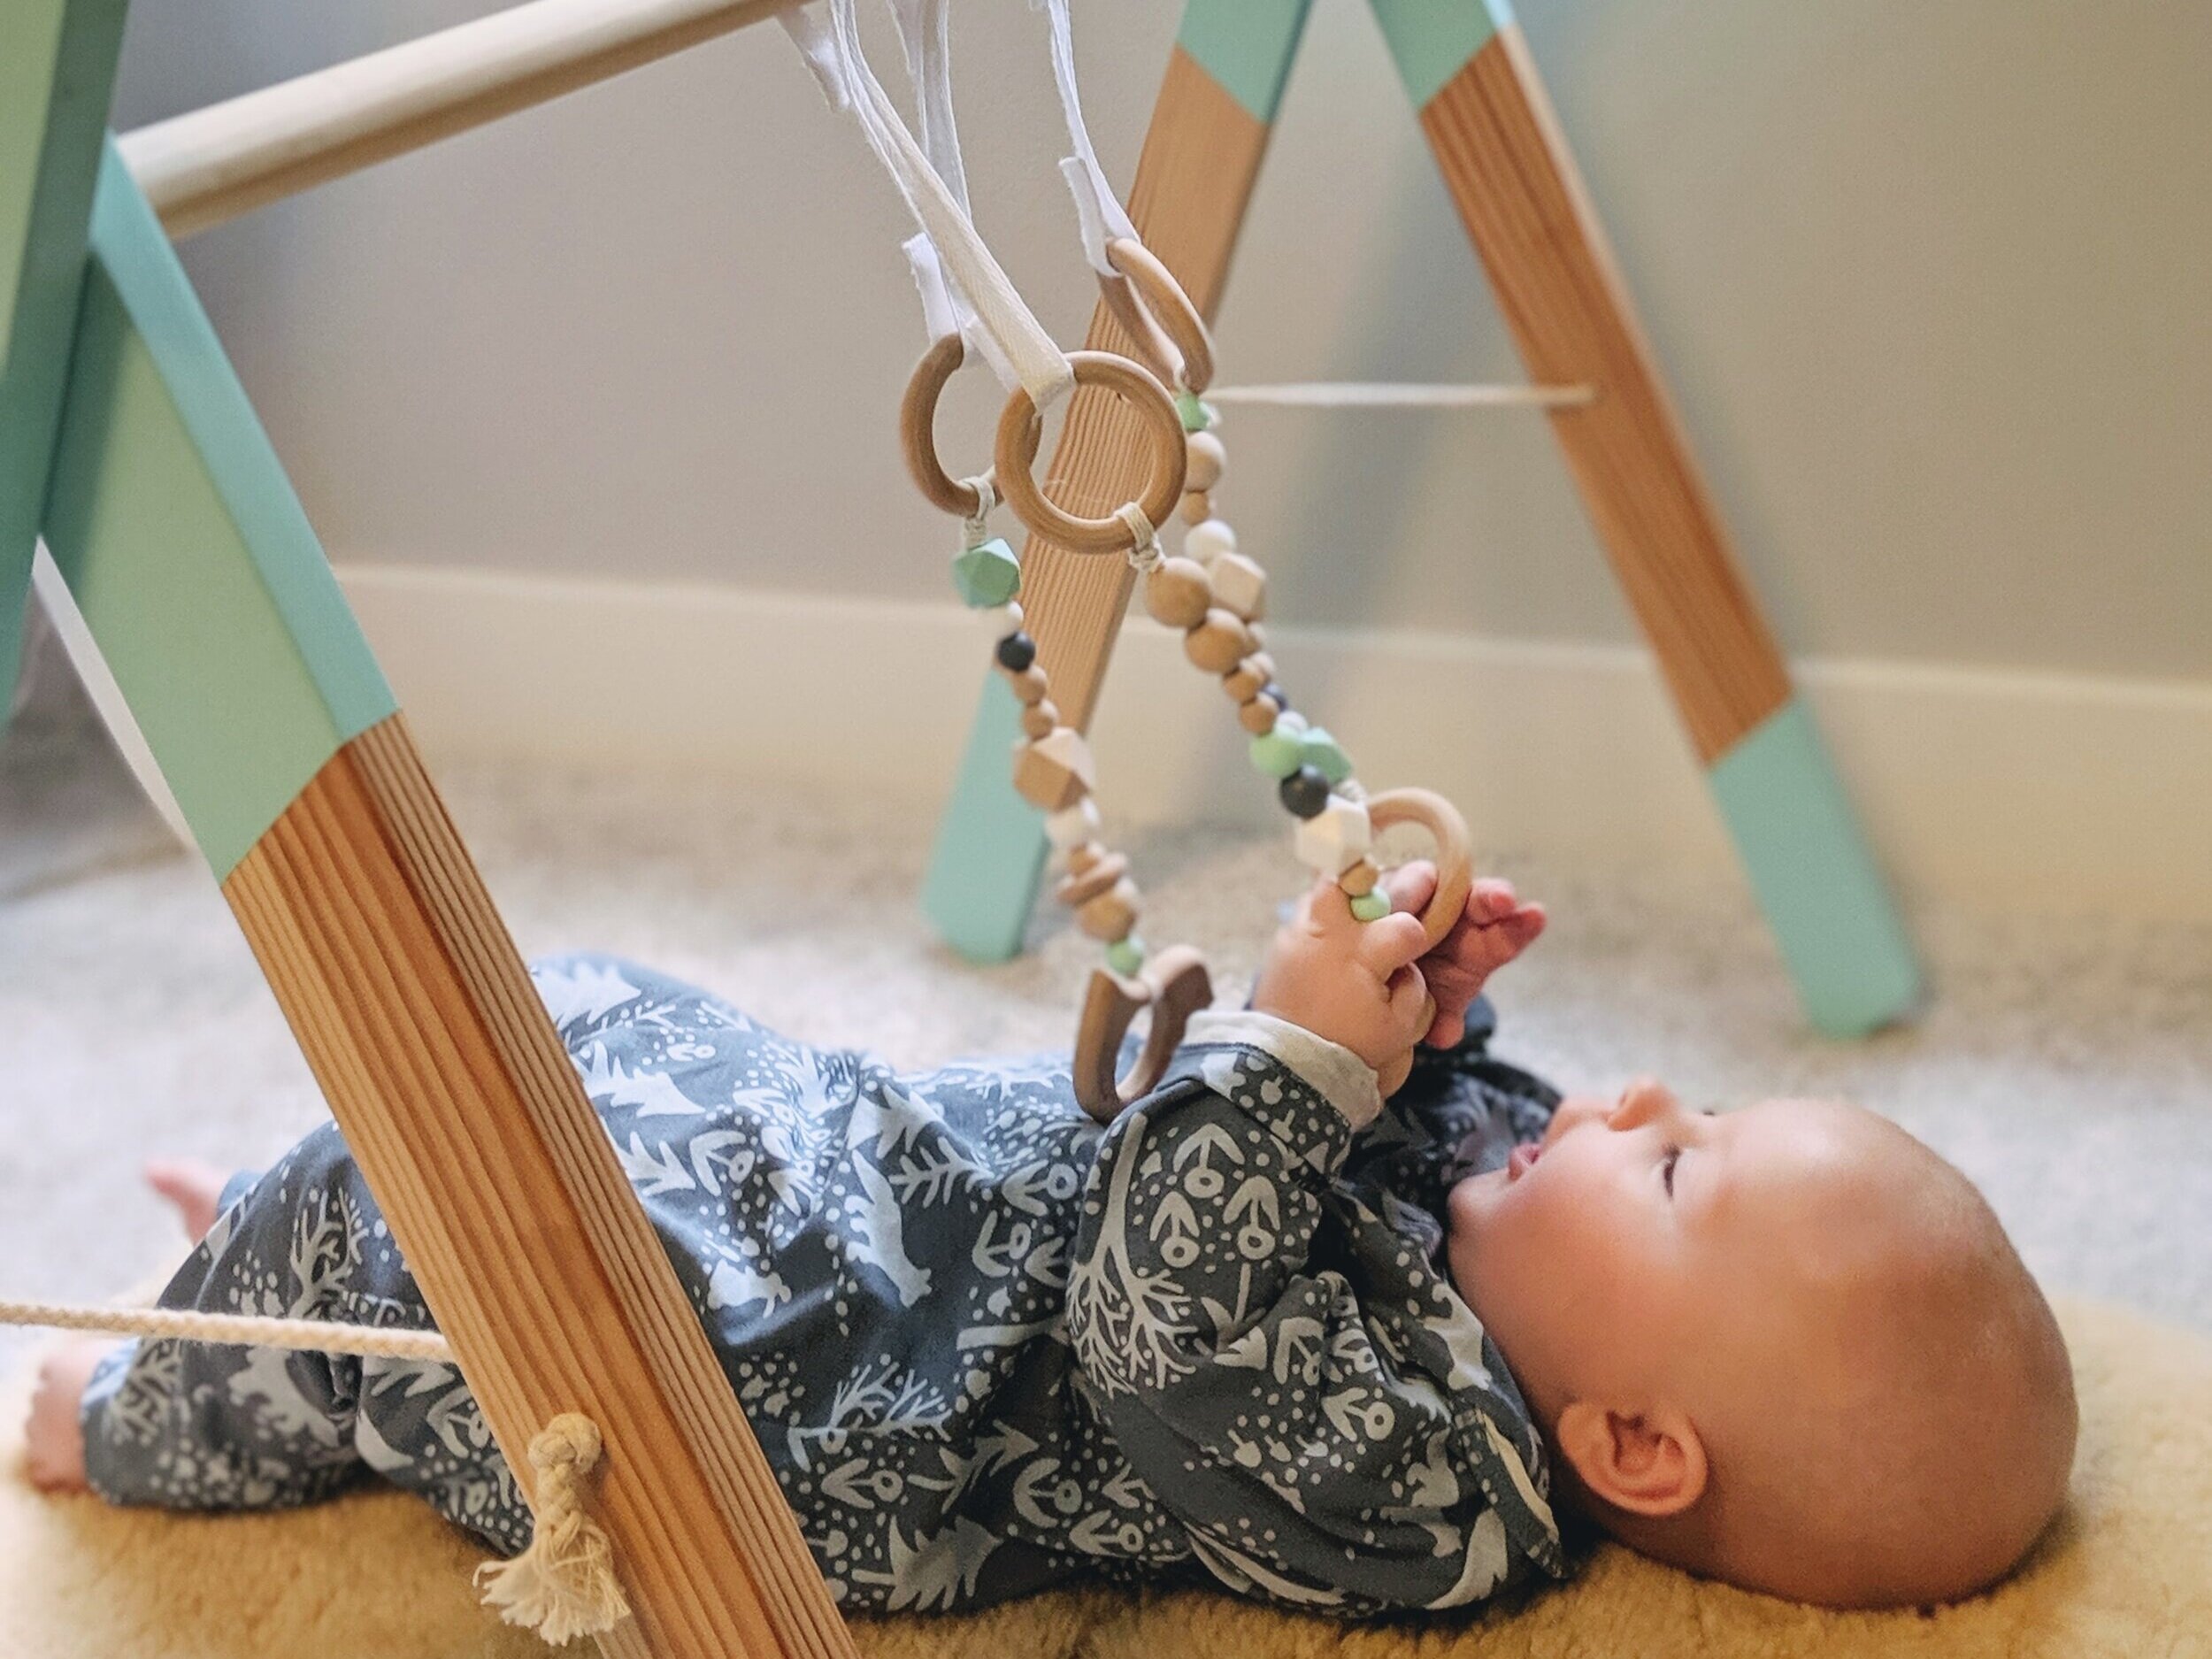
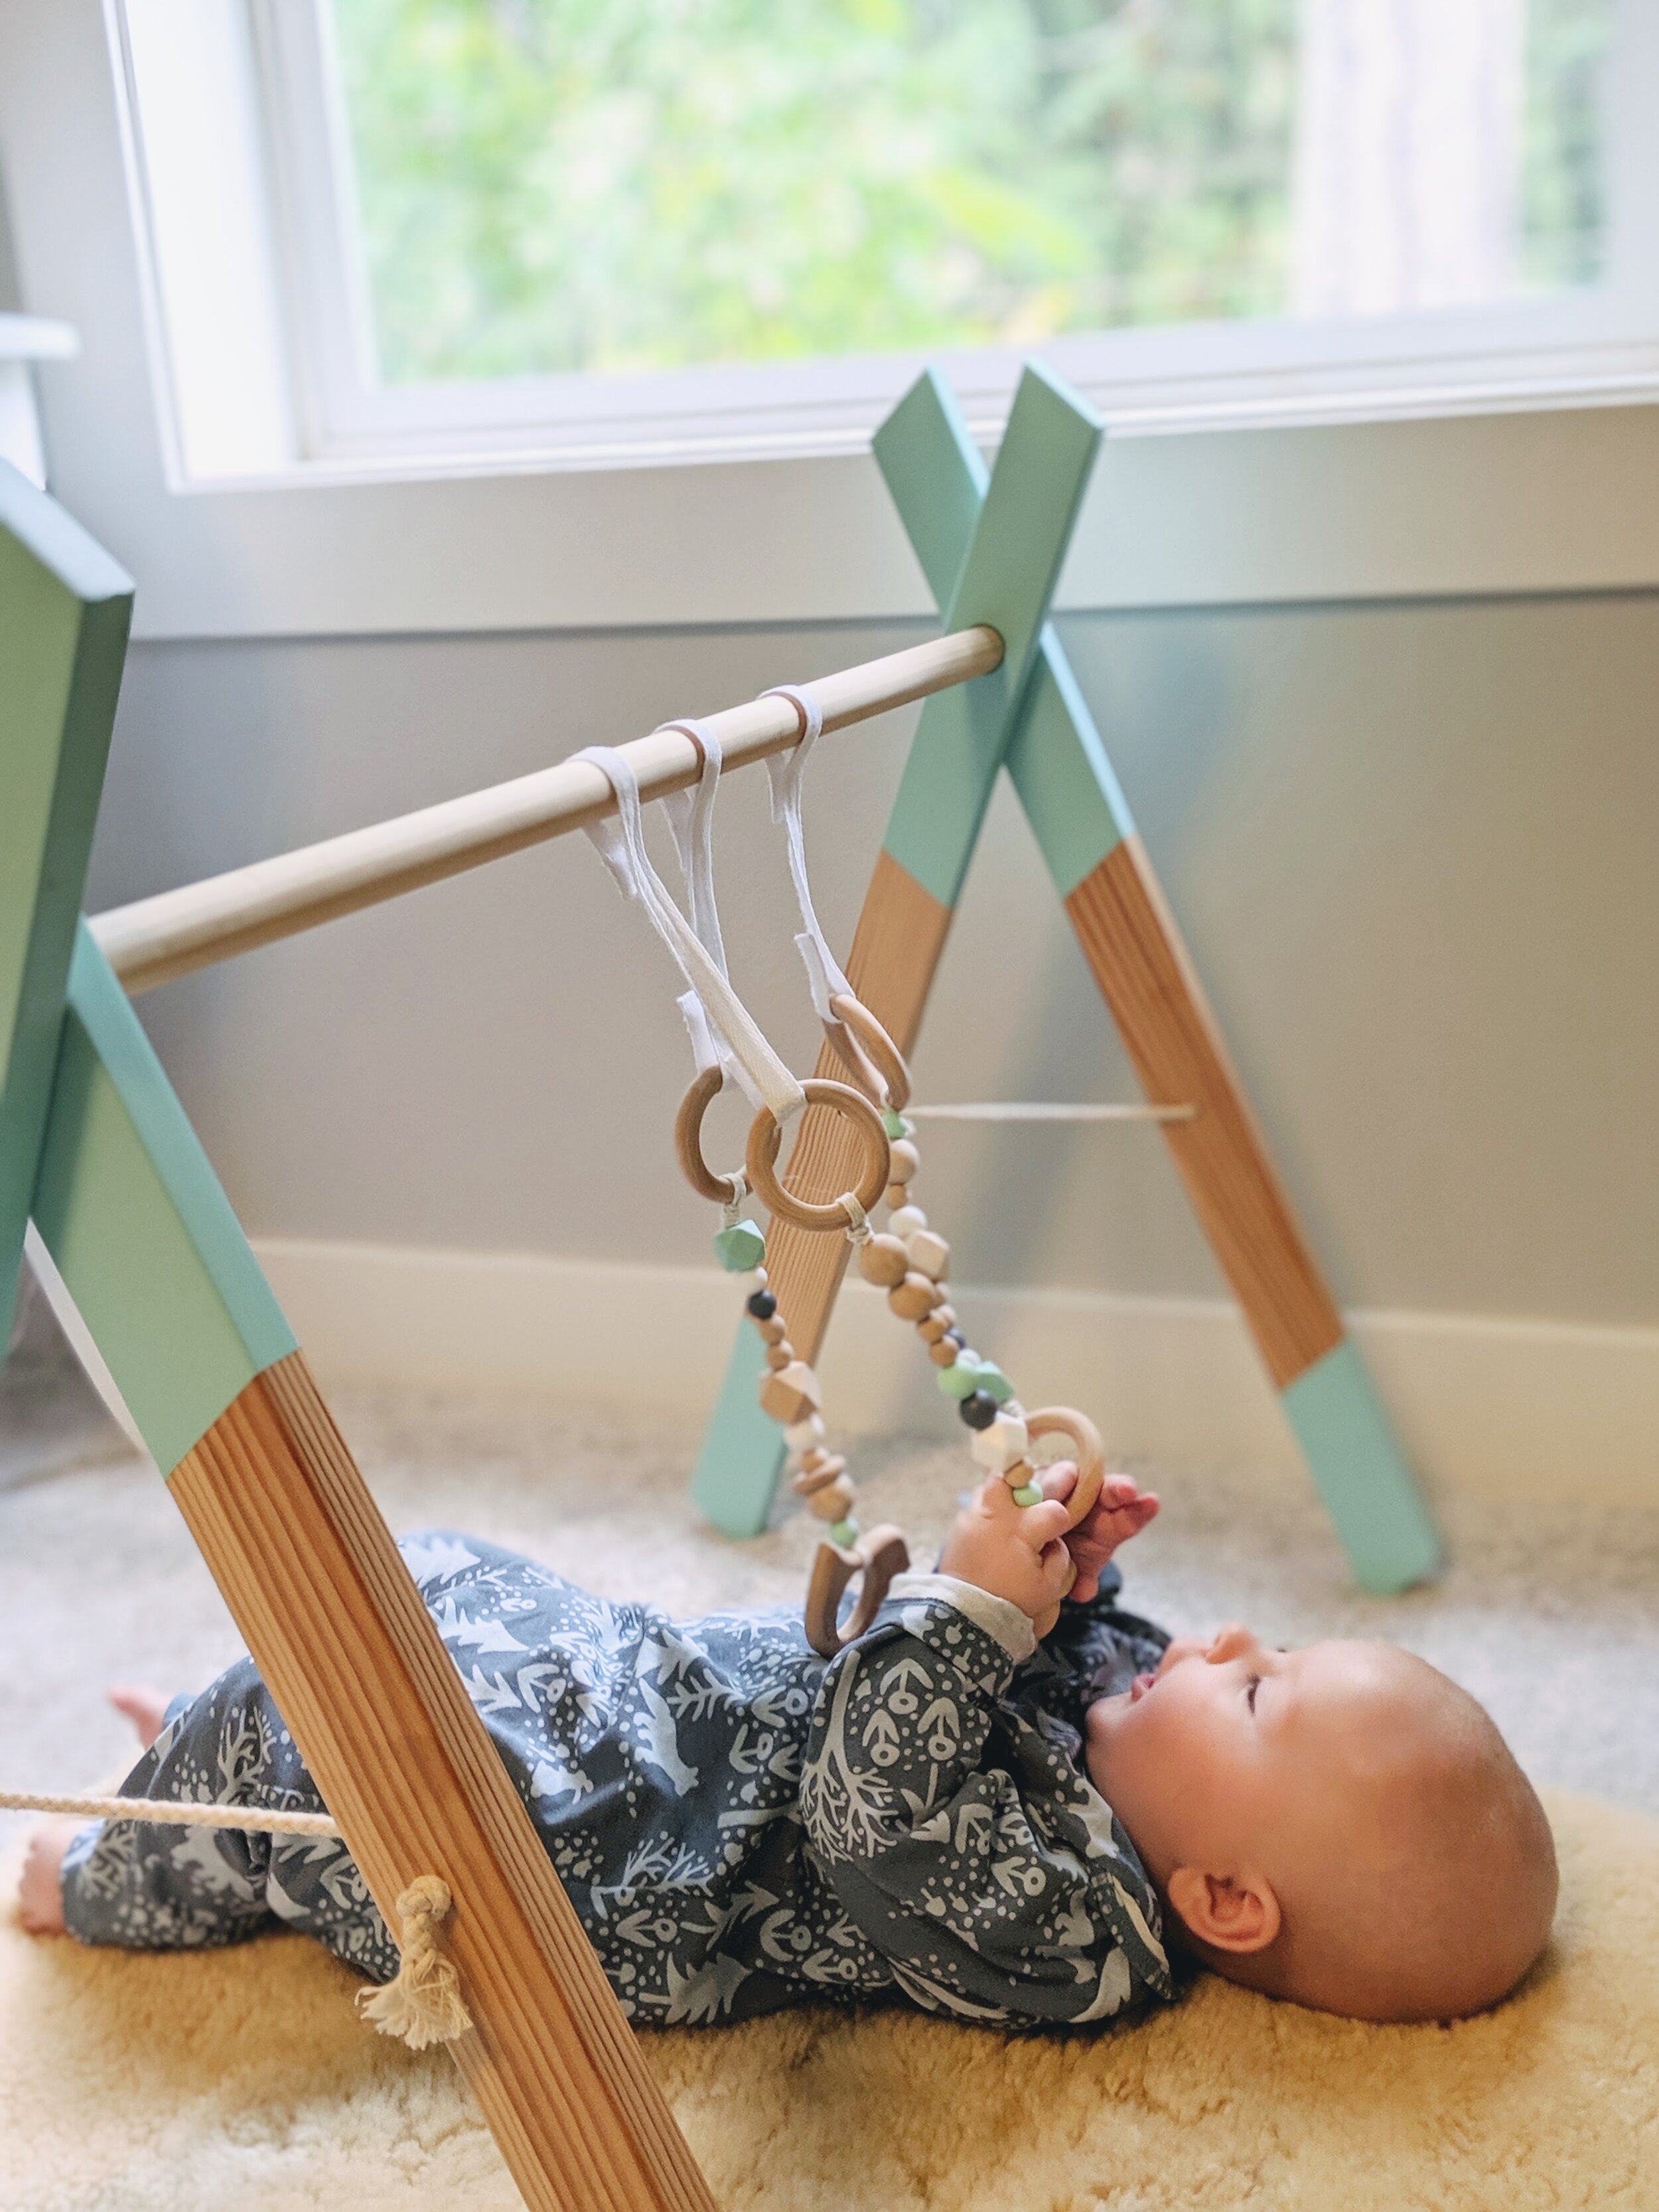
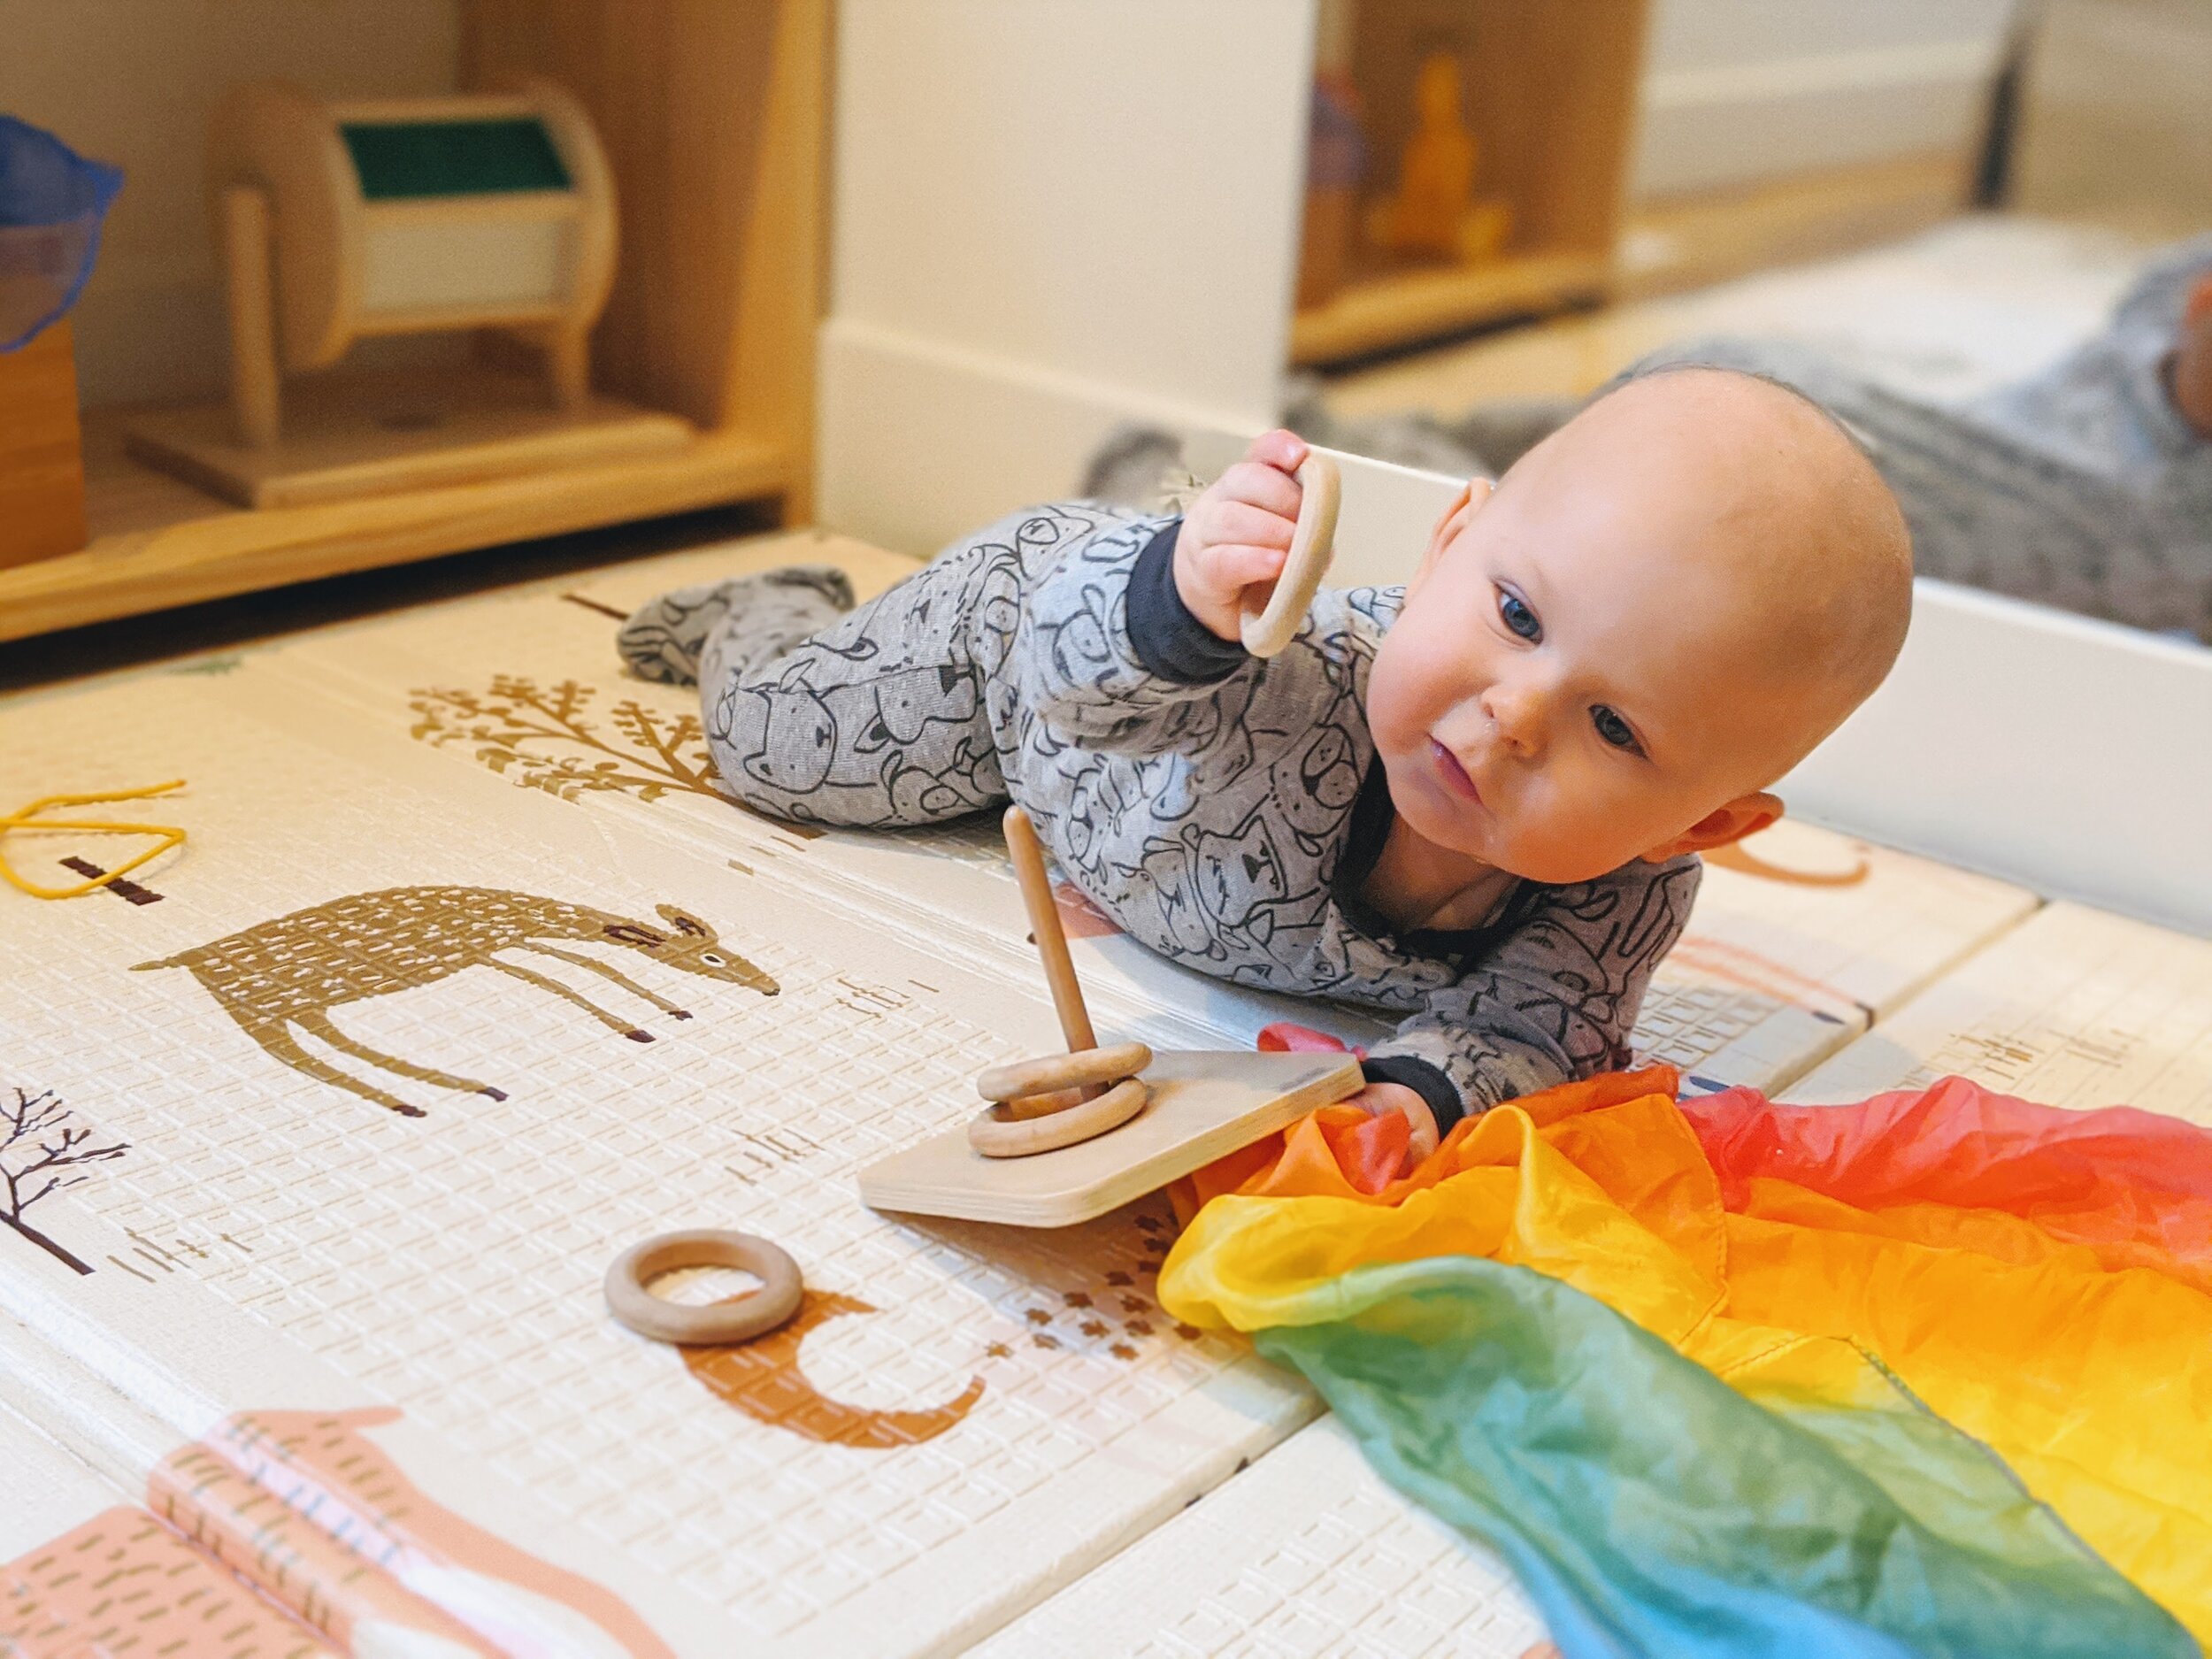
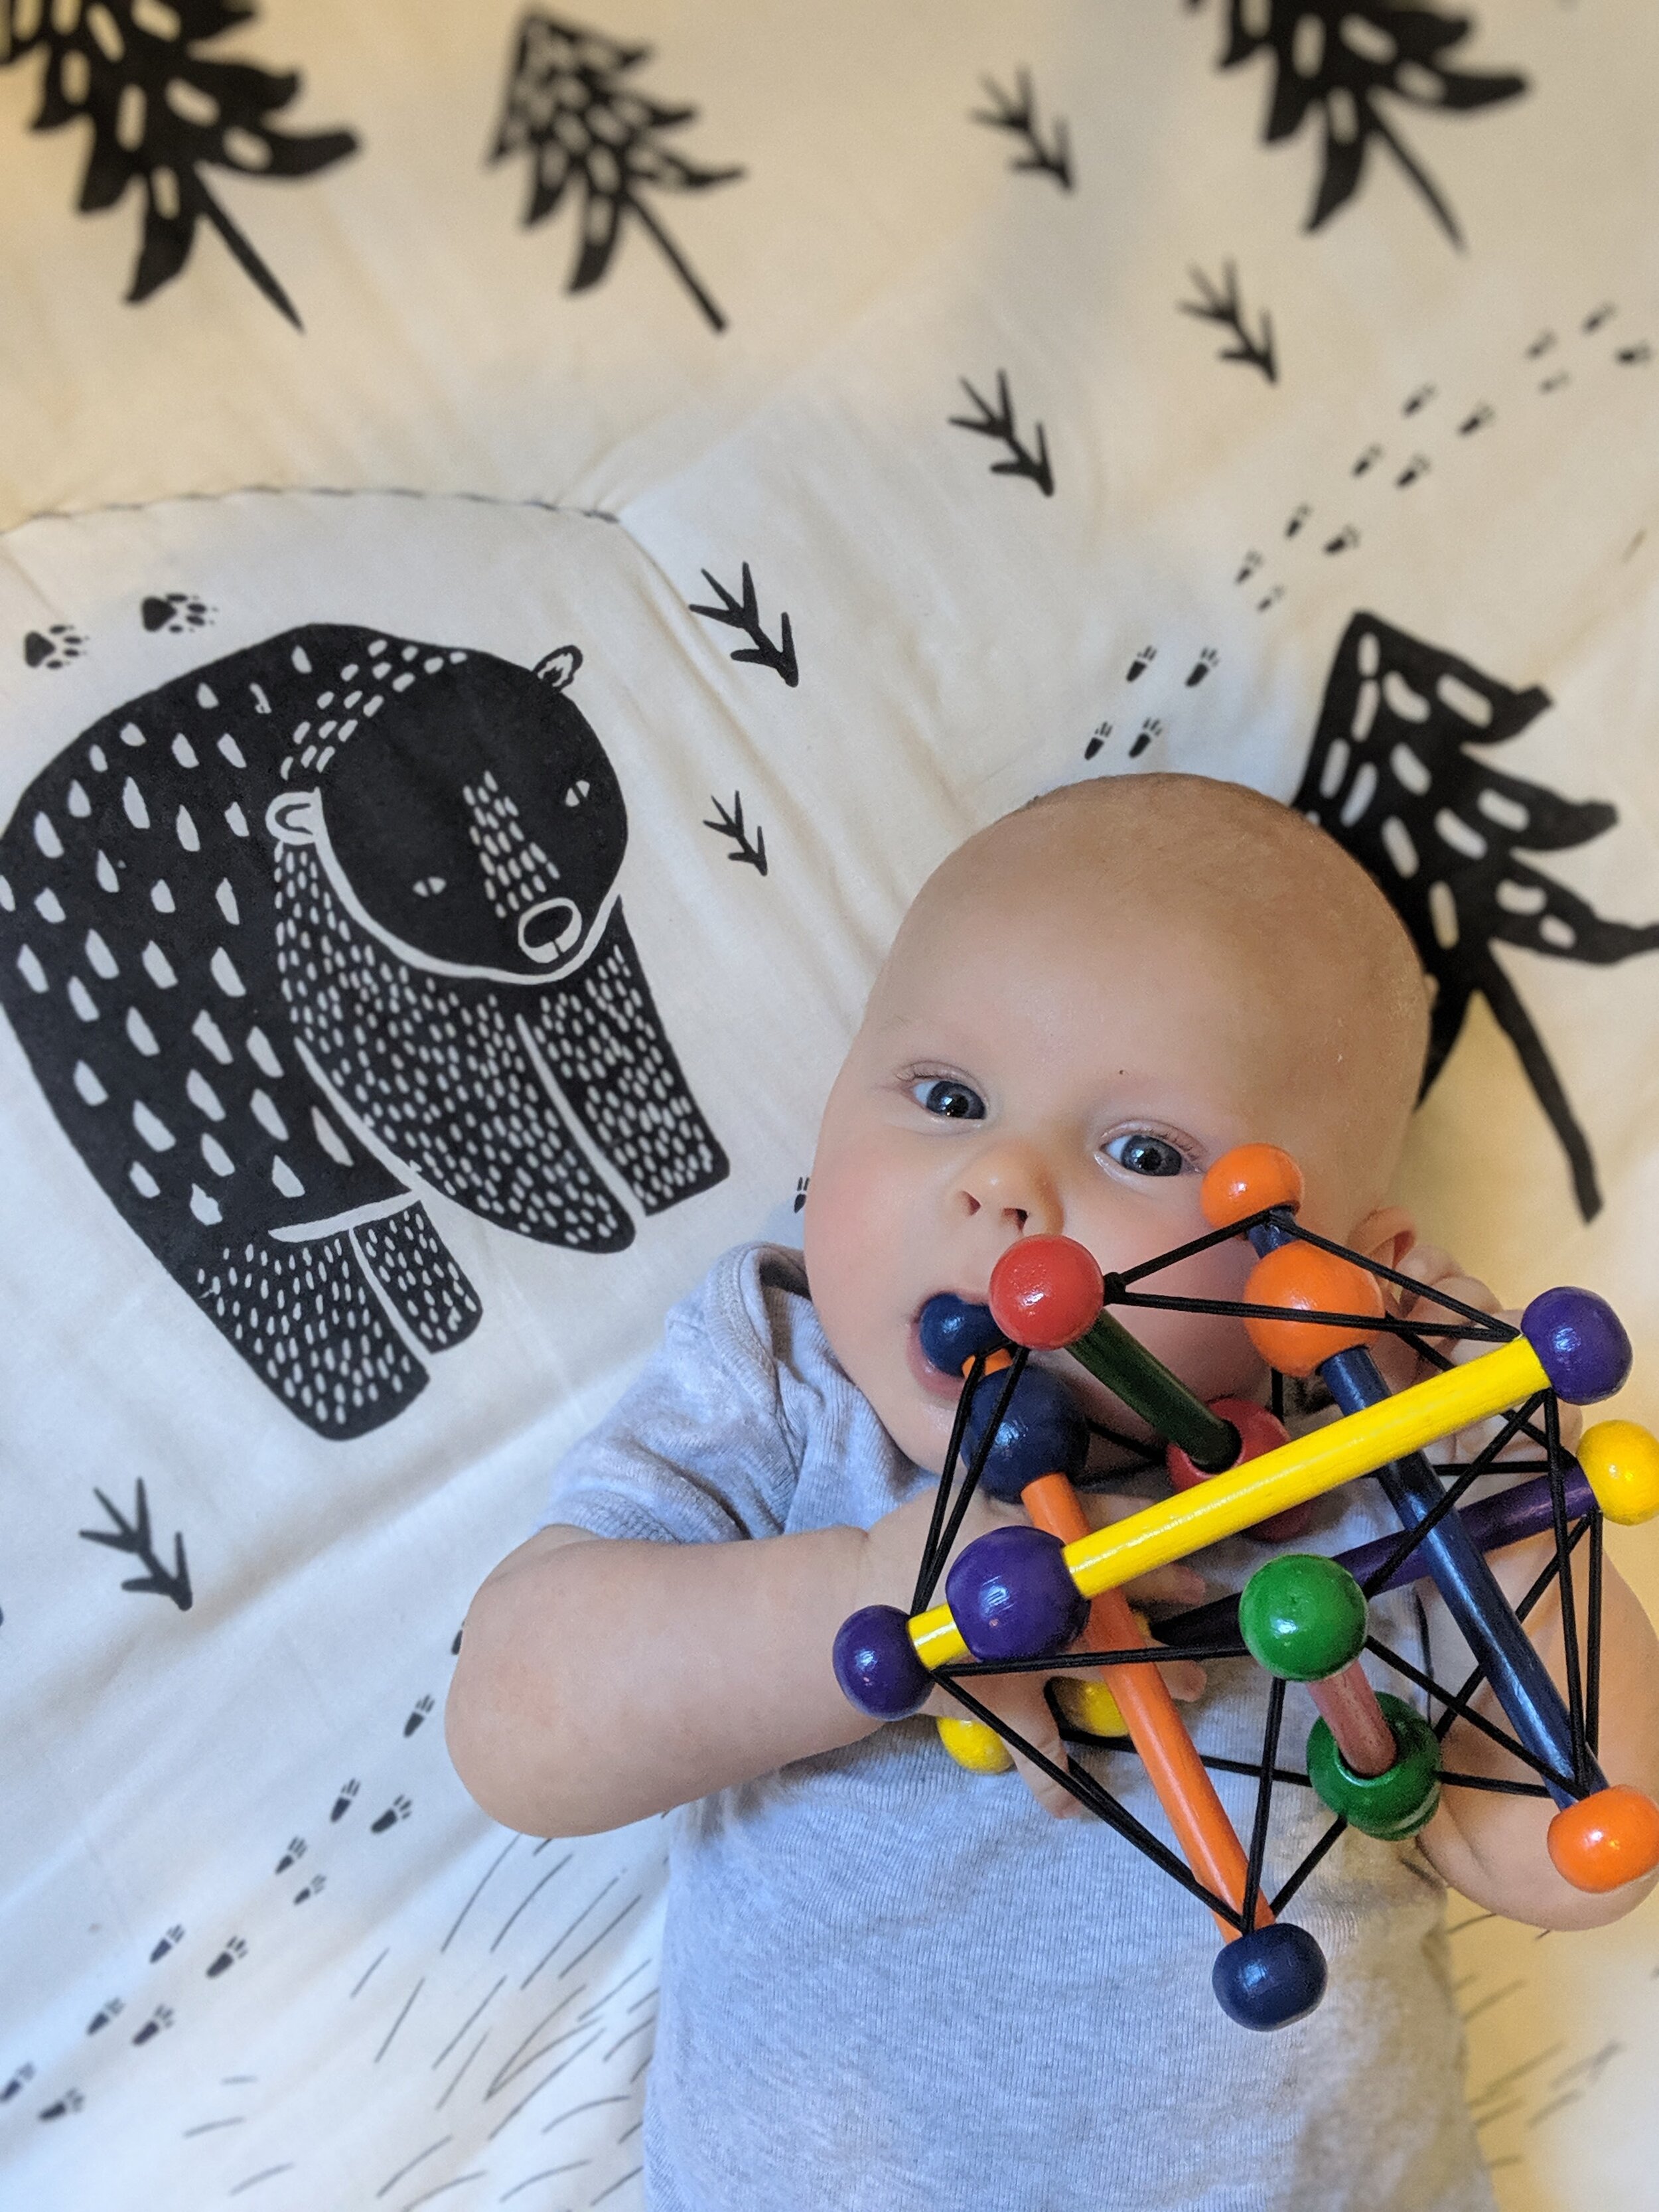
Infancy (0-15 months)
When our bodies are learning new skills, we typically learn by first using our core and then moving outward to more fine movements. This means that our youngest infants are working by moving their whole arm, then elbow and fist, then with their hand. Grasping mobiles between month 3 and 5 help them practice all of these movements. An easy DIY is placing a large bell, or wooden ring on a ribbon and hanging one from a hook or simple activity gym.
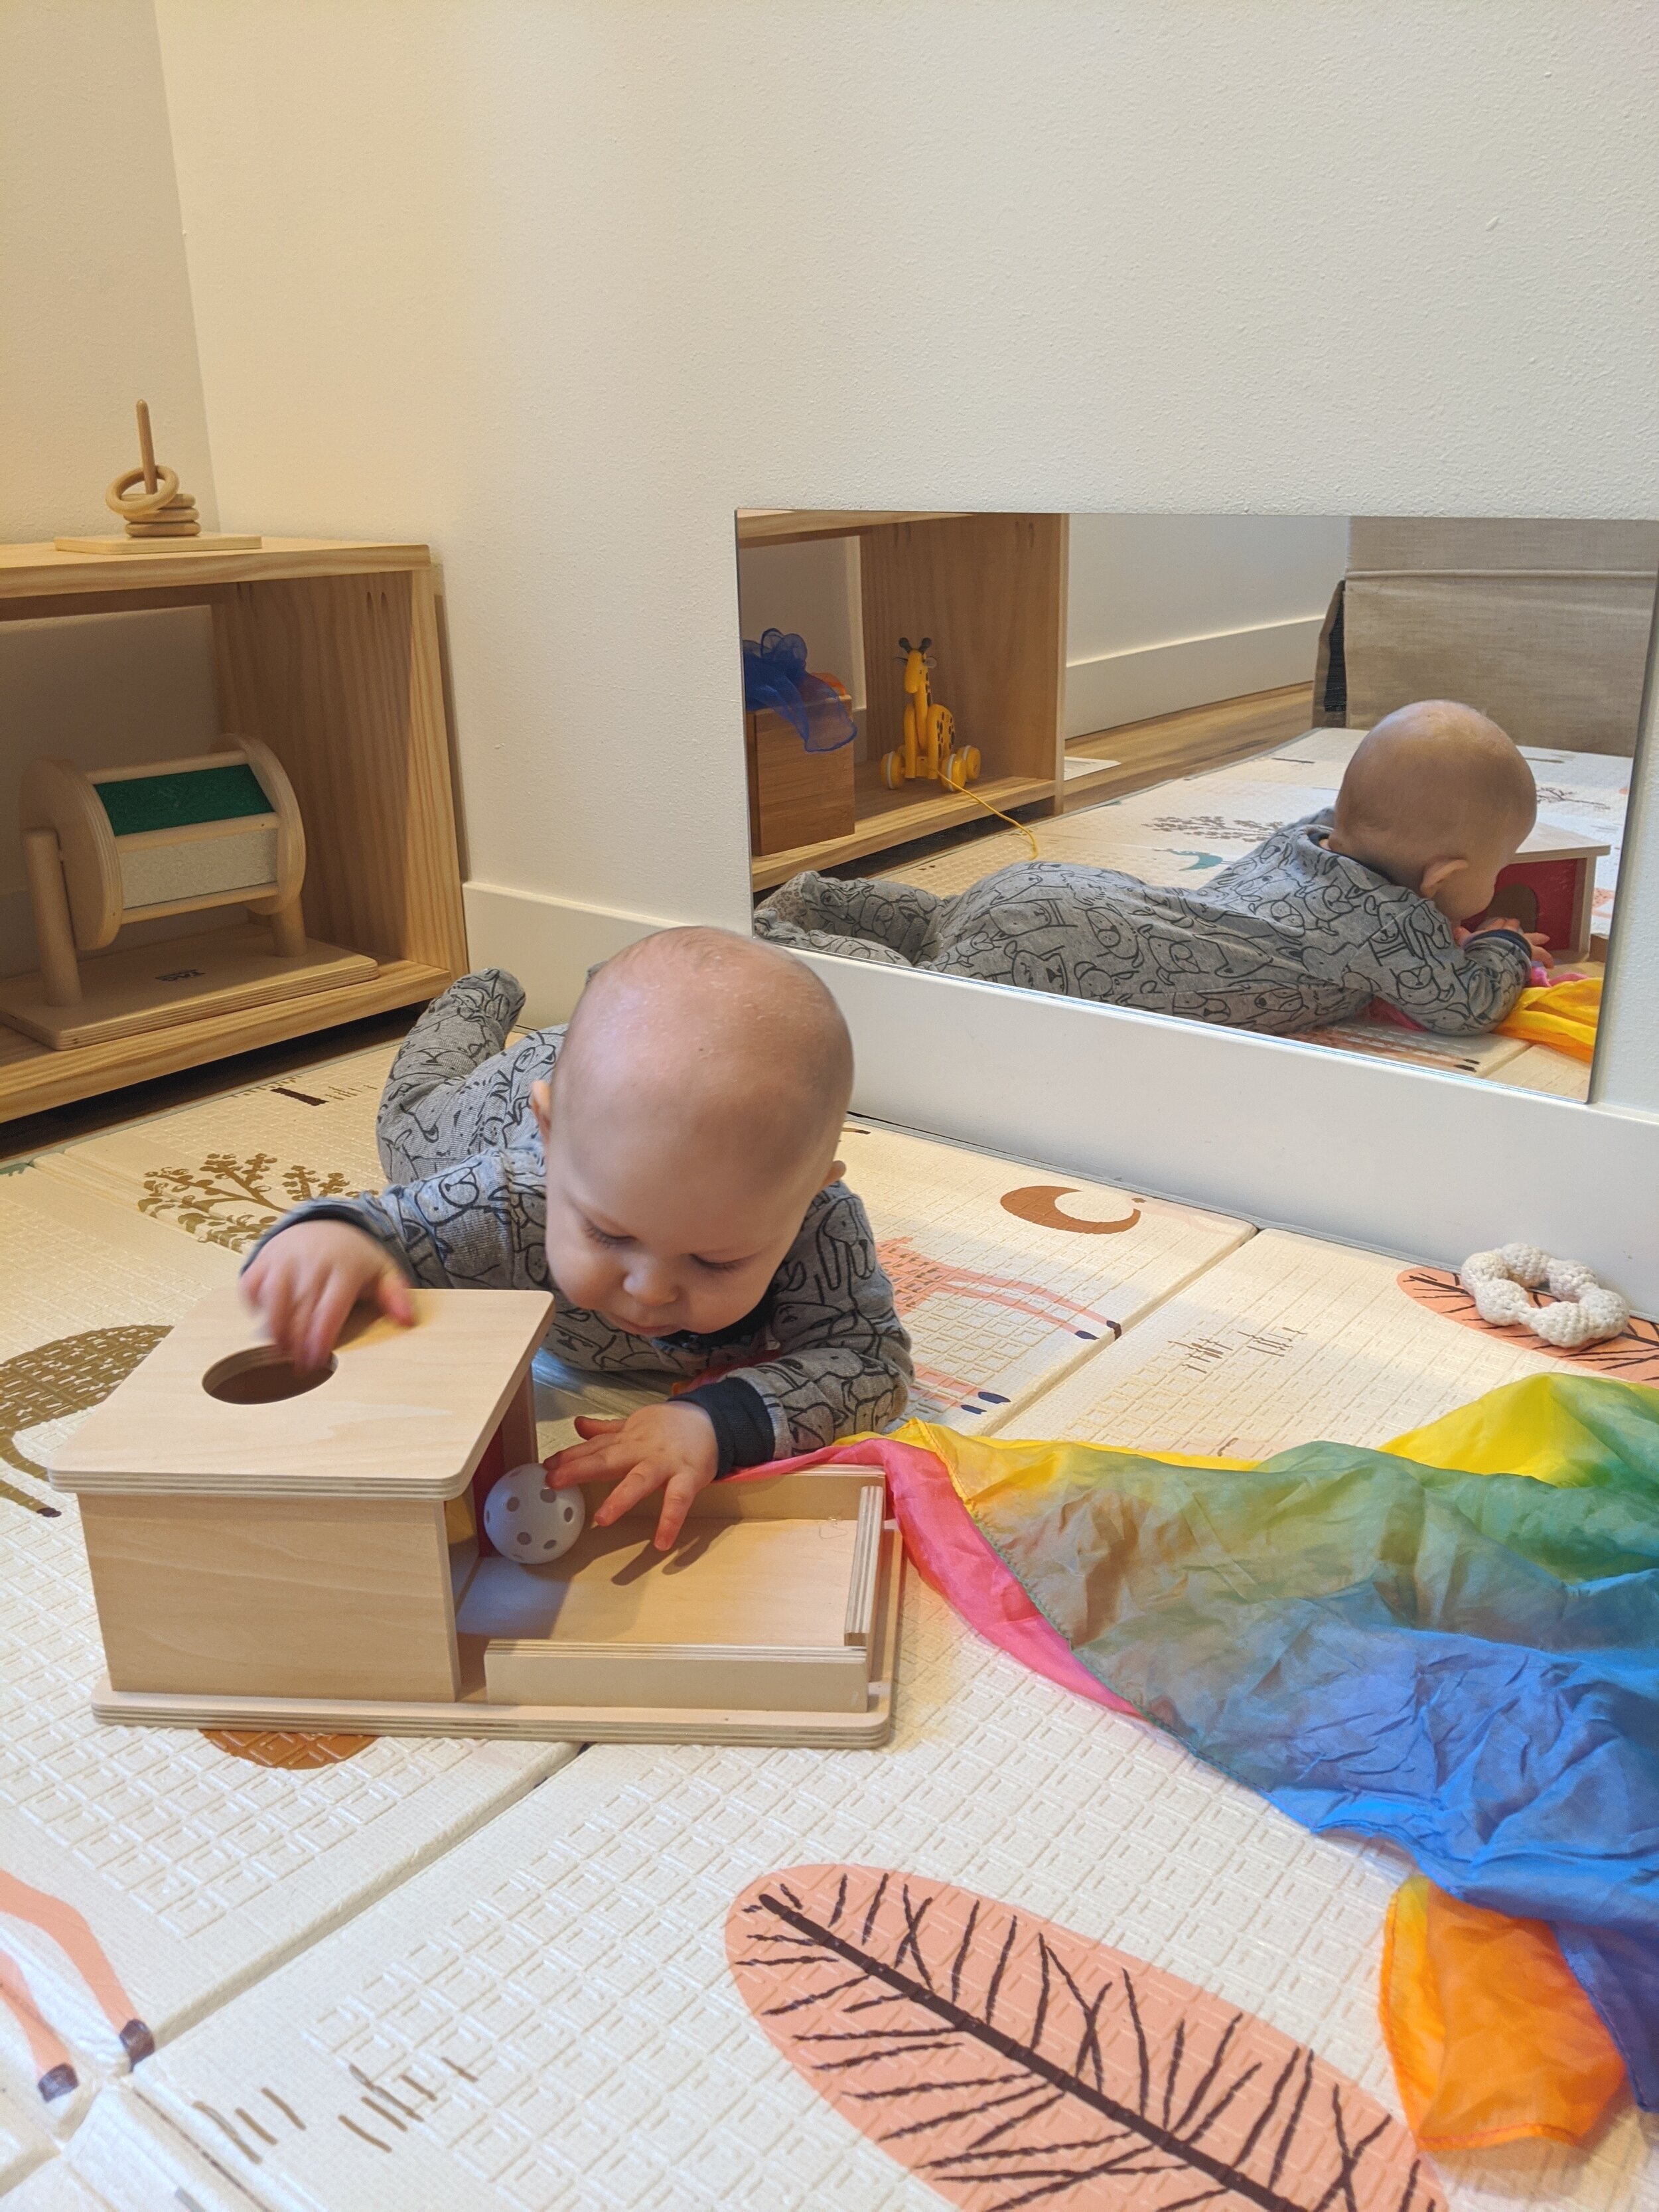
Once our infants are sitting and moving around more we offer baskets of balls, and boxes to drop balls into. These activities are usually discussed as ways to encourage large gross motor movements, but they also encourage the development of the palmar grasp into a more refined inferior pincer grasp. Additionally, these activities allow infants to practice releasing objects at a specific time, which is a skill developed around 7-8 months.
(Click photos below for links)

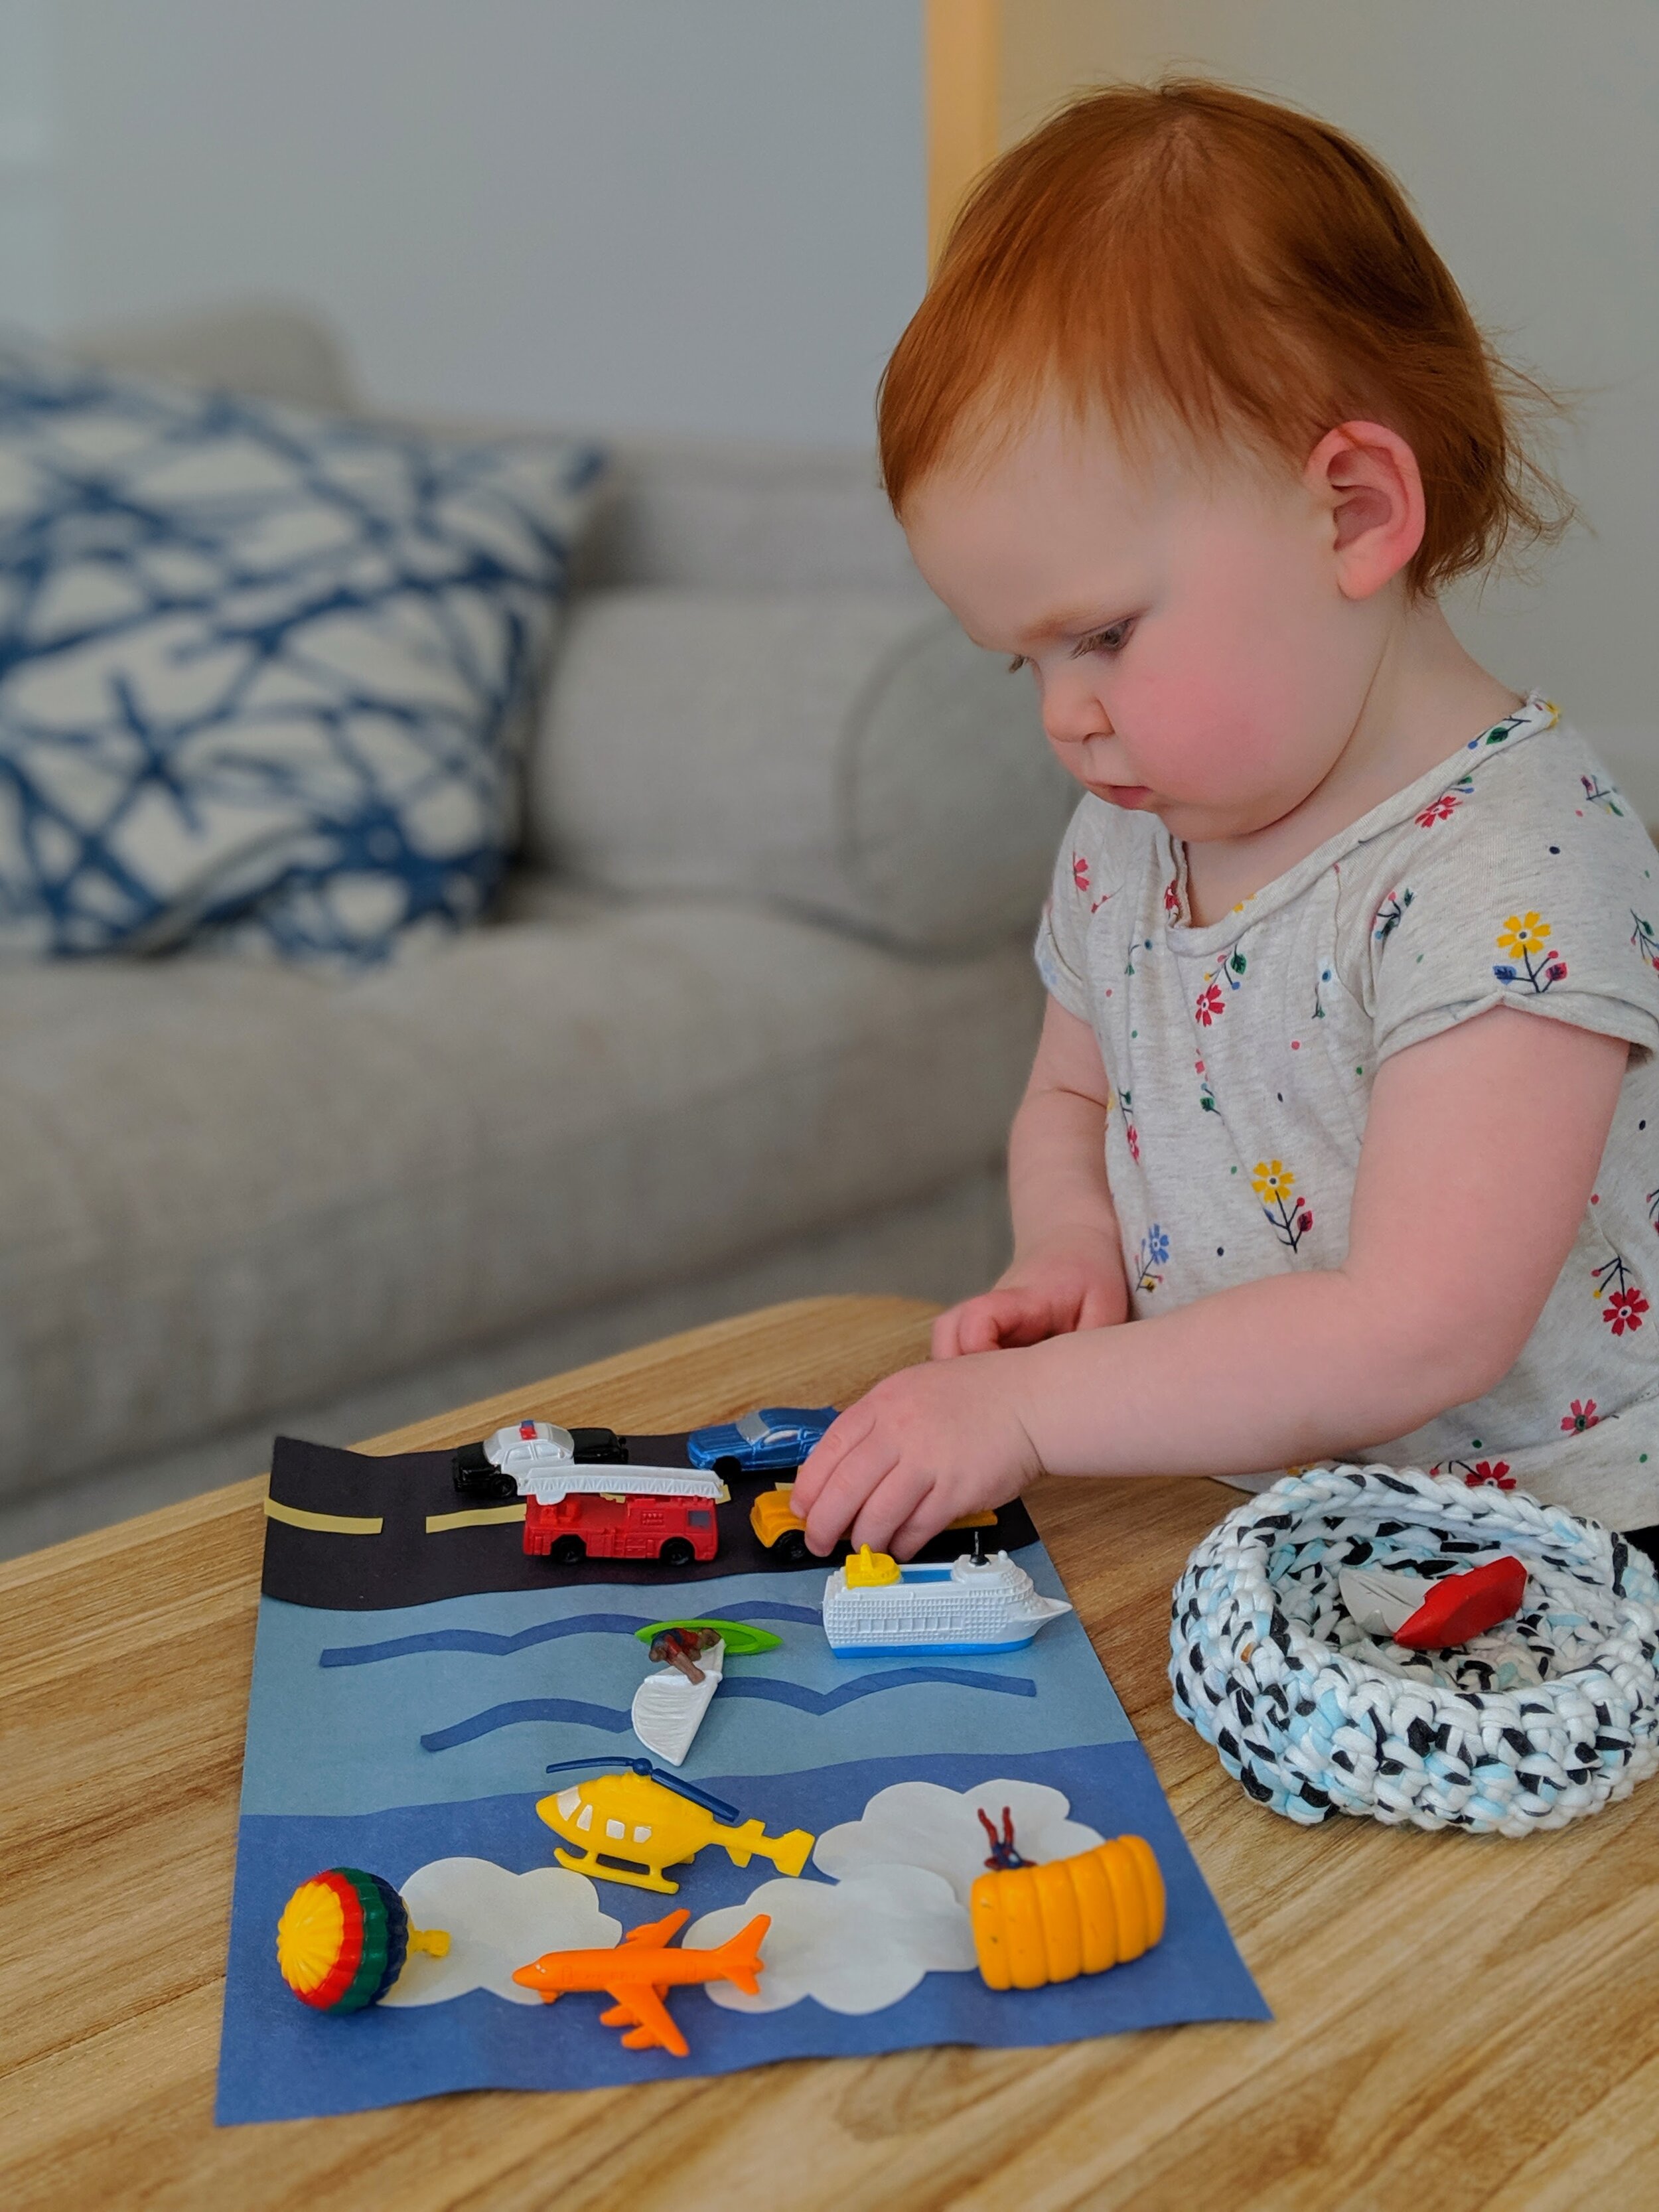
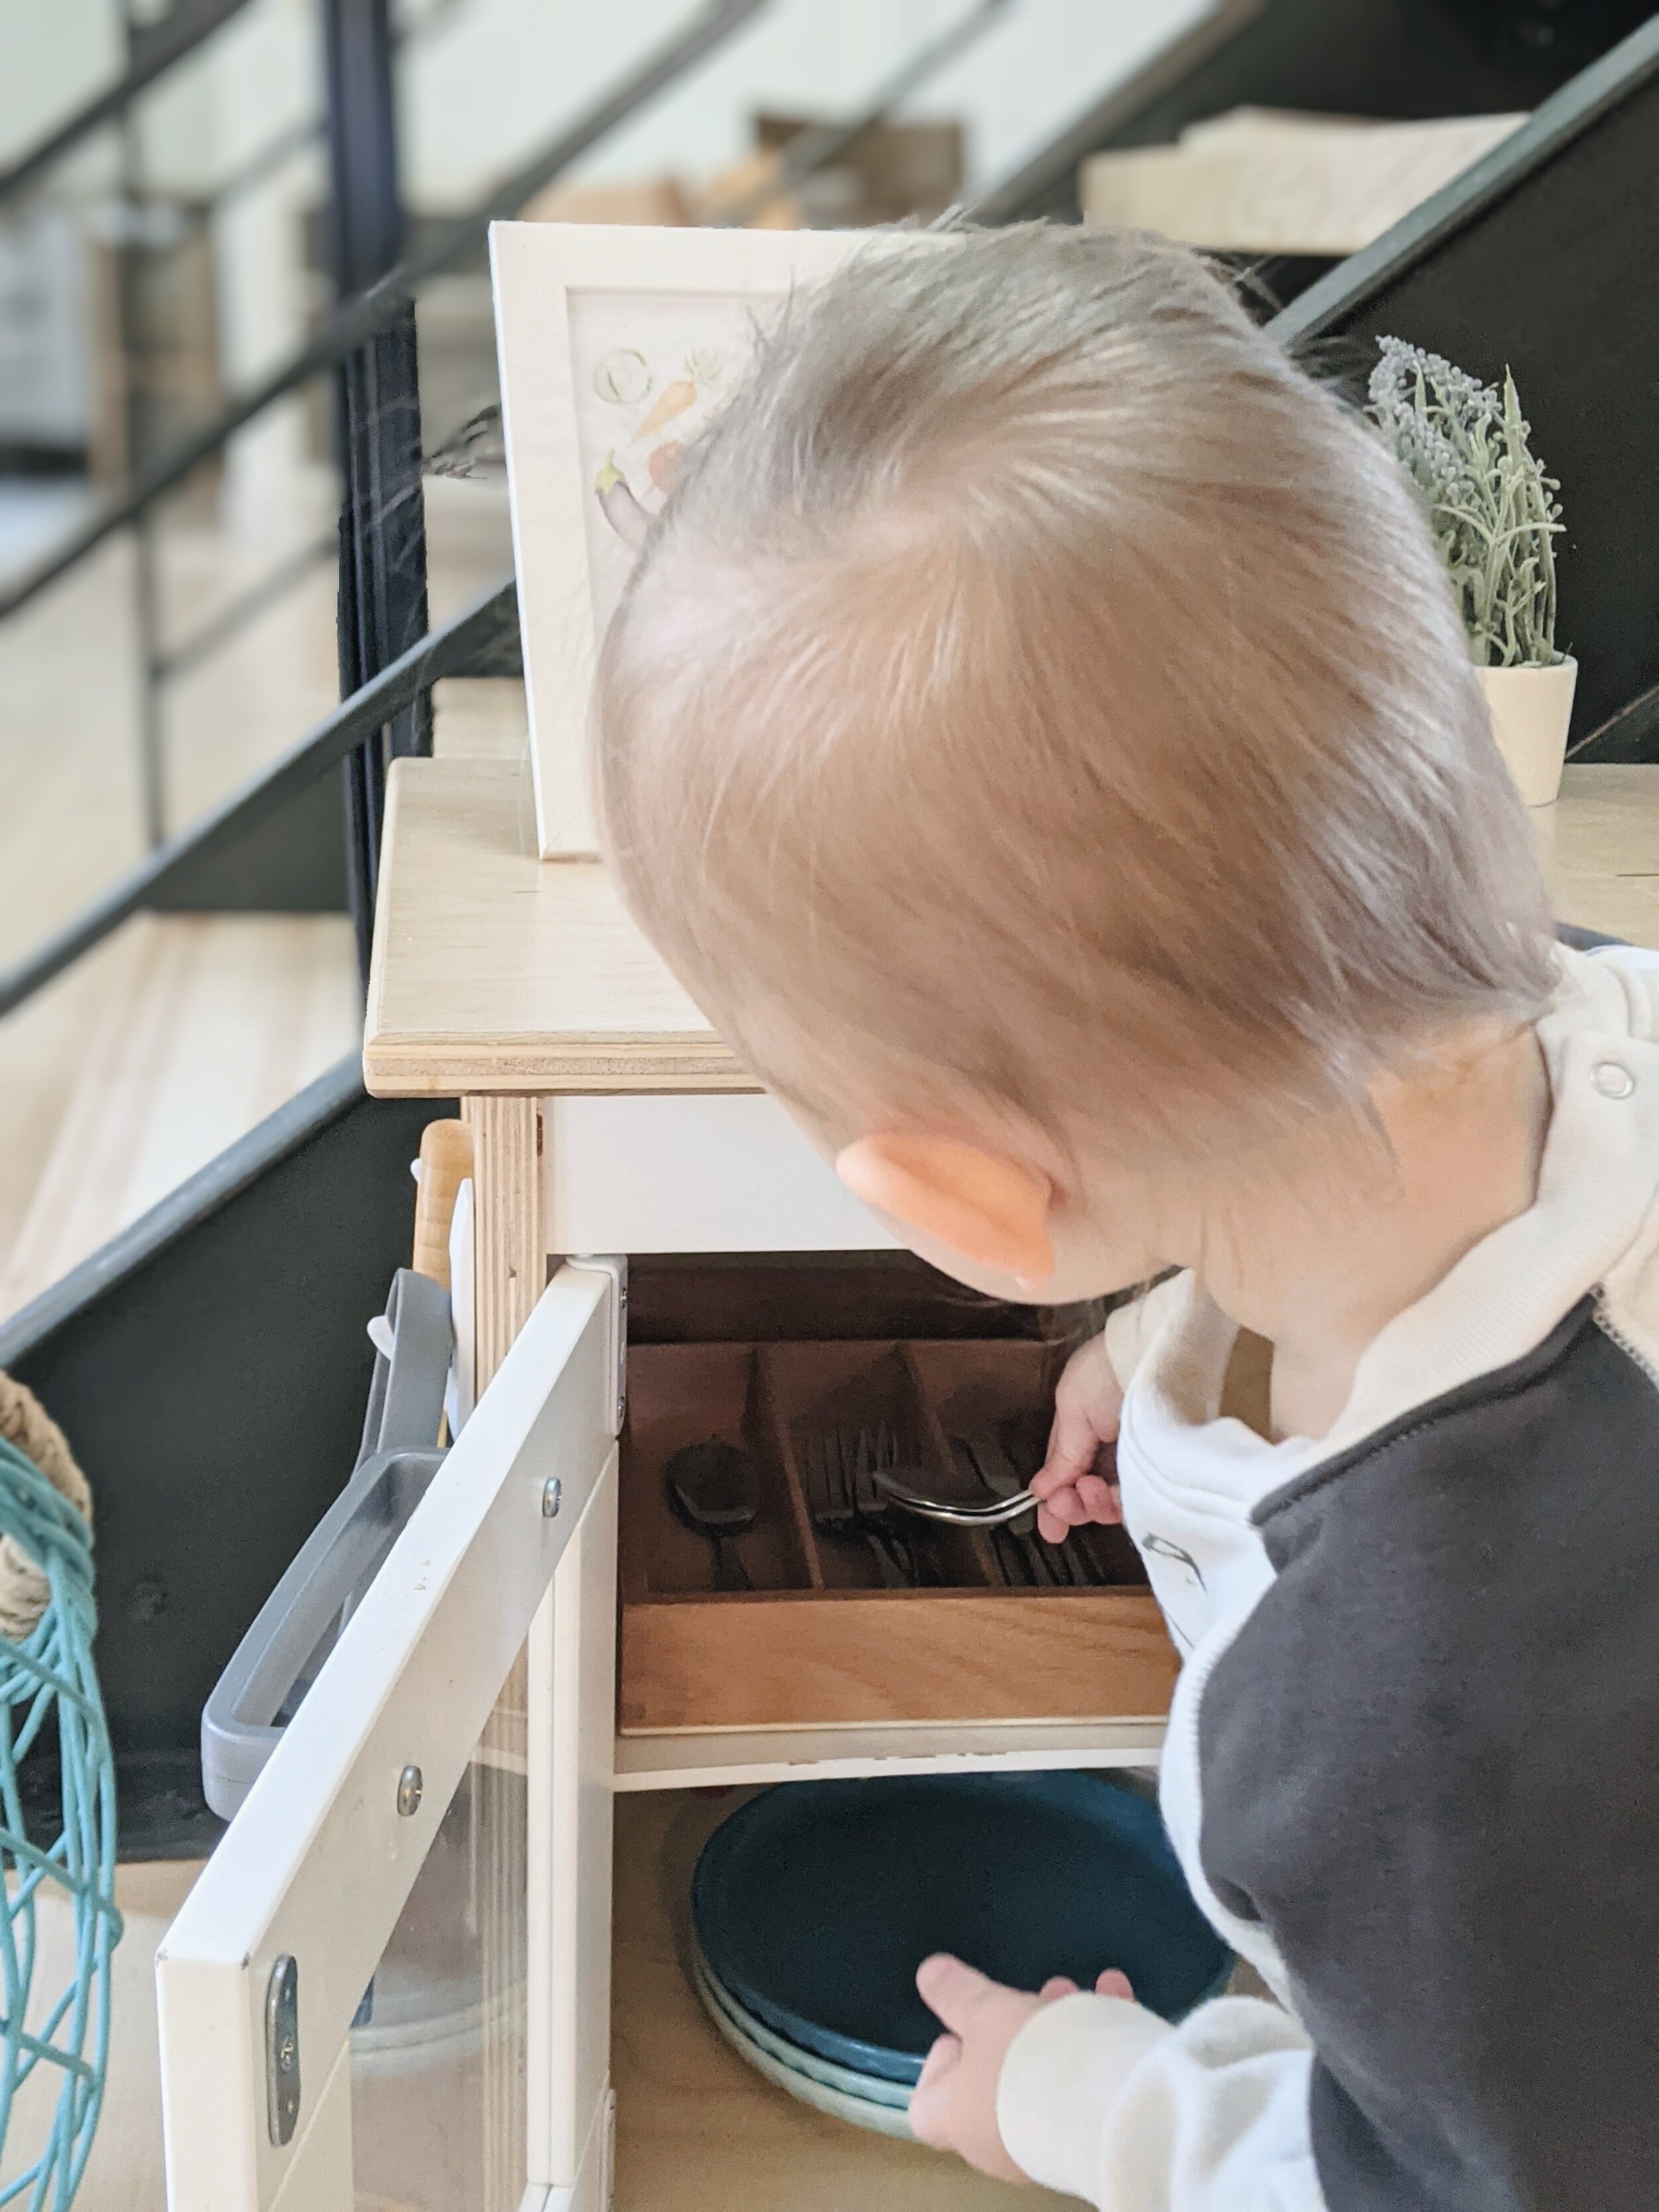
Toddlerhood (15 mos - 36 mos)
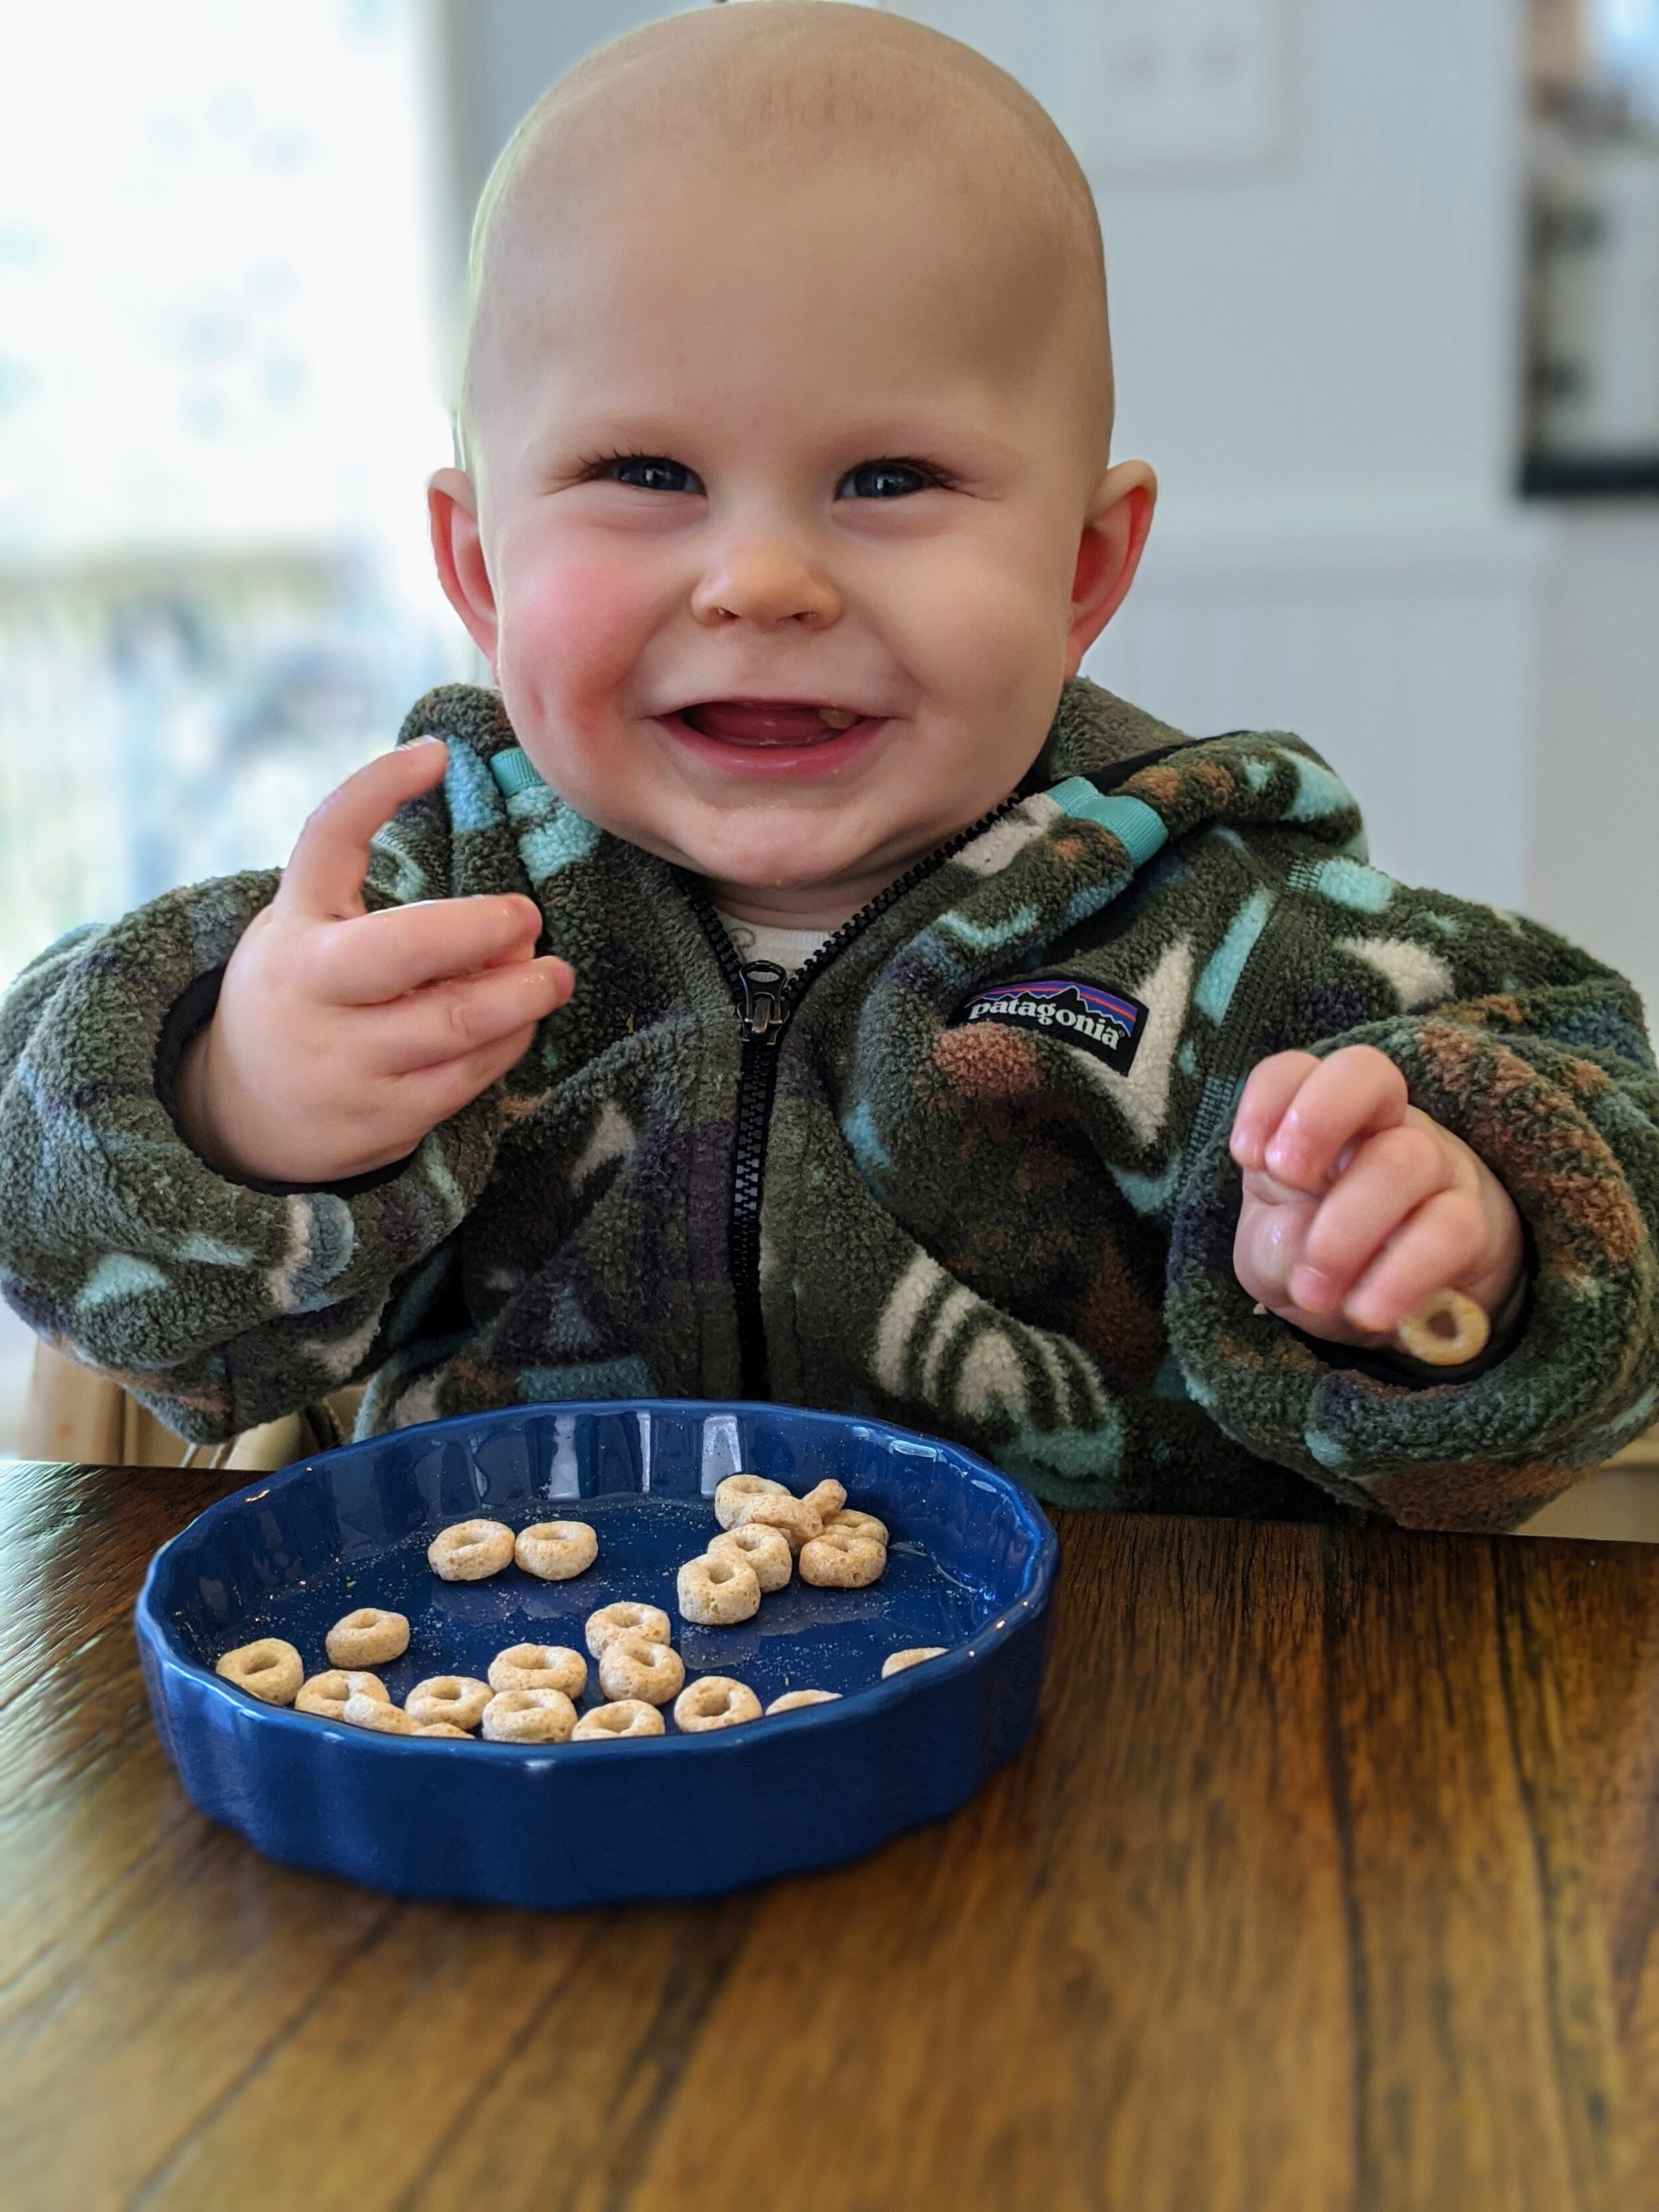
Toddlers are still moving their whole body, while also beginning to refine their pincer grasp. We first see this as they pick up small pieces of food and find every possible crumb left on the floor! There are so many ways to promote hand development in toddlerhood, through both gross and fine motor work.
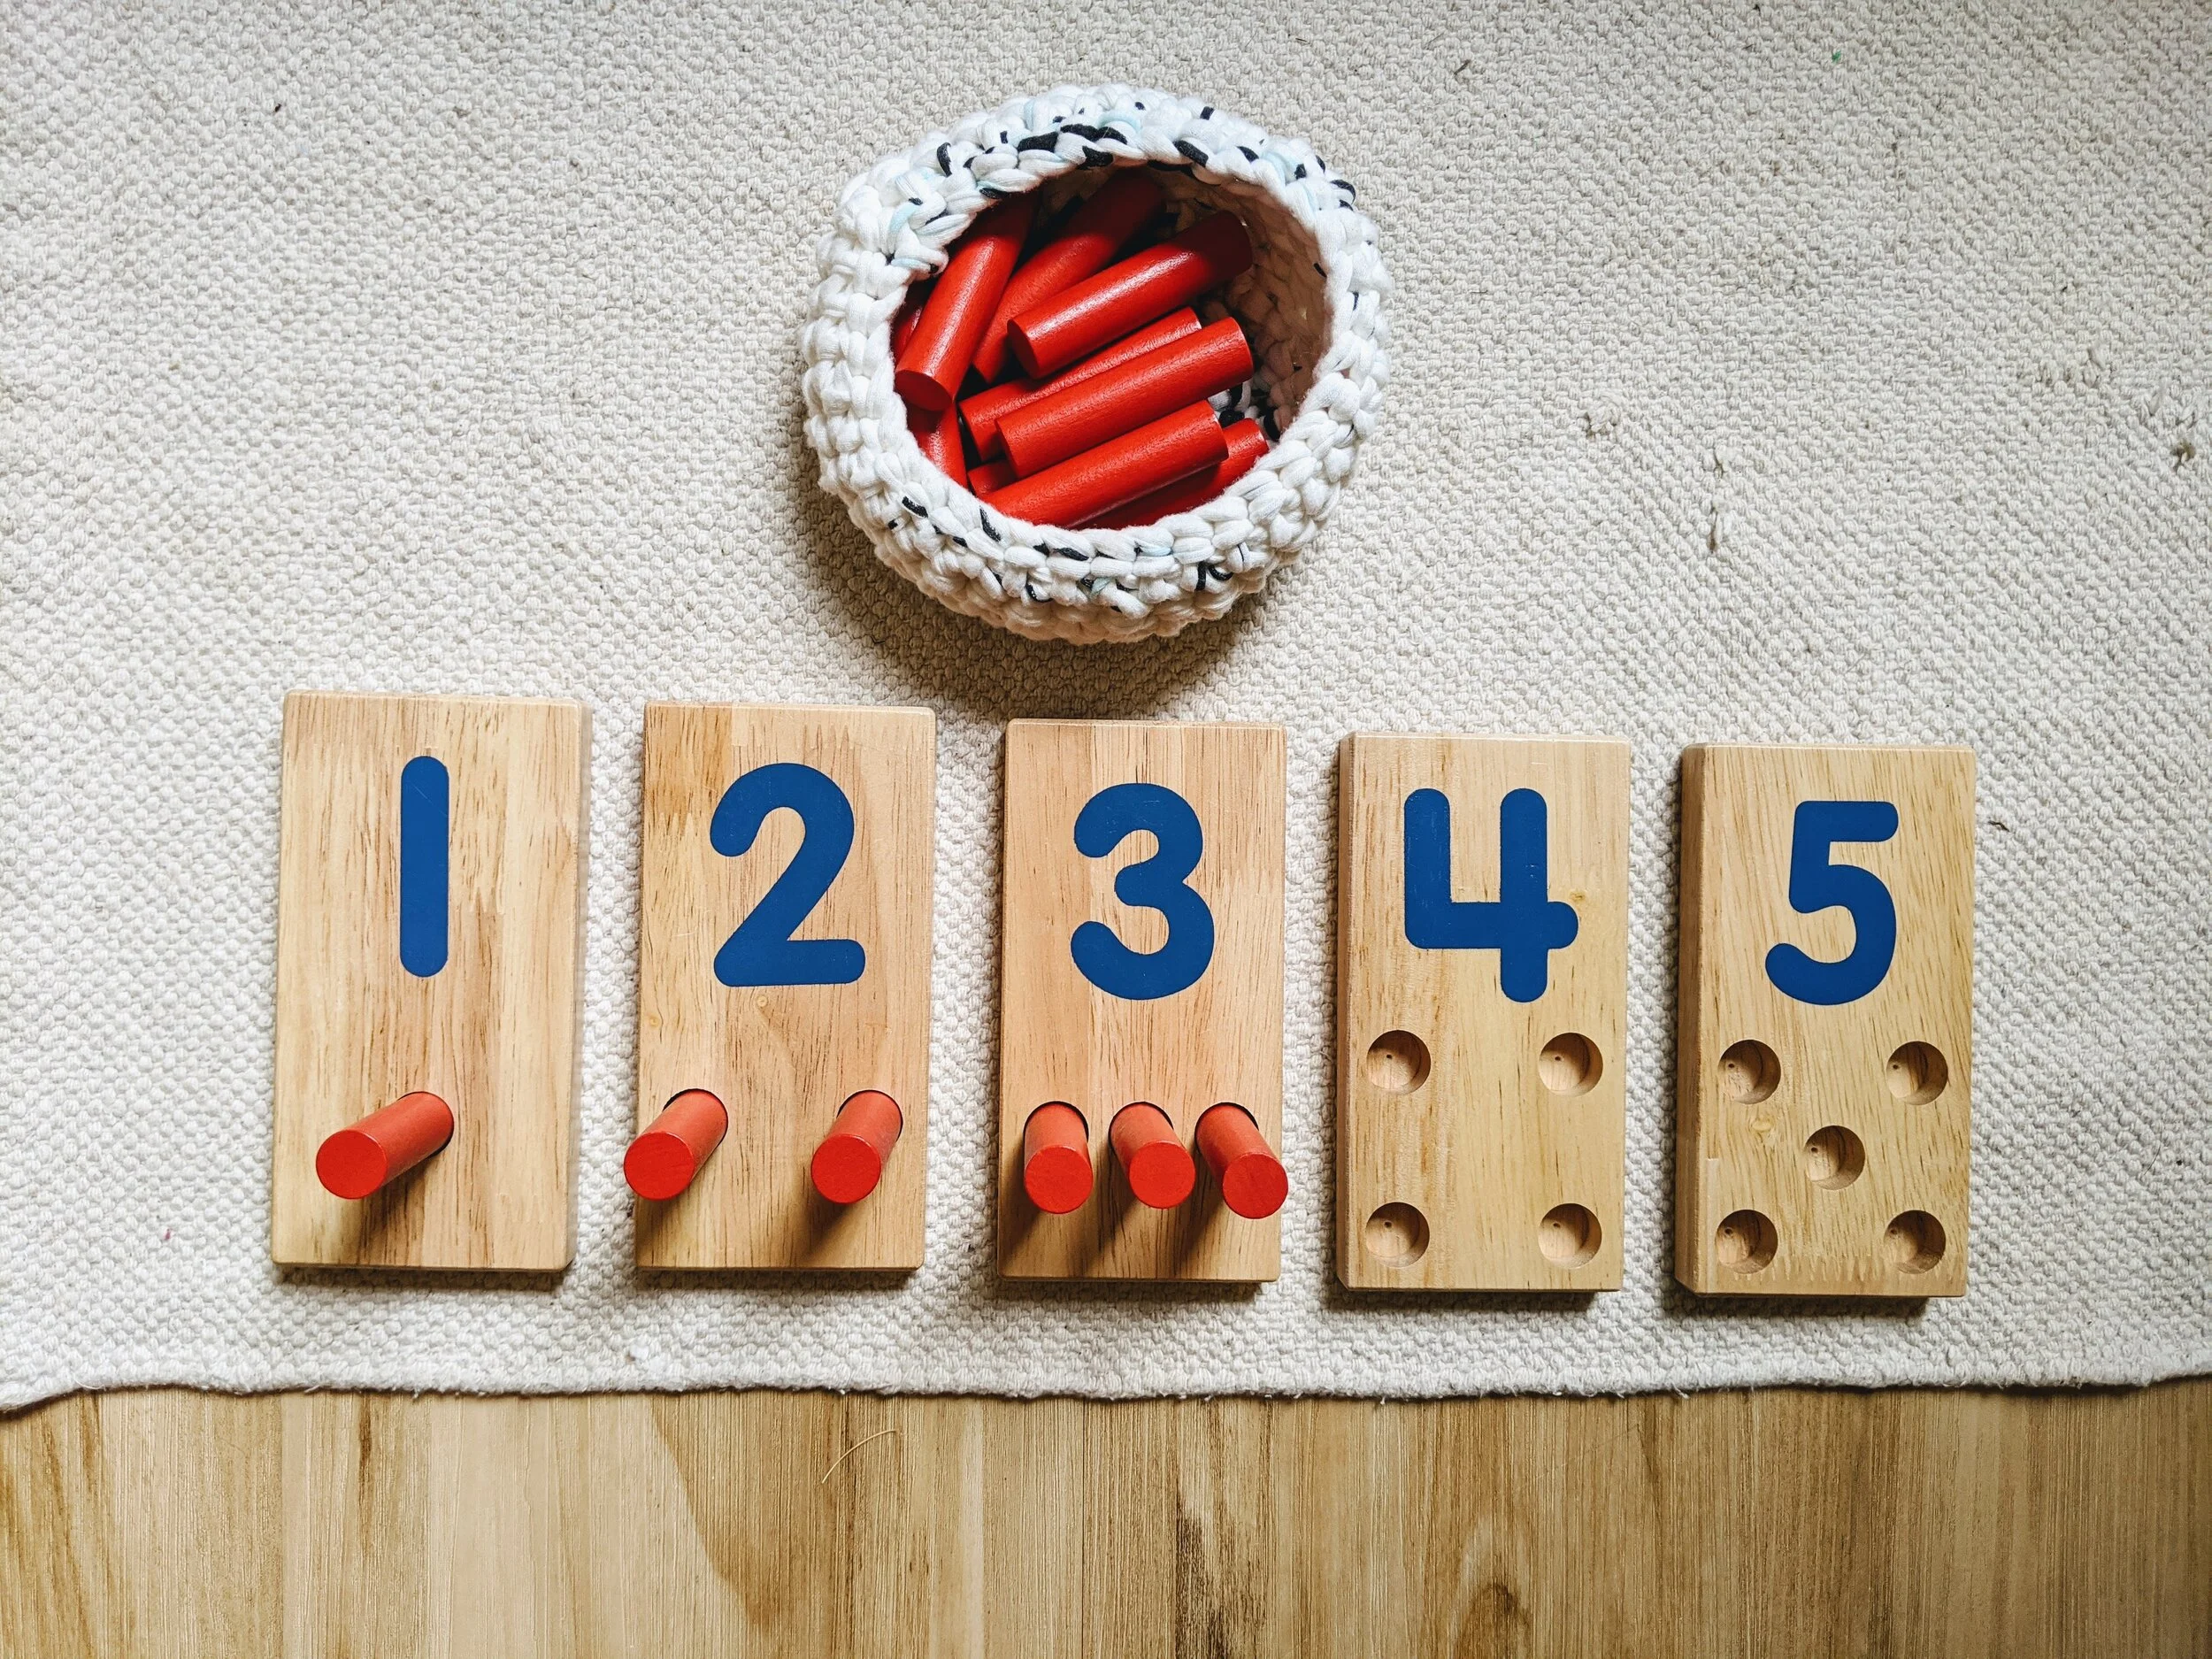
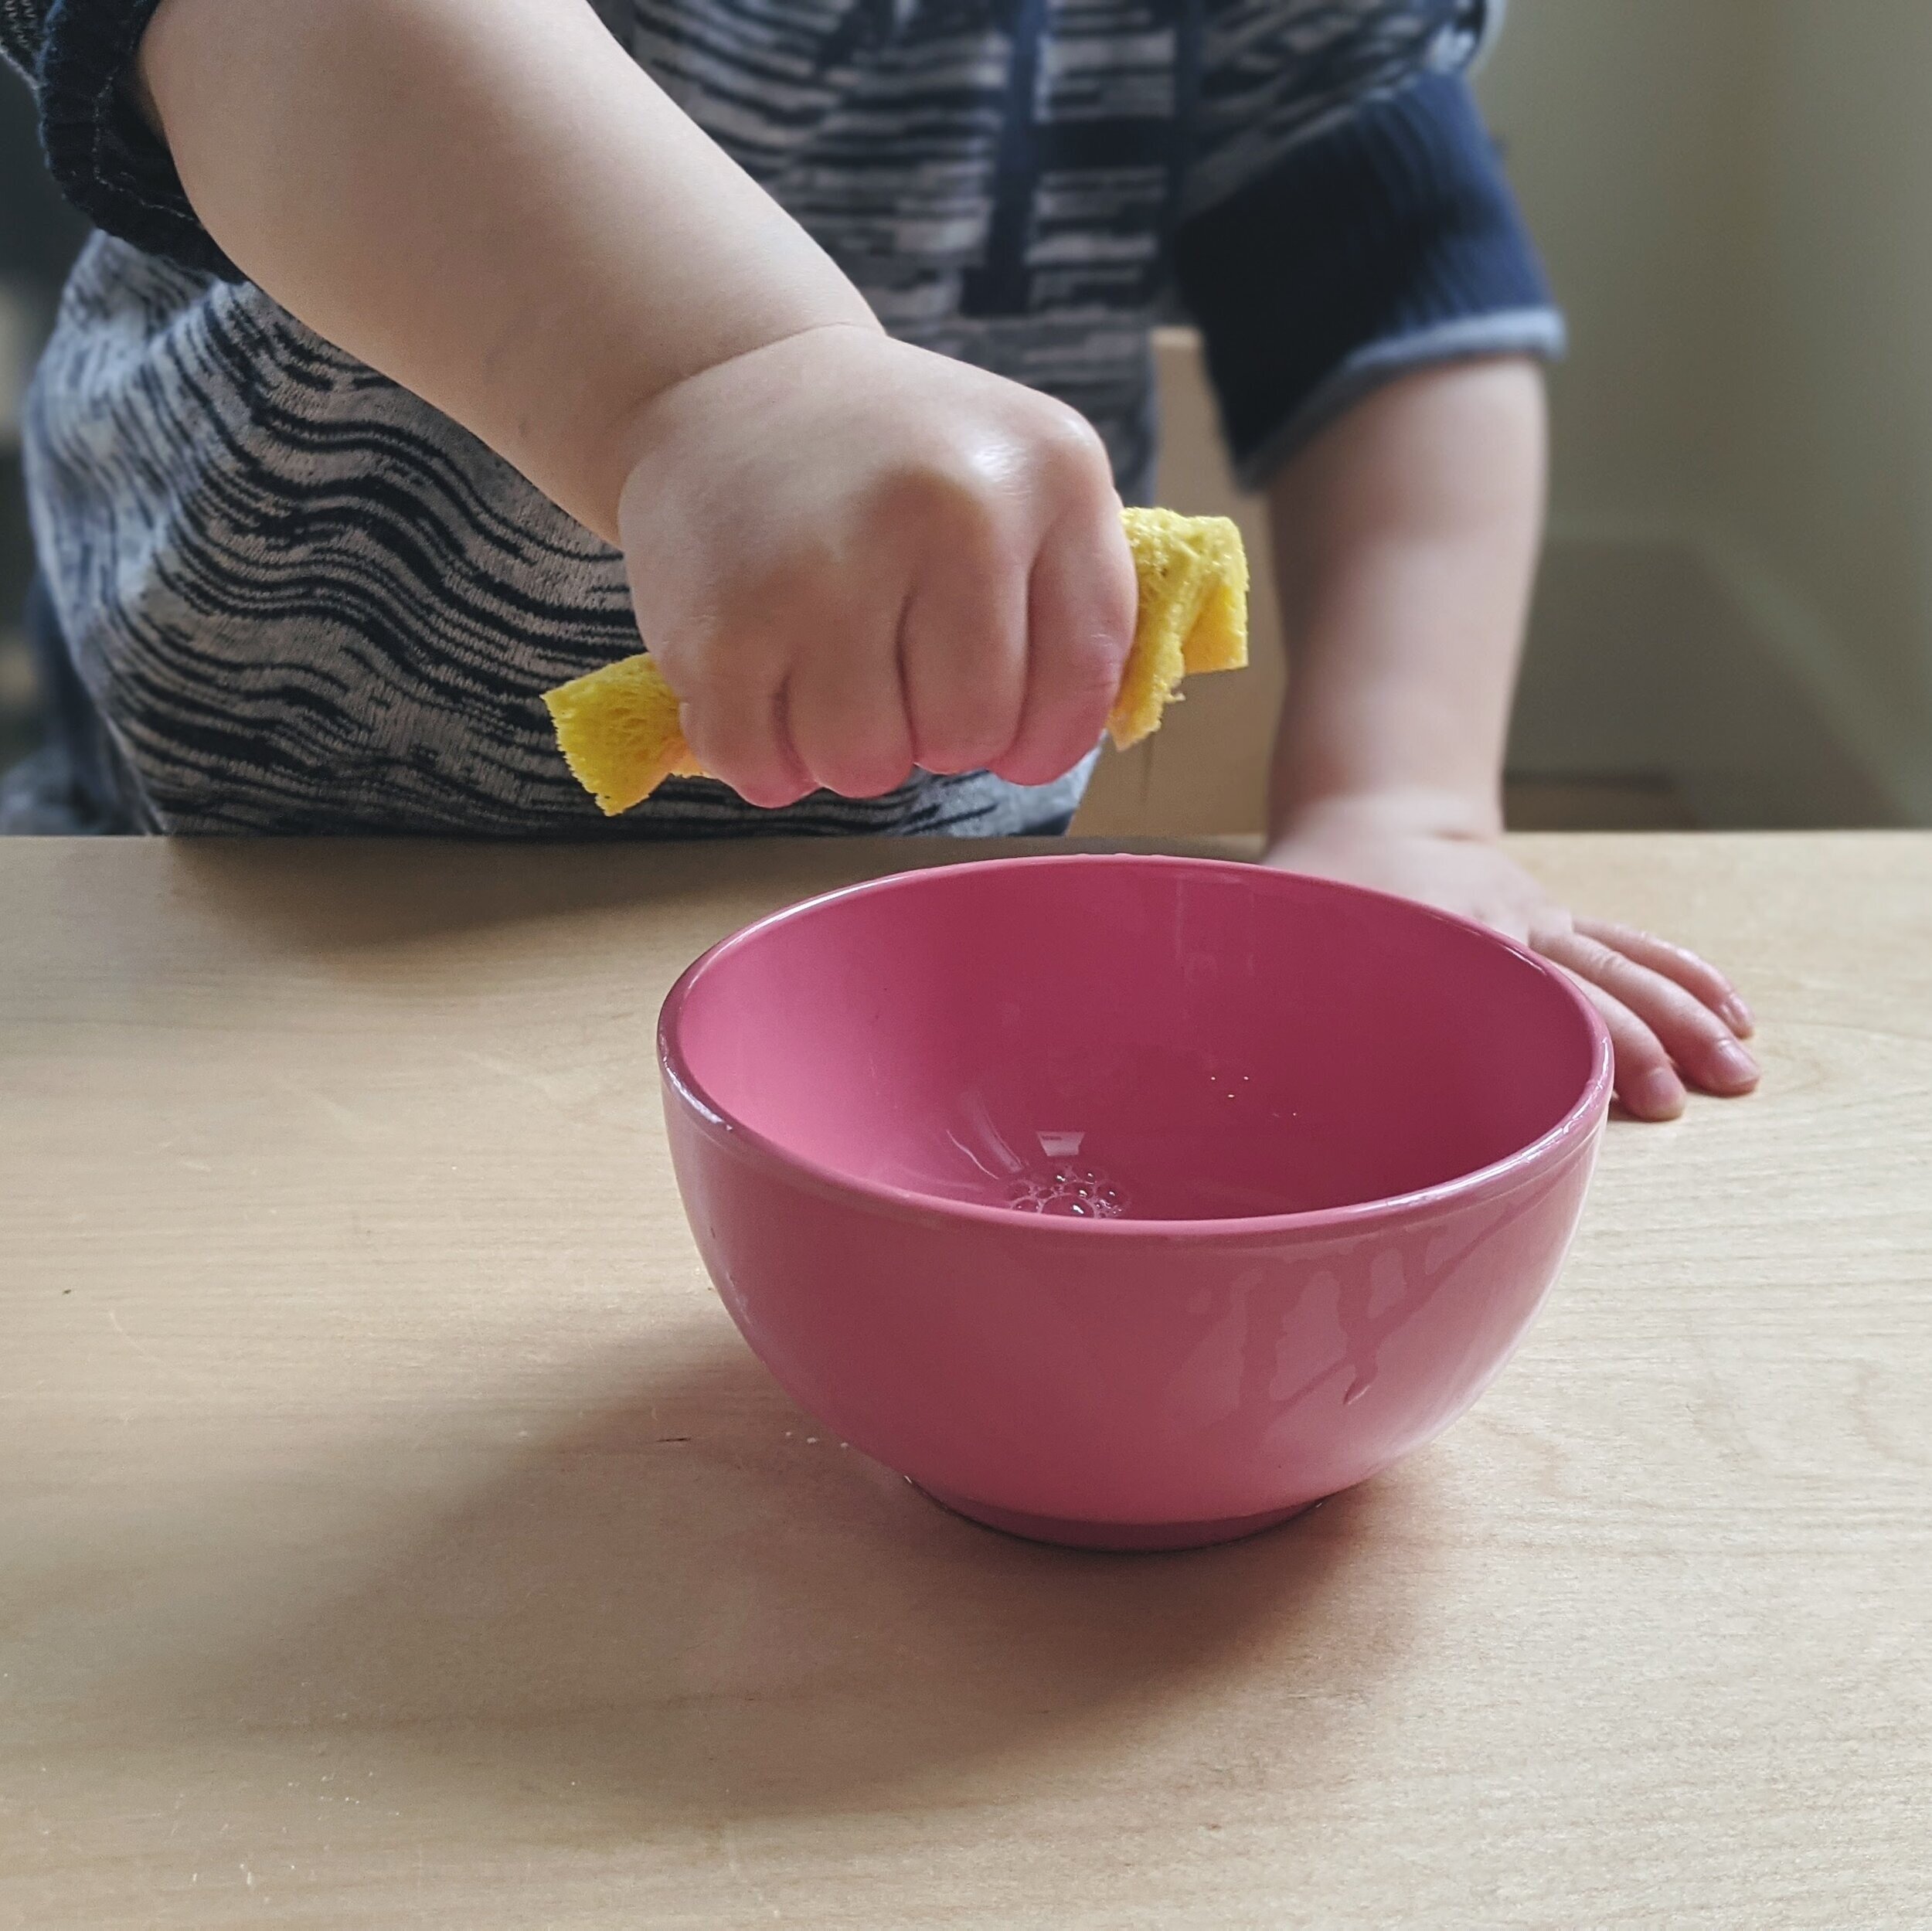
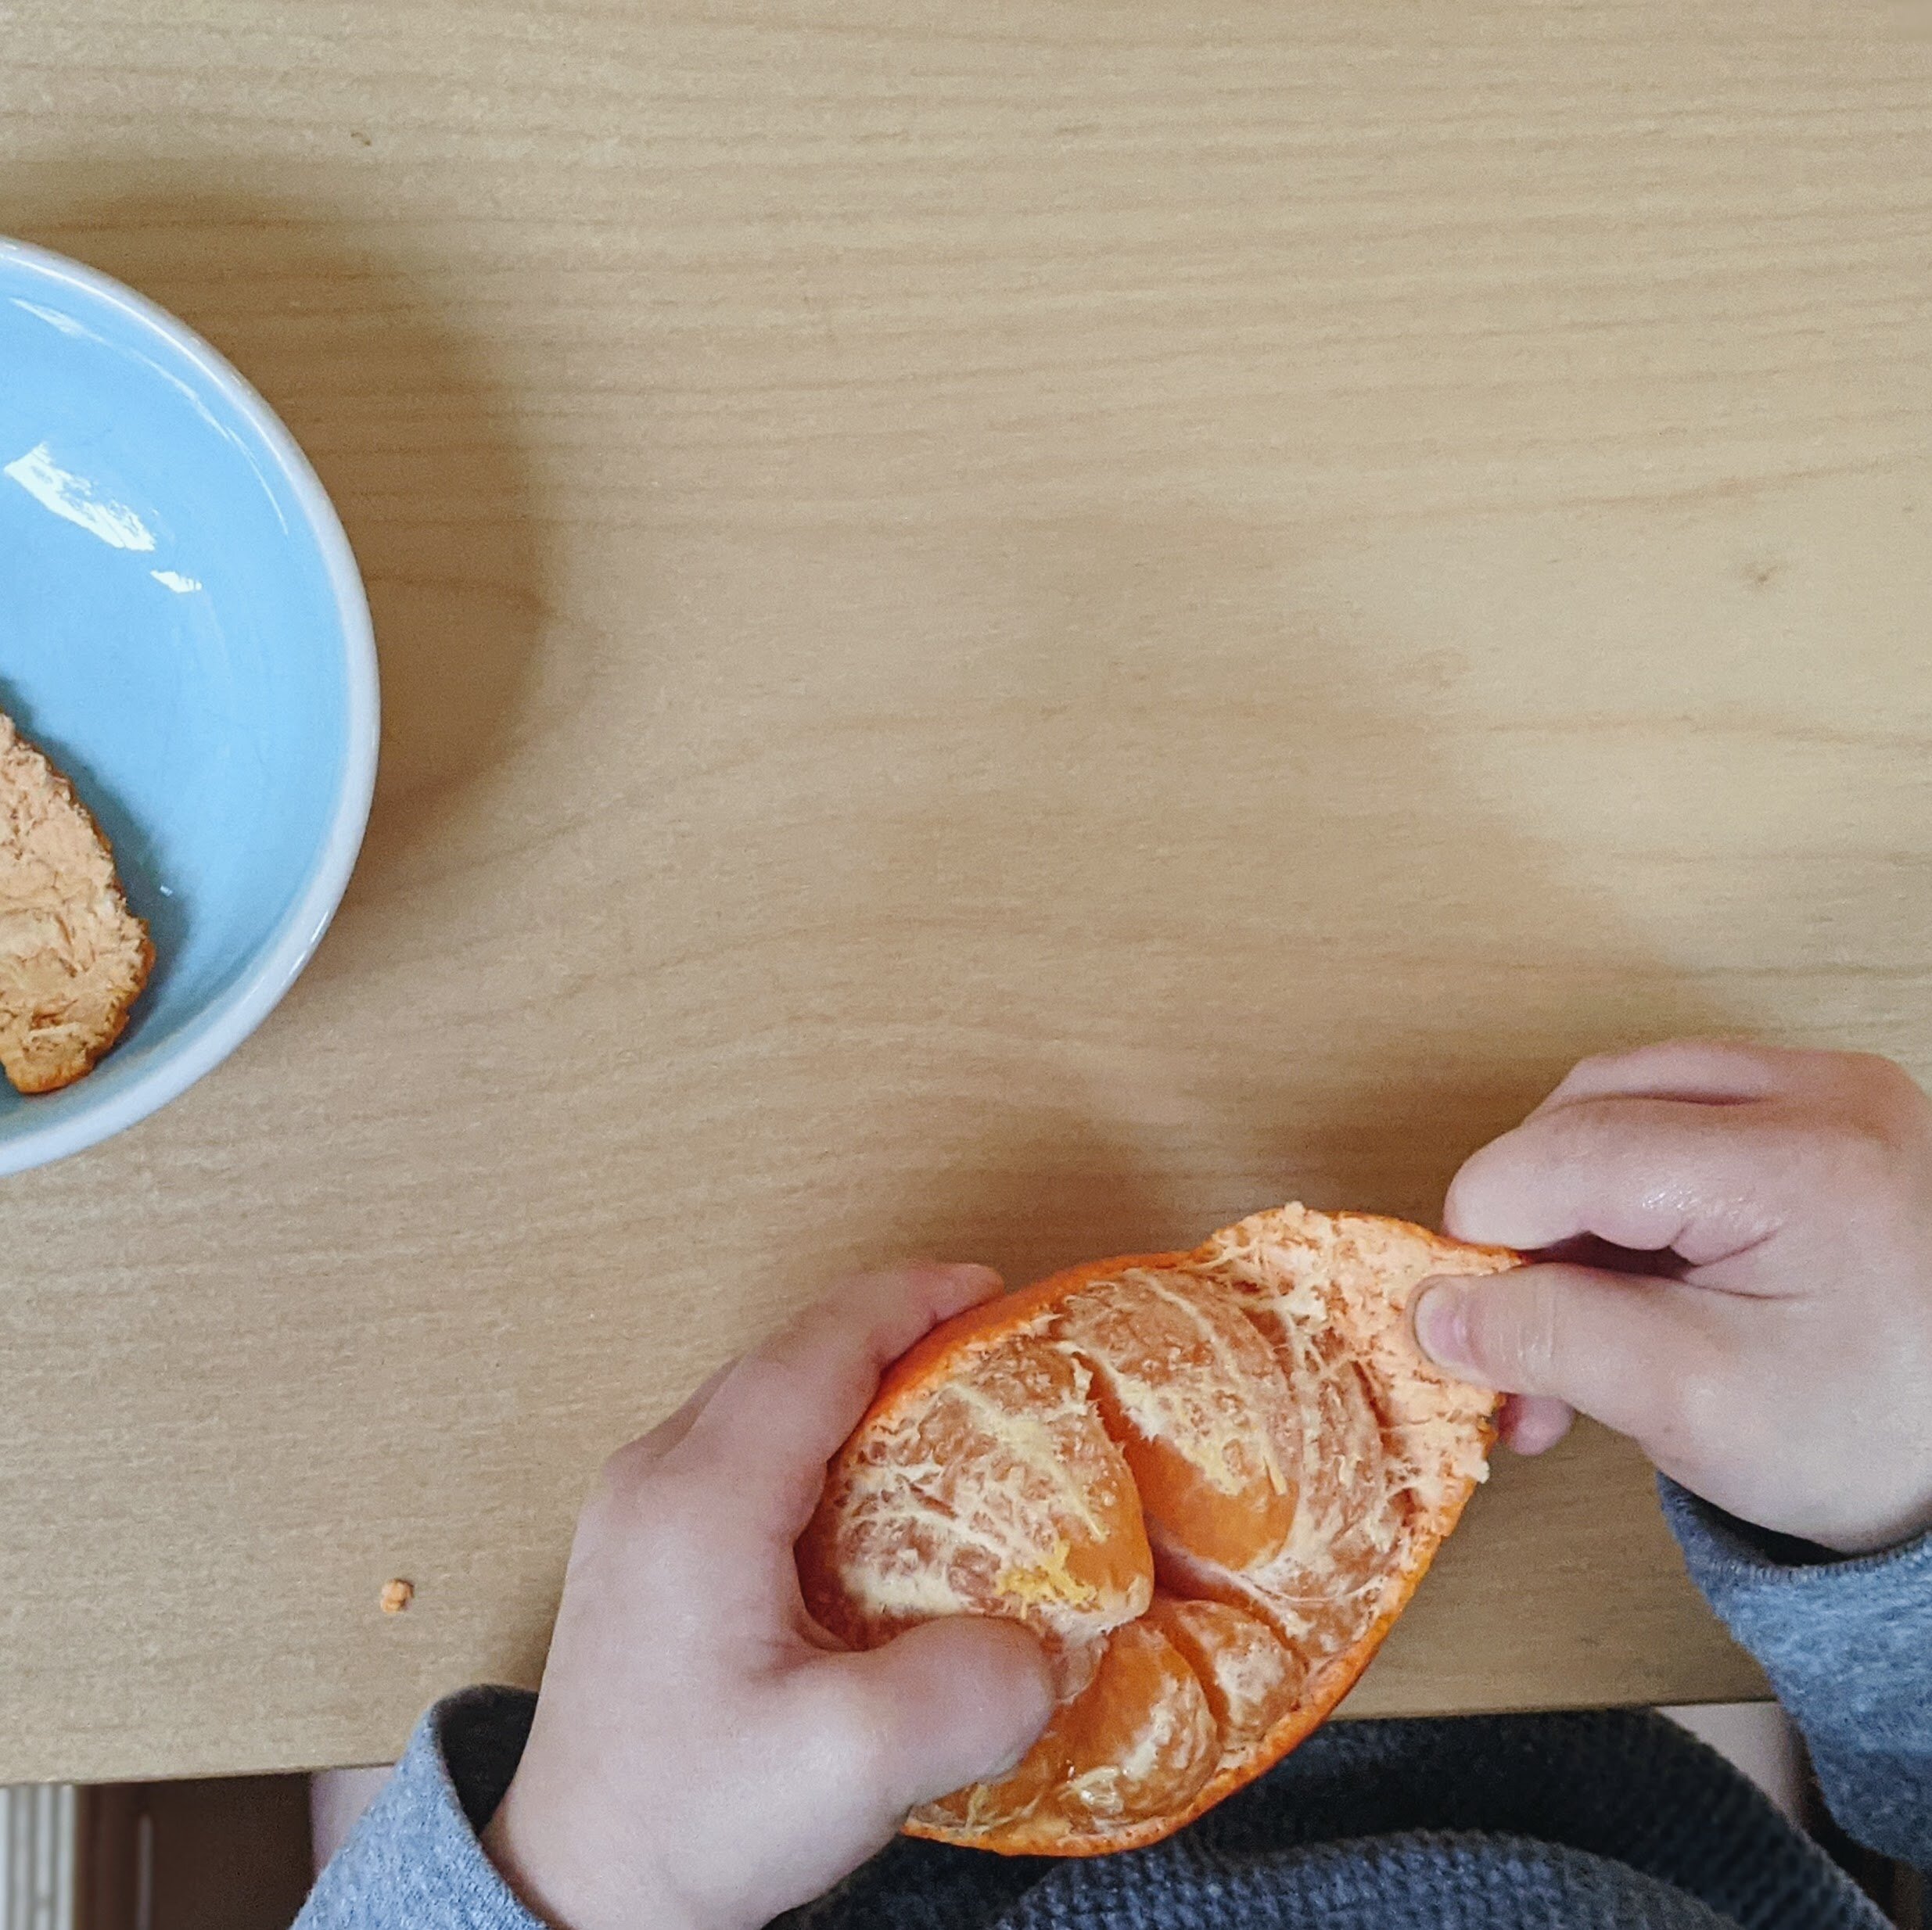
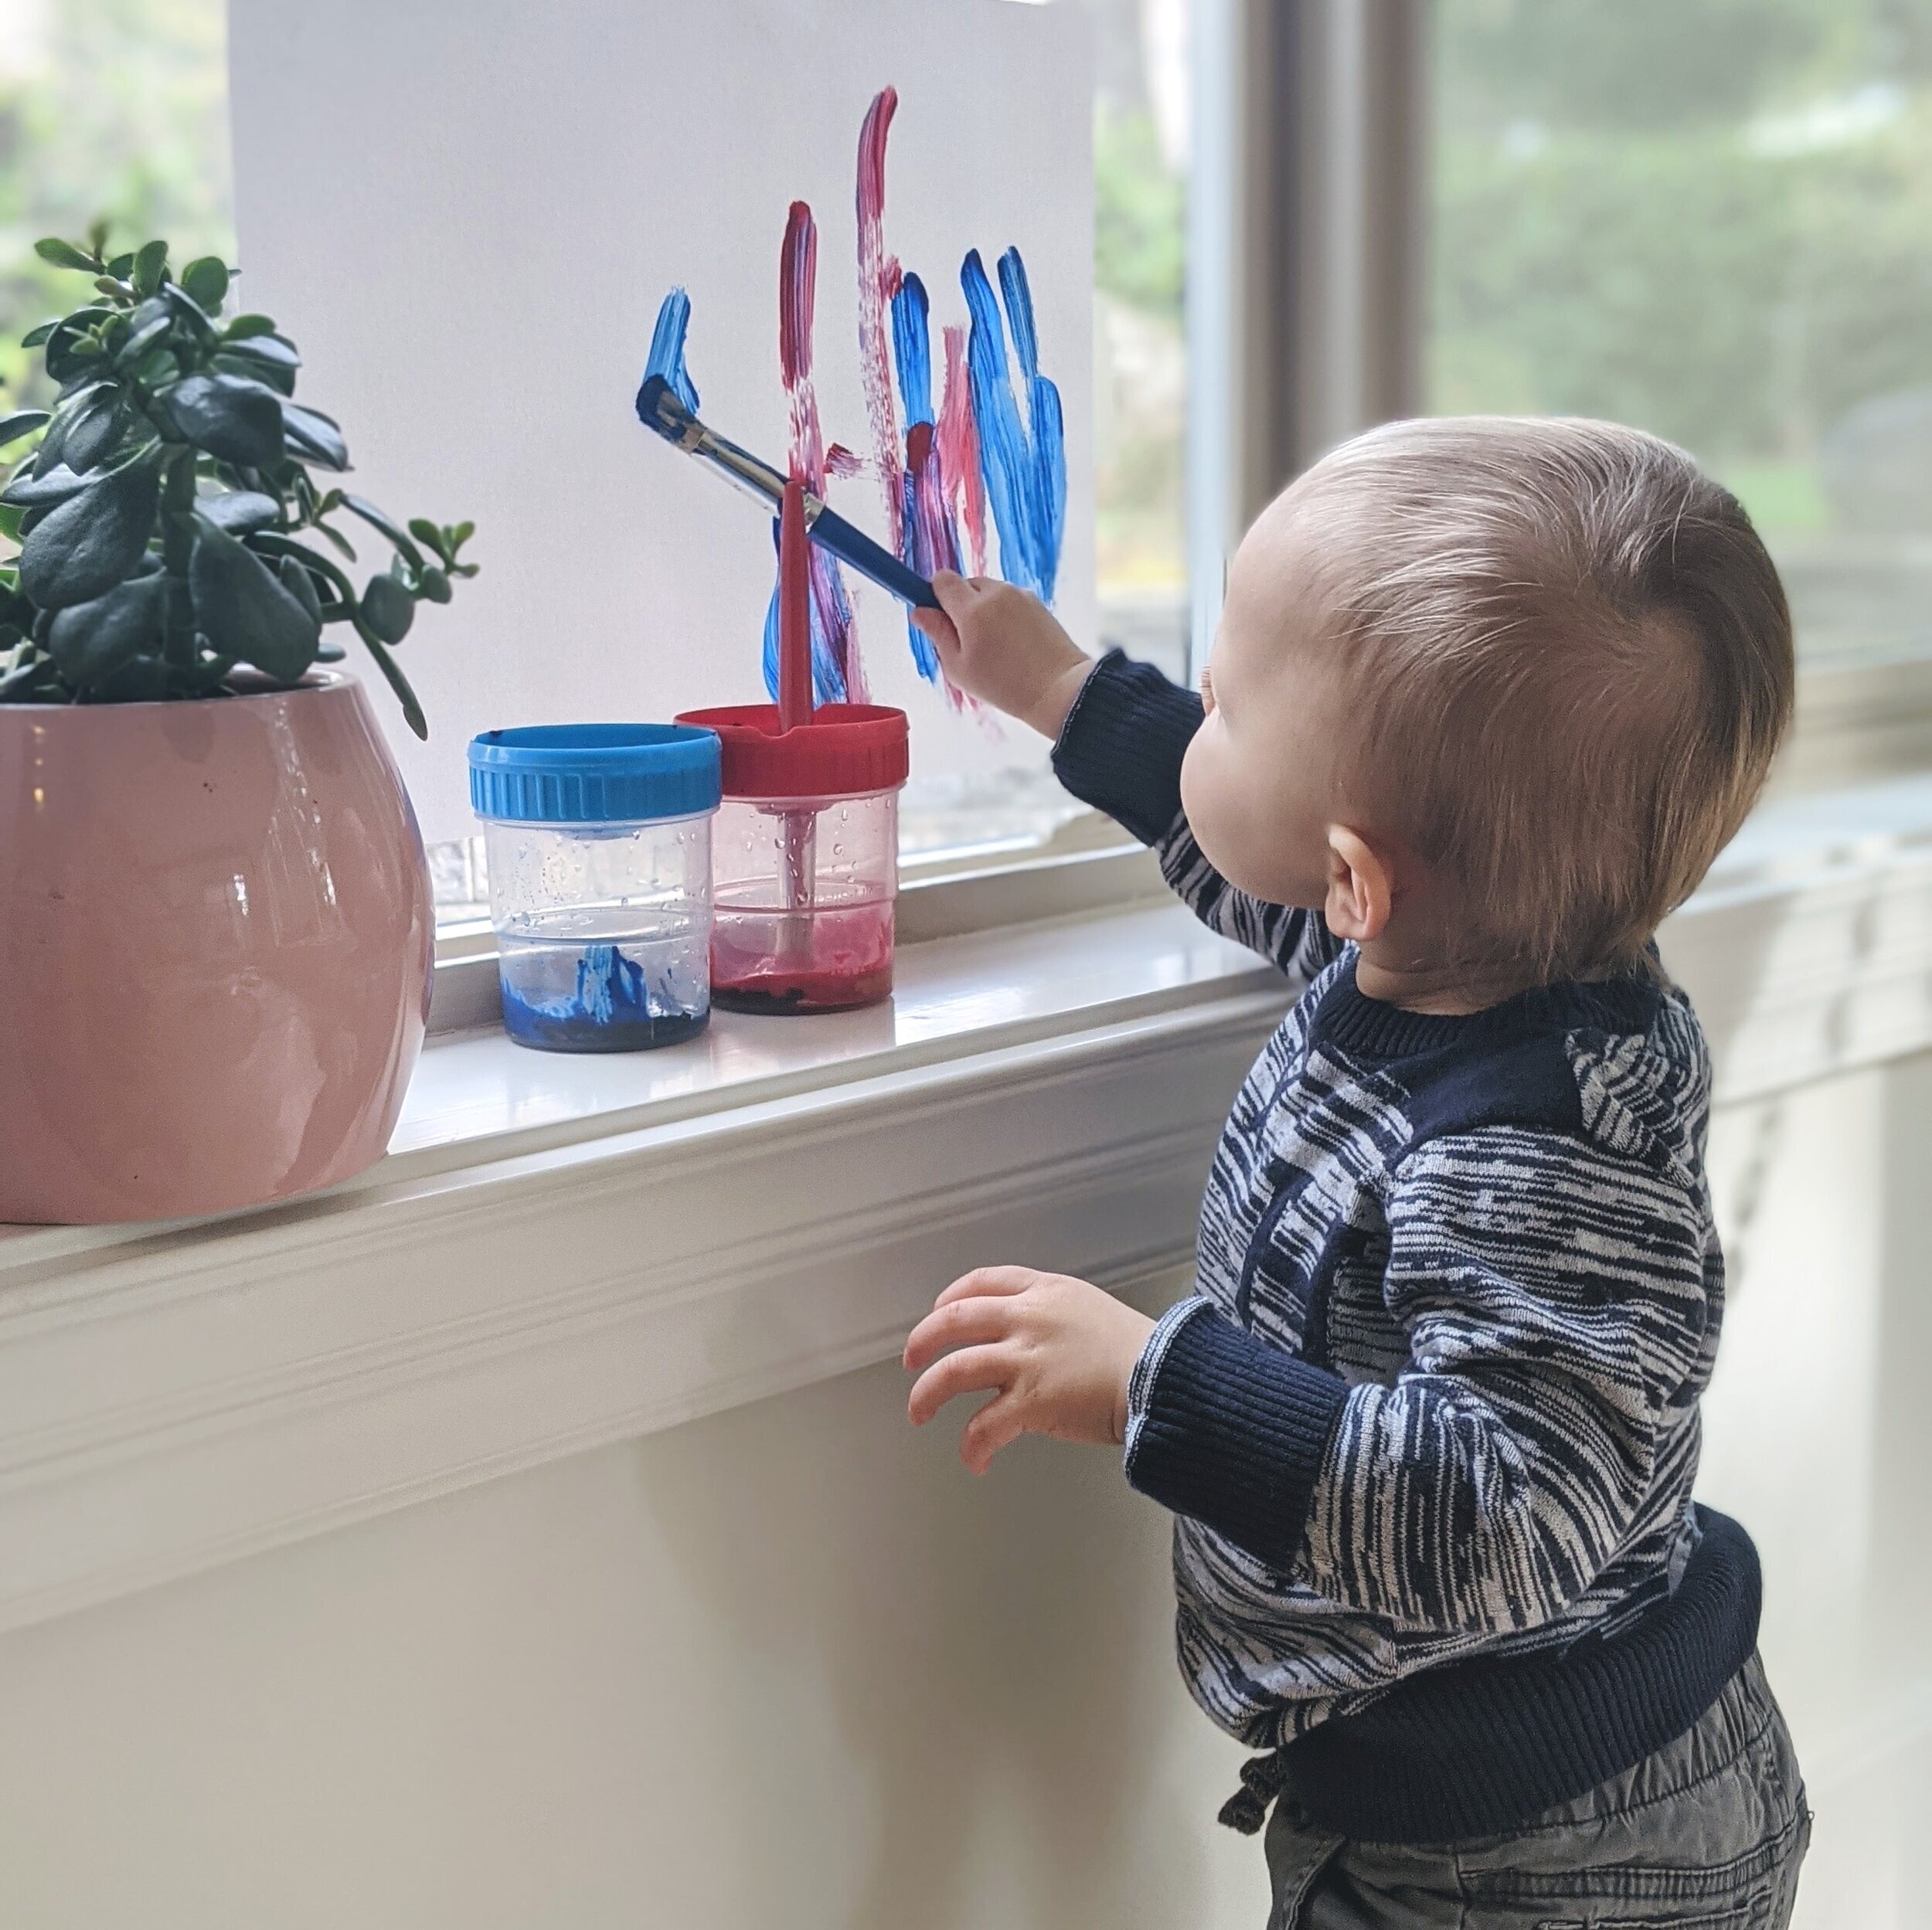
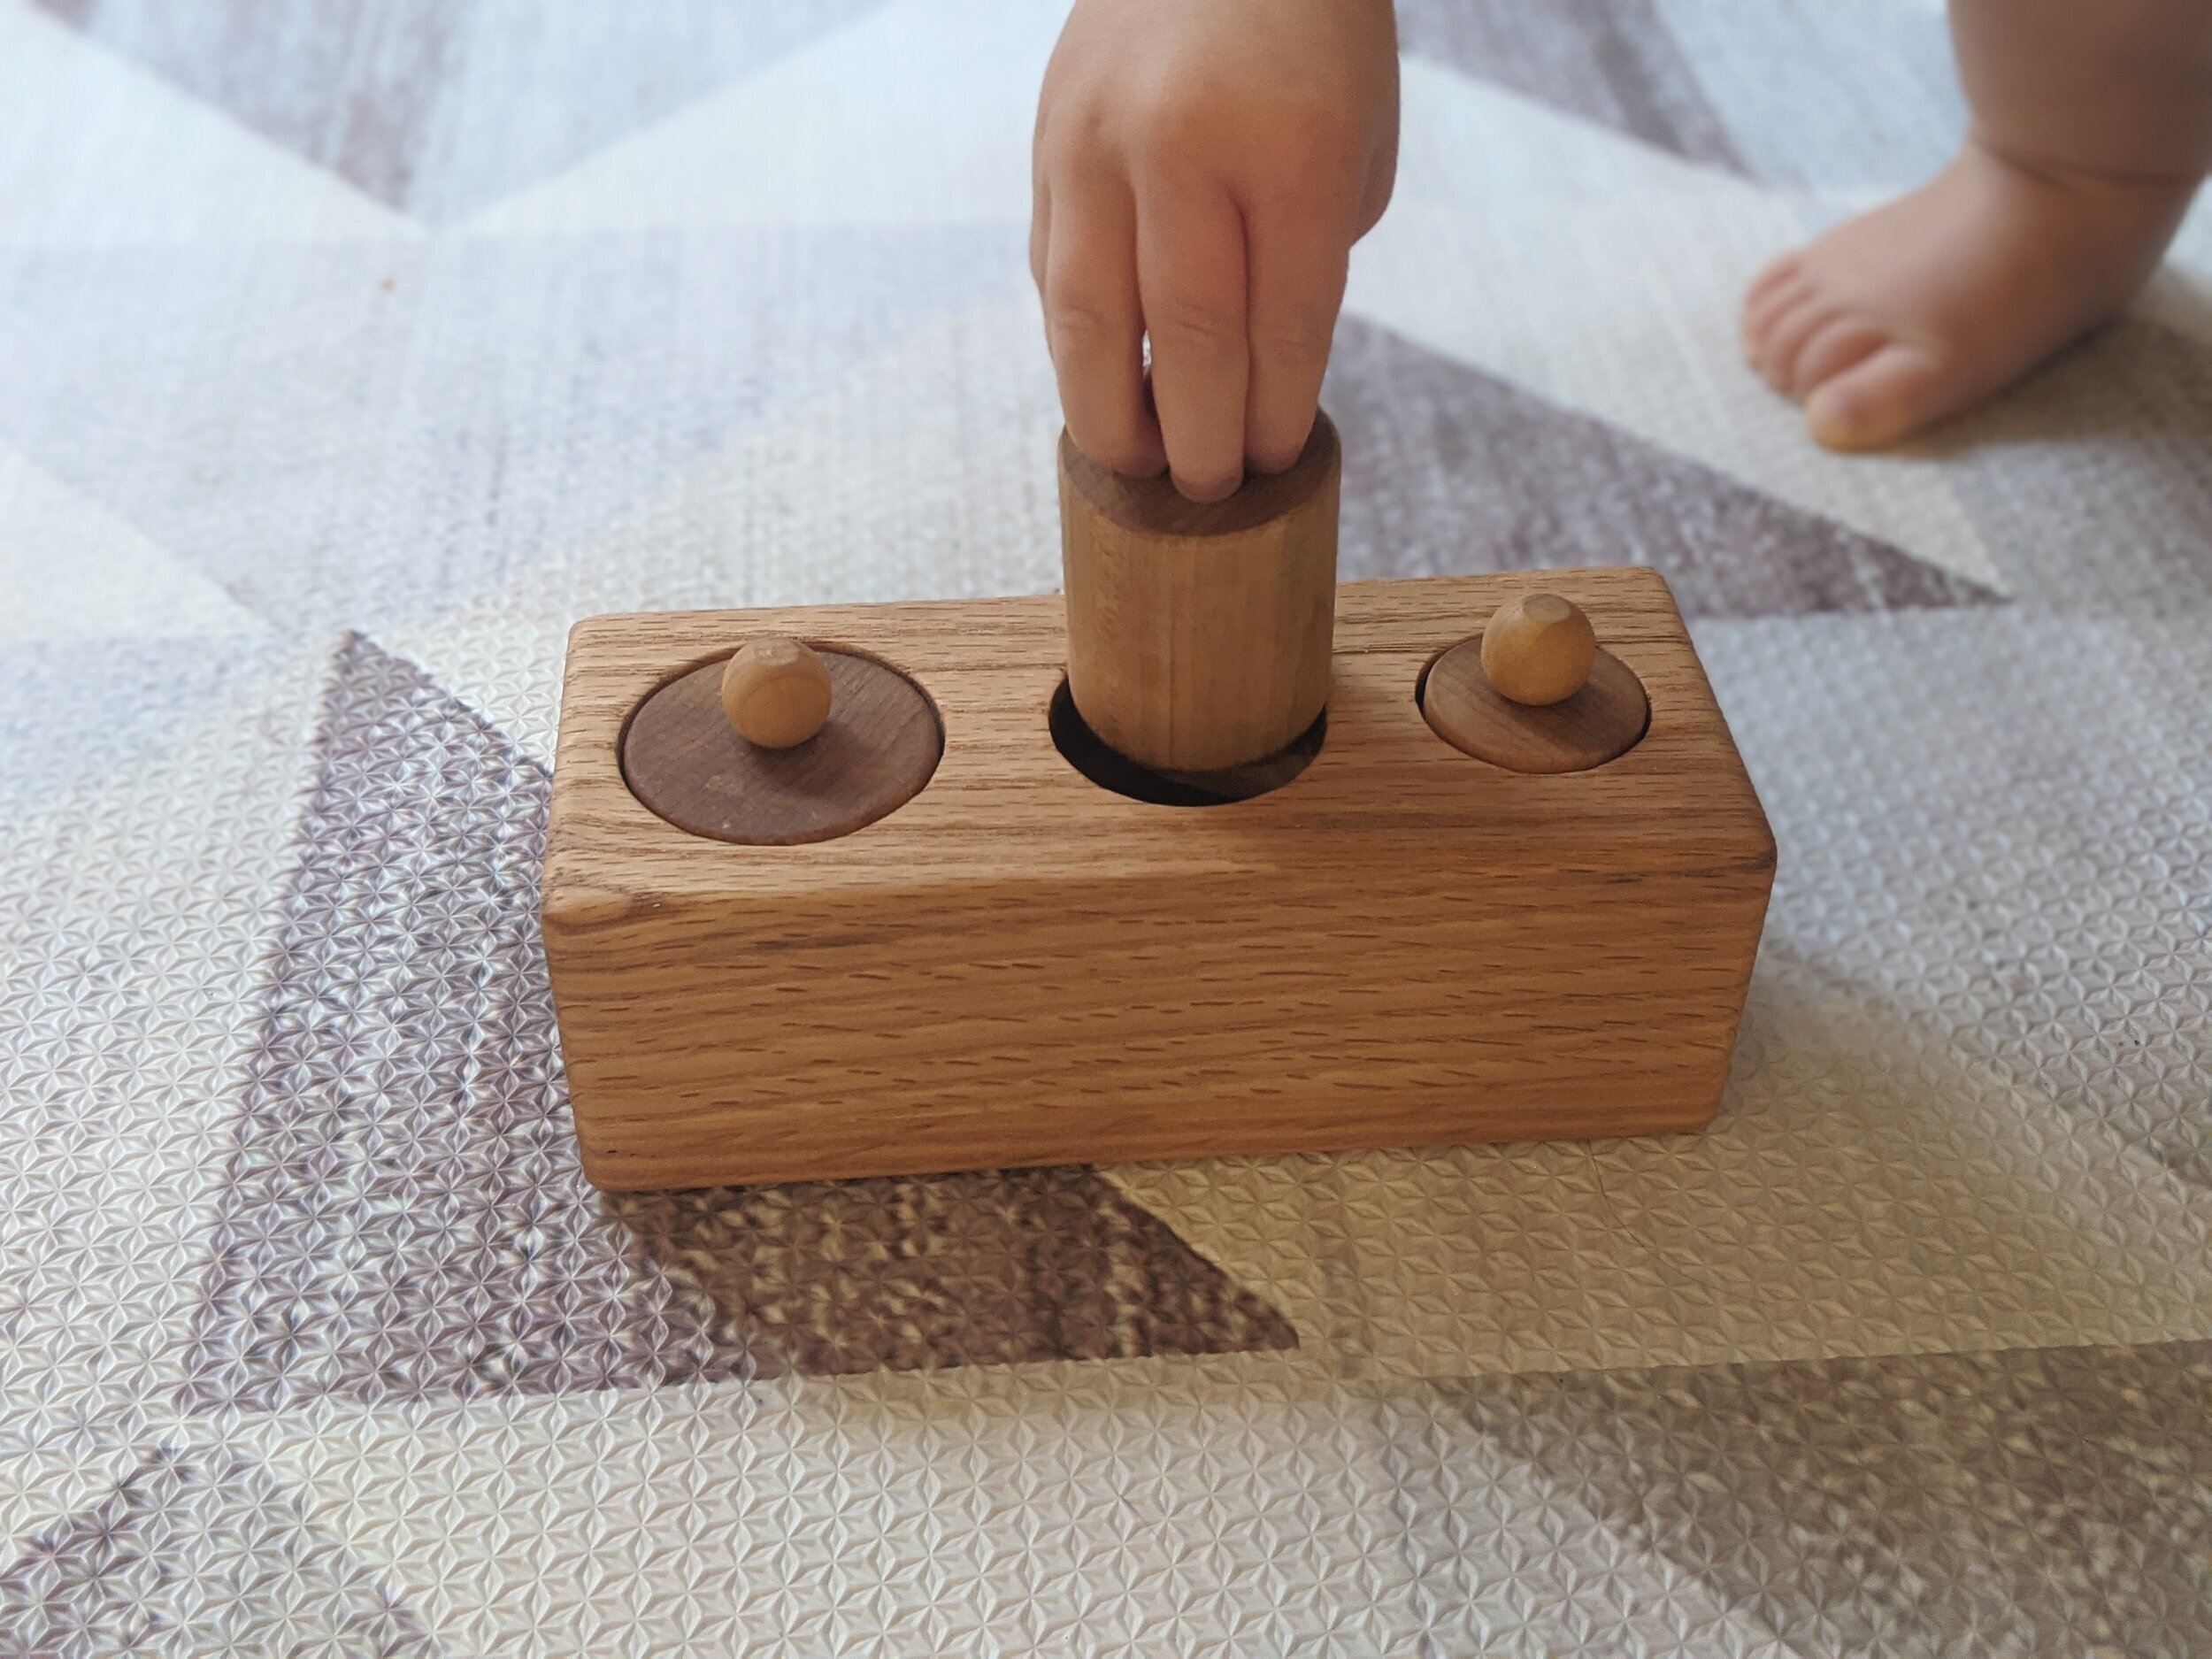
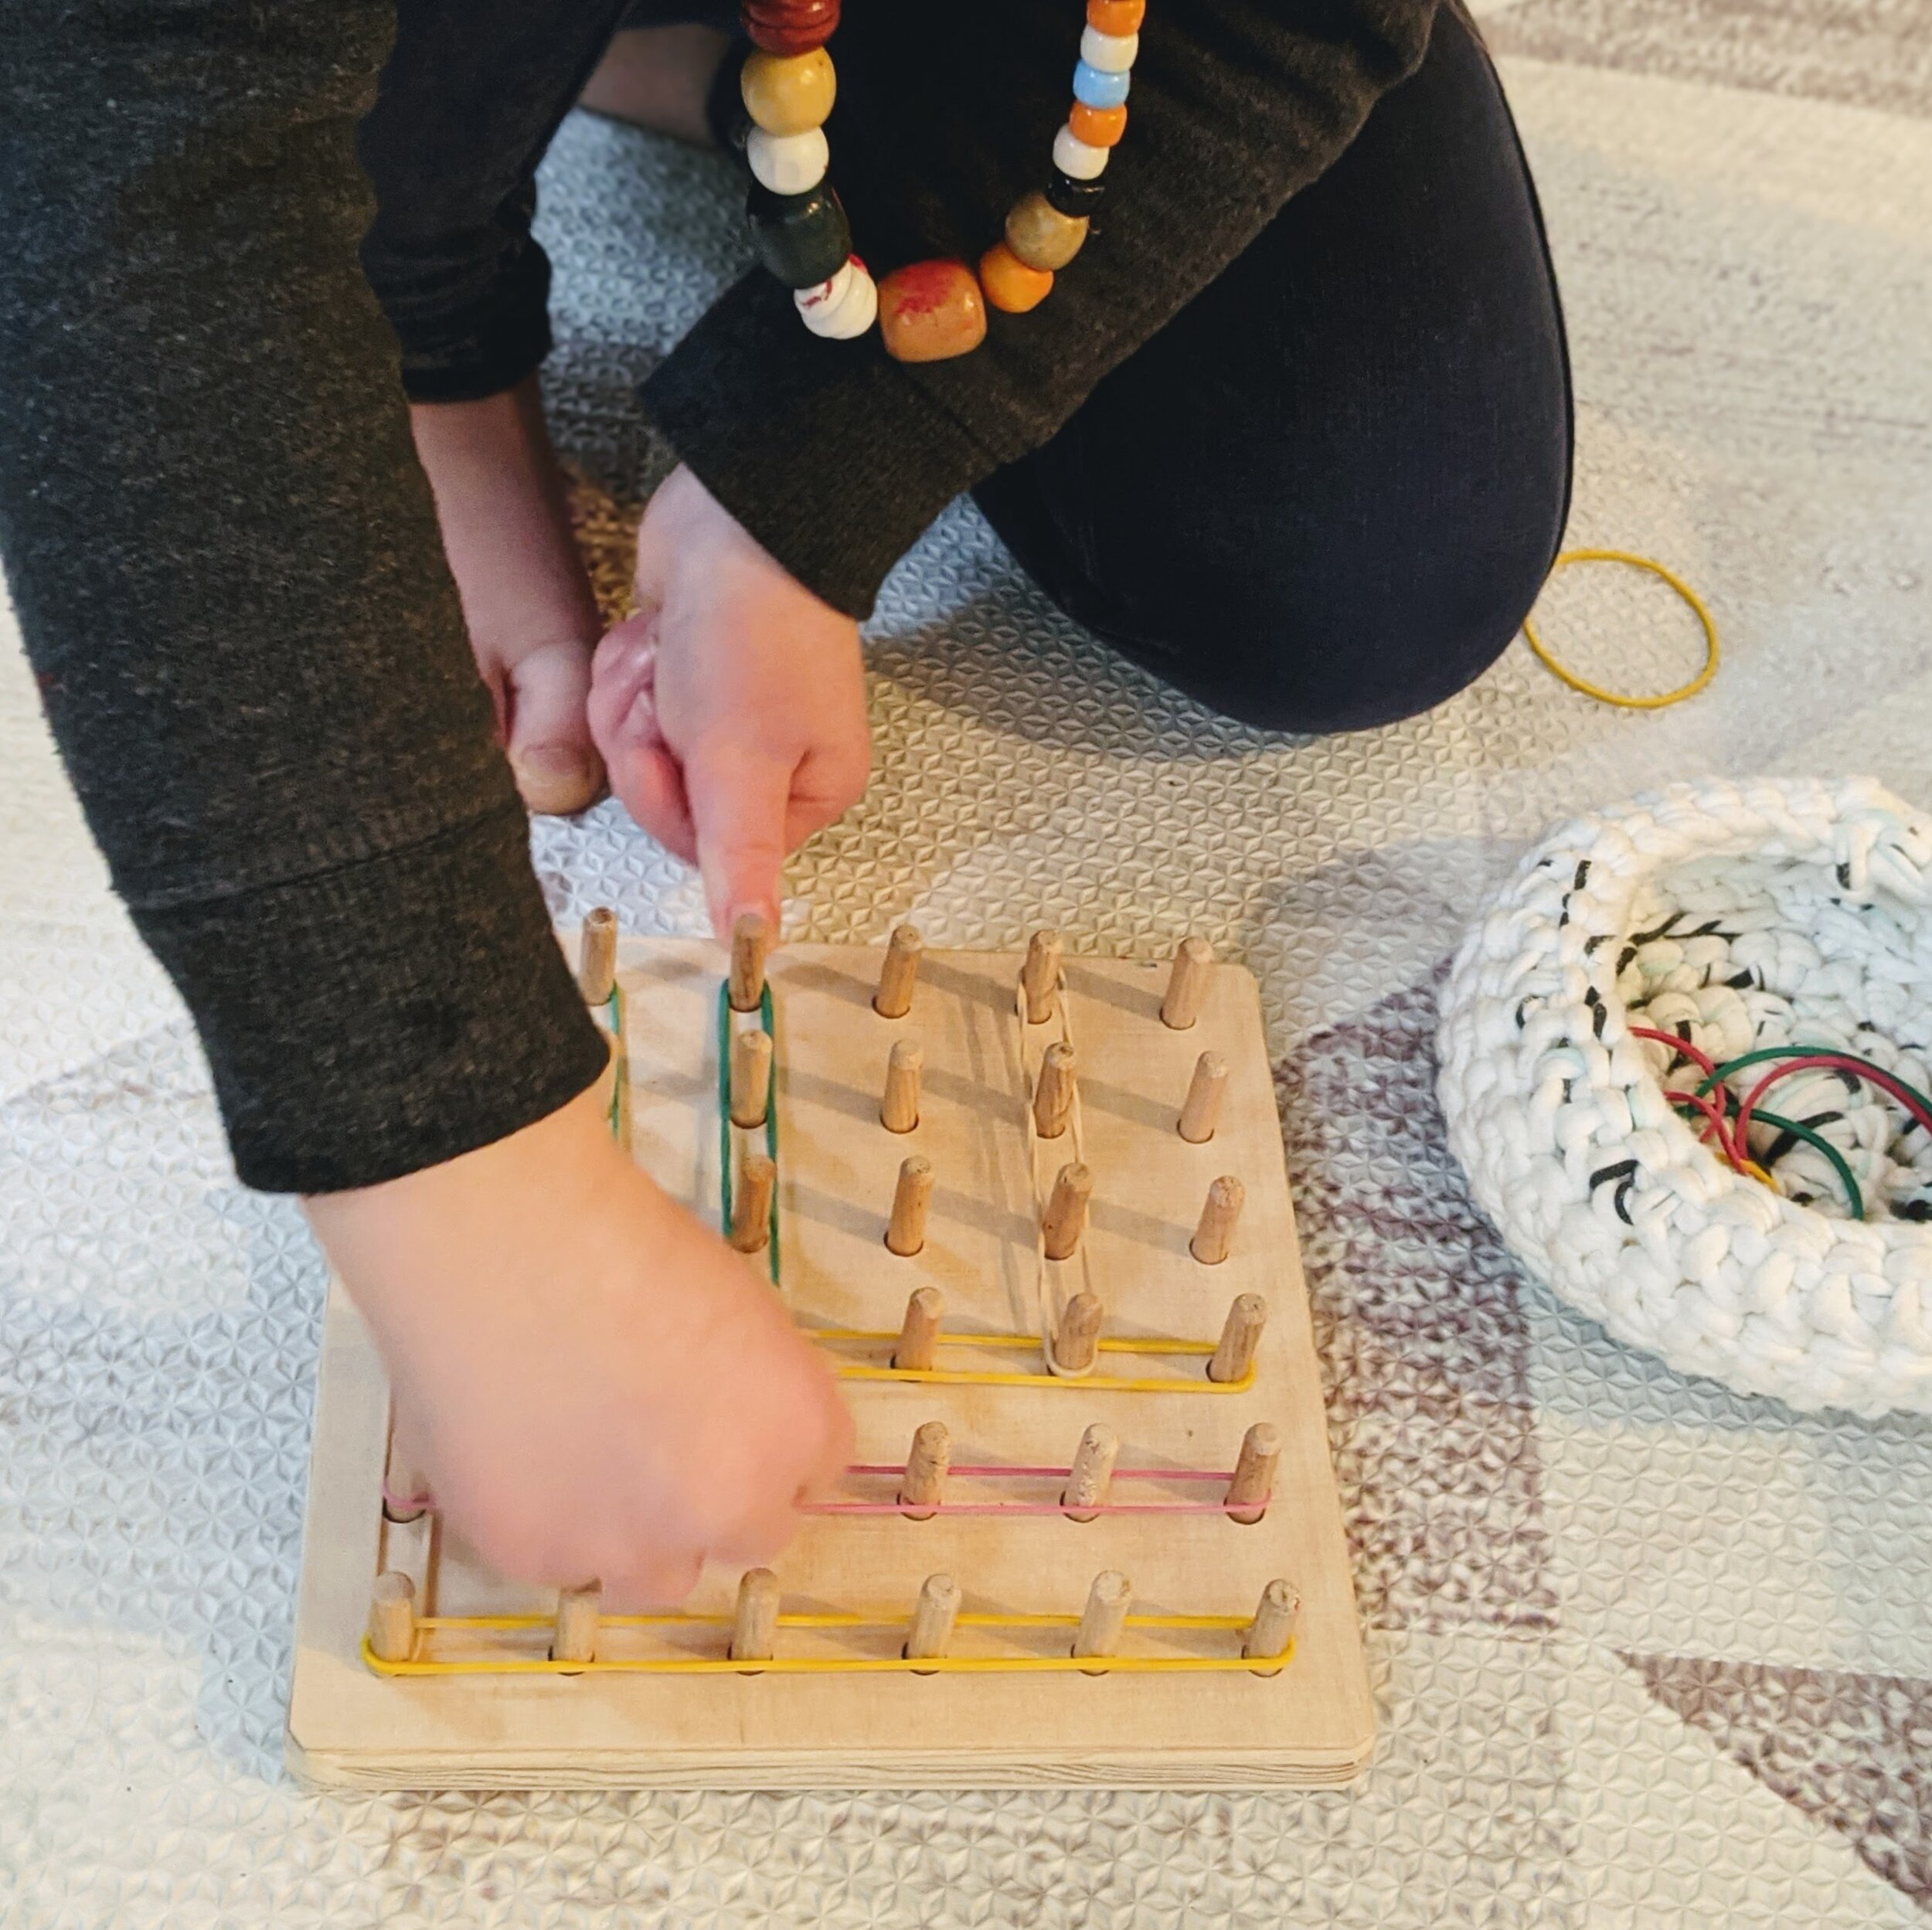
We can give toddlers materials with large knobs, such as puzzles or knobbed cylinders to develop their grasp for later handwriting. We can give them activities to strengthen their hand muscles, such as play dough to manipulate, tongs to serve snacks, or sponges to squeeze and wipe the table. We can offer simple opportunities at mealtimes to focus on coordination and control, such as sprinkling chia seeds on oatmeal or peeling a satsuma. We can offer activities to strengthen arm and wrist movements through a fisted grasp, such as providing large wooden spoons and big paintbrushes on vertical surfaces. We can give them containers to open and close and small objects to hold (with supervision). The possibilities are endless.
(Click photos below for links)


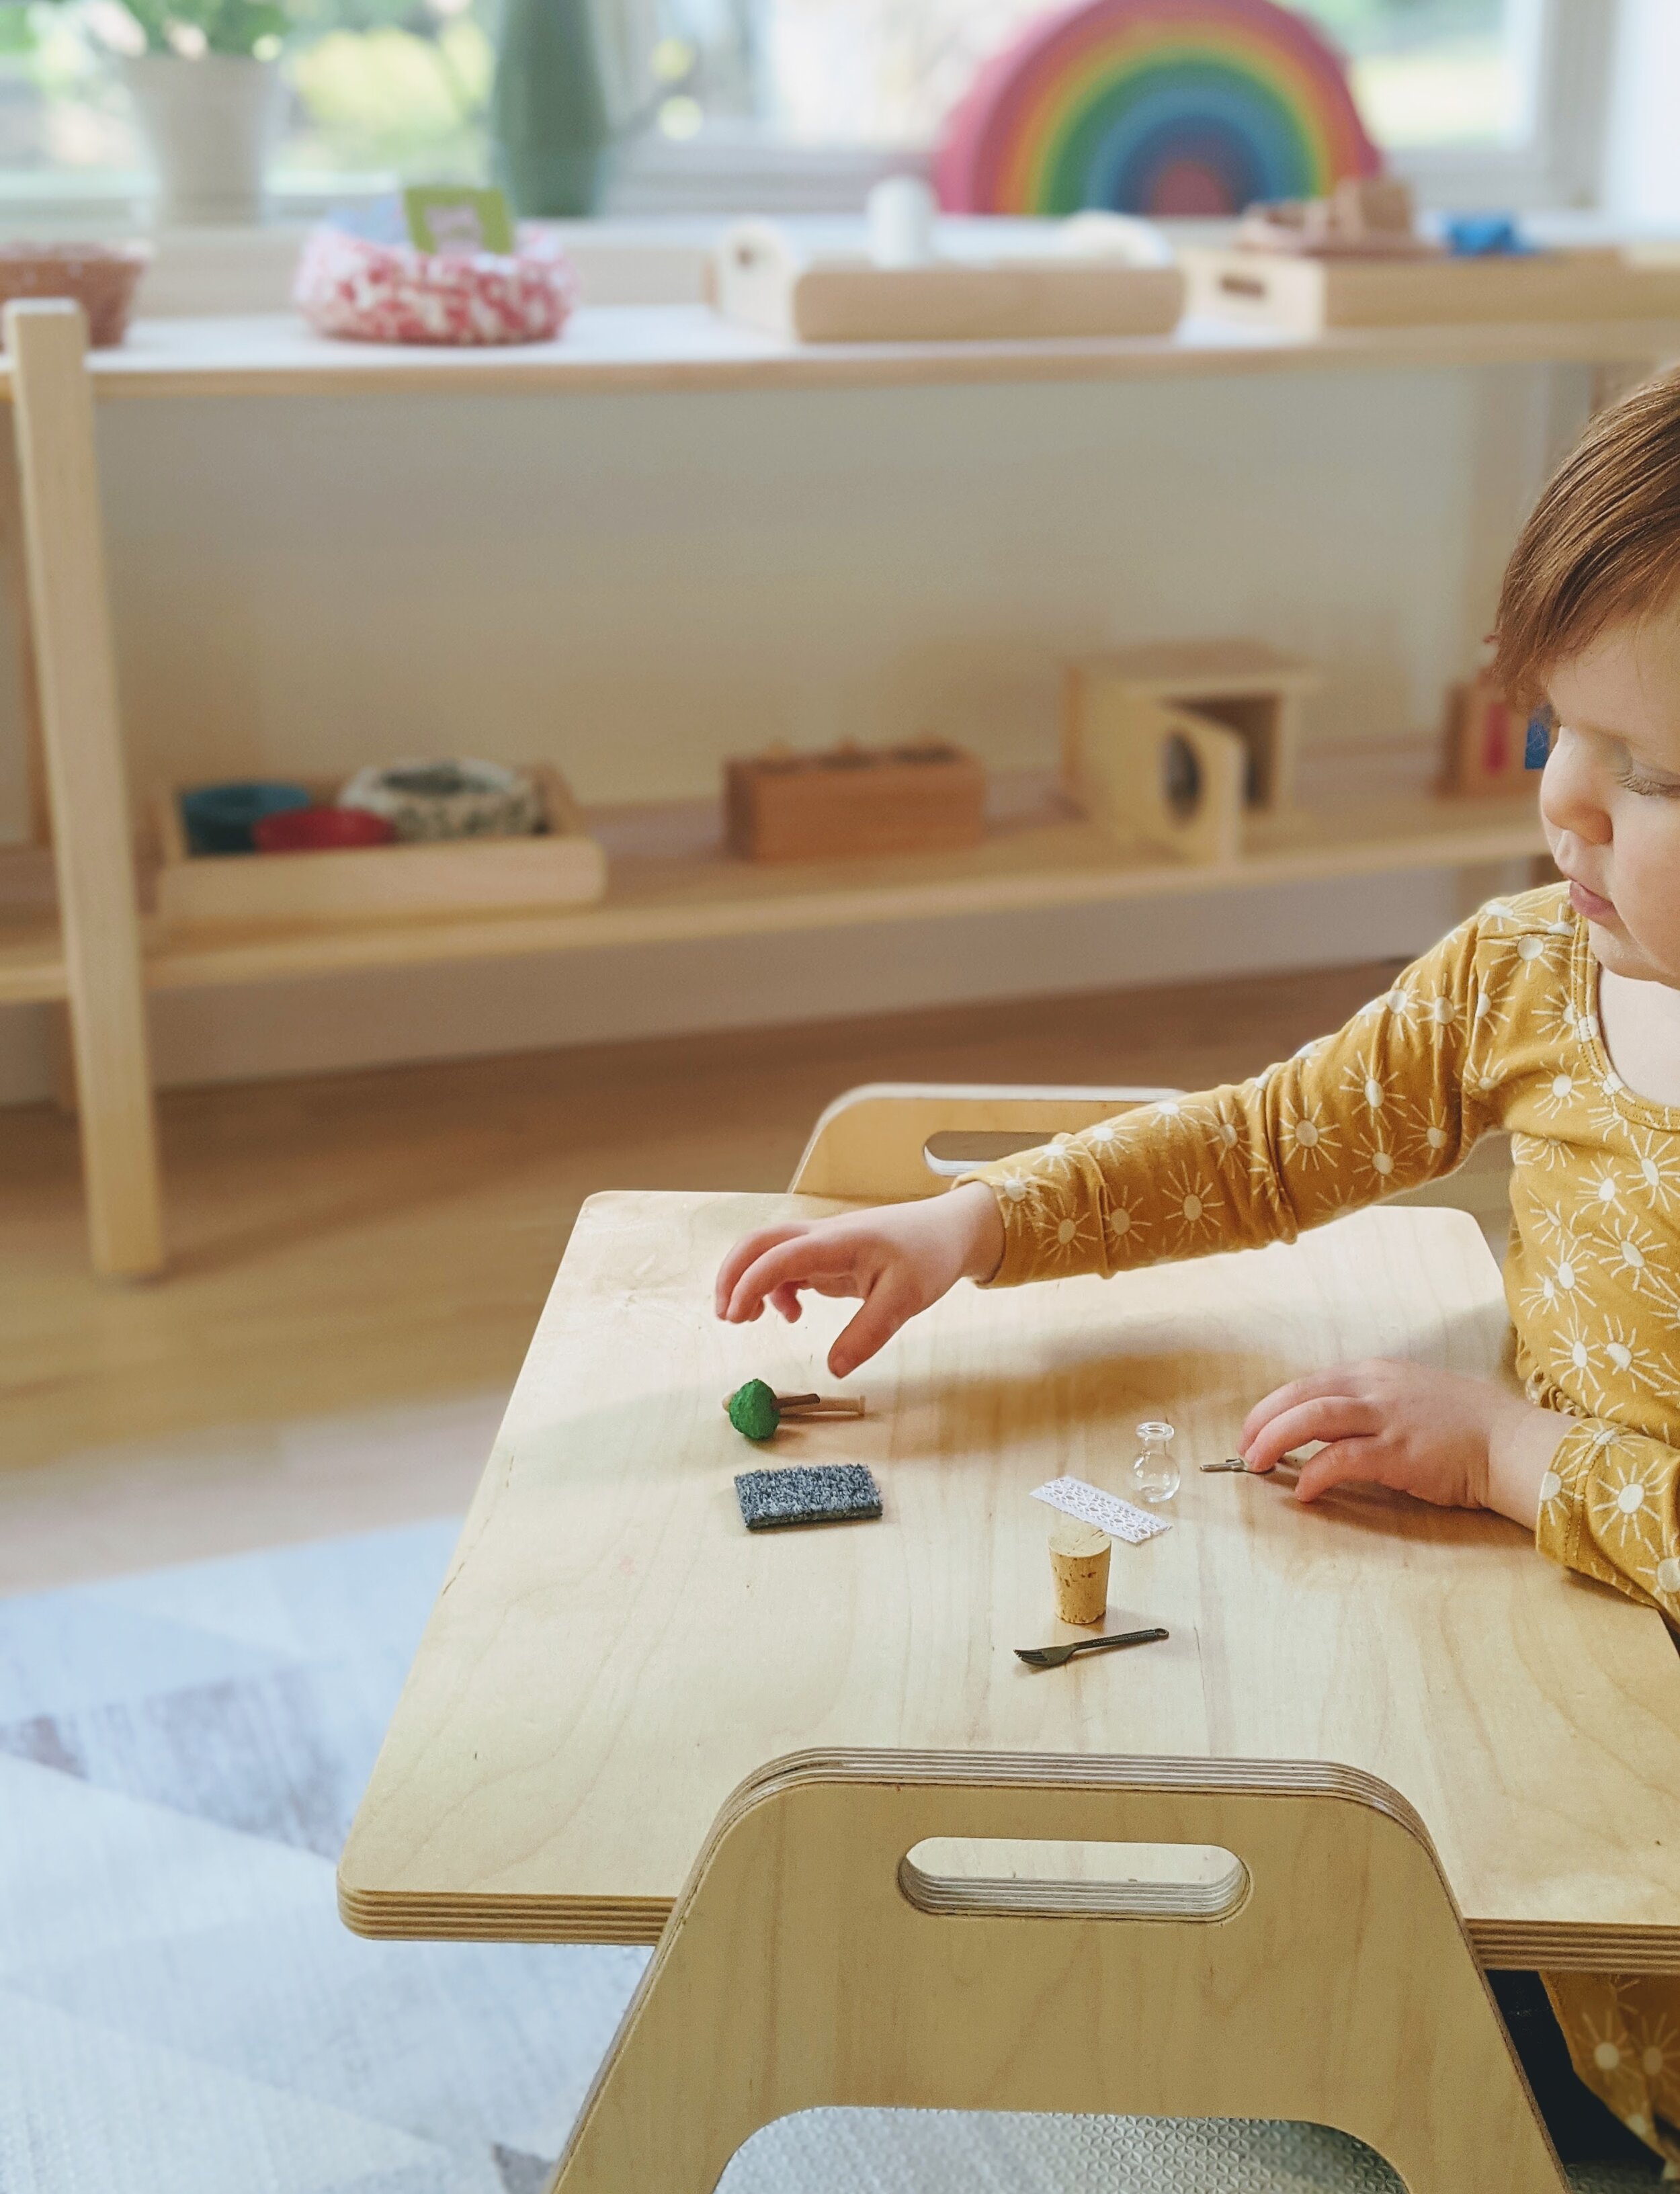
Three years and beyond
Between three and four, children often become interested in writing. It is important to establish a strong foundation for the writing that will come. When we break down all the aspects of writing, we can see which areas to focus on: fluid yet controlled movements, working from left to right, and the joy felt from expressing oneself.
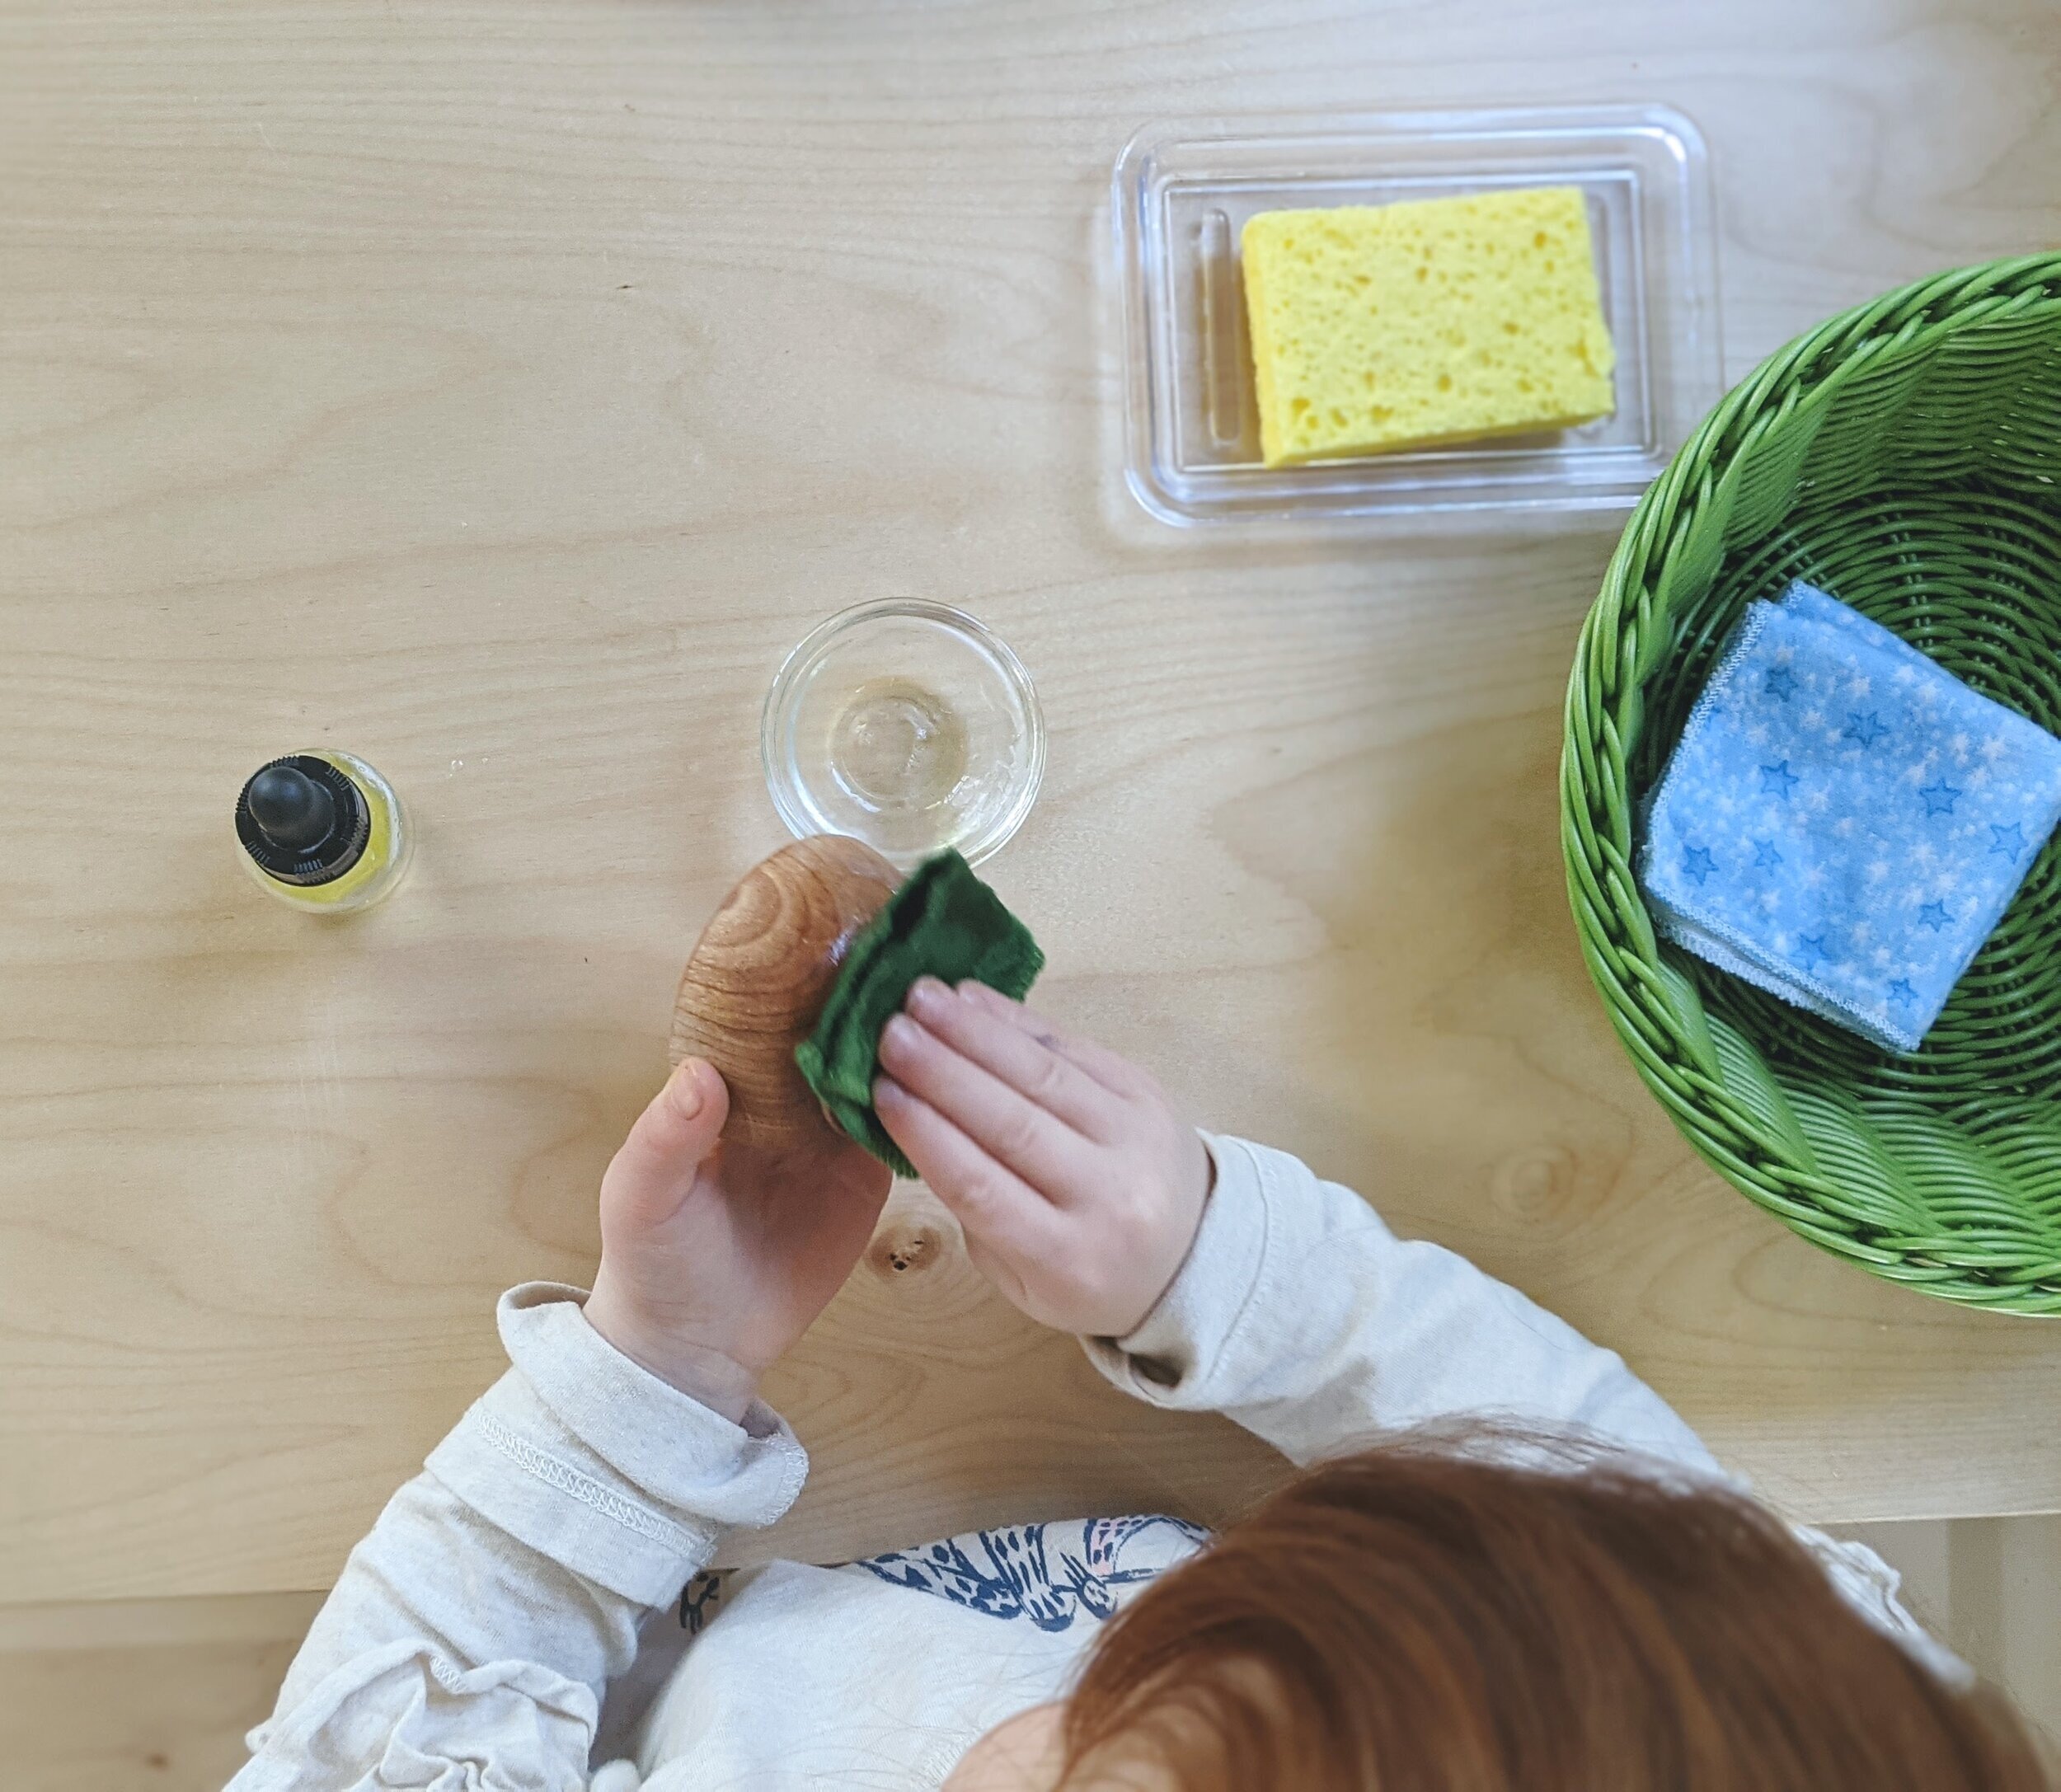
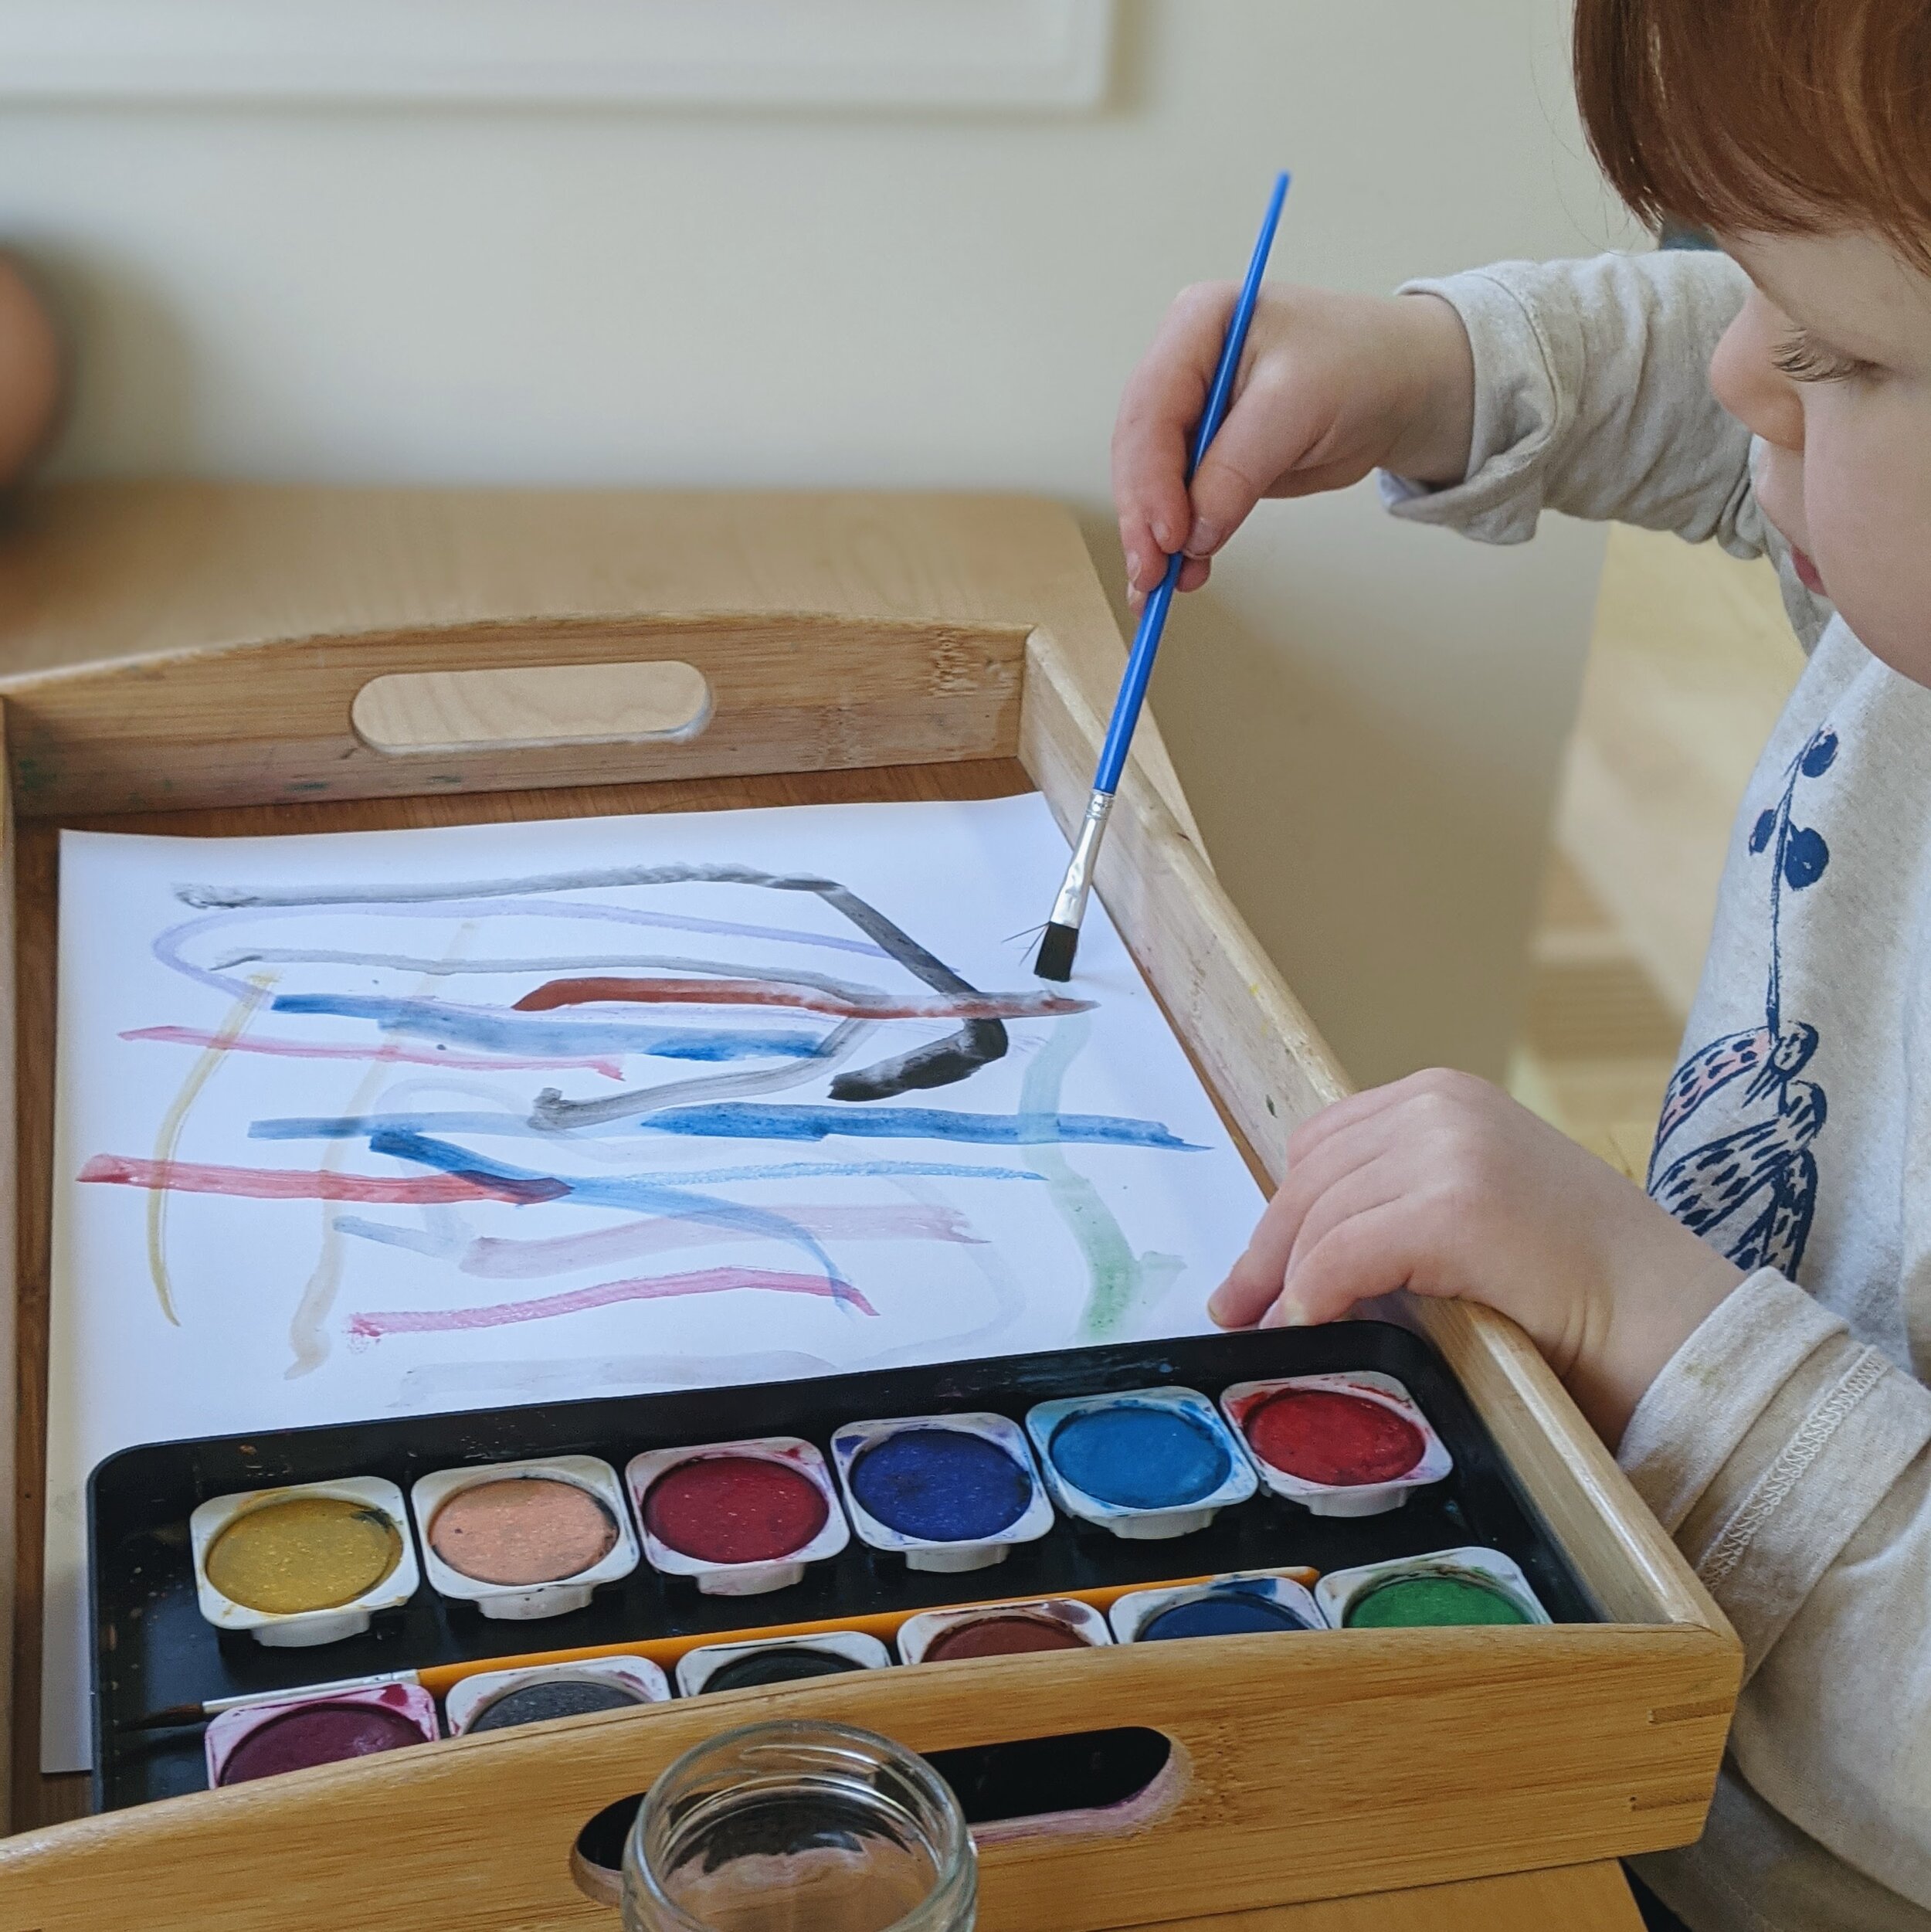
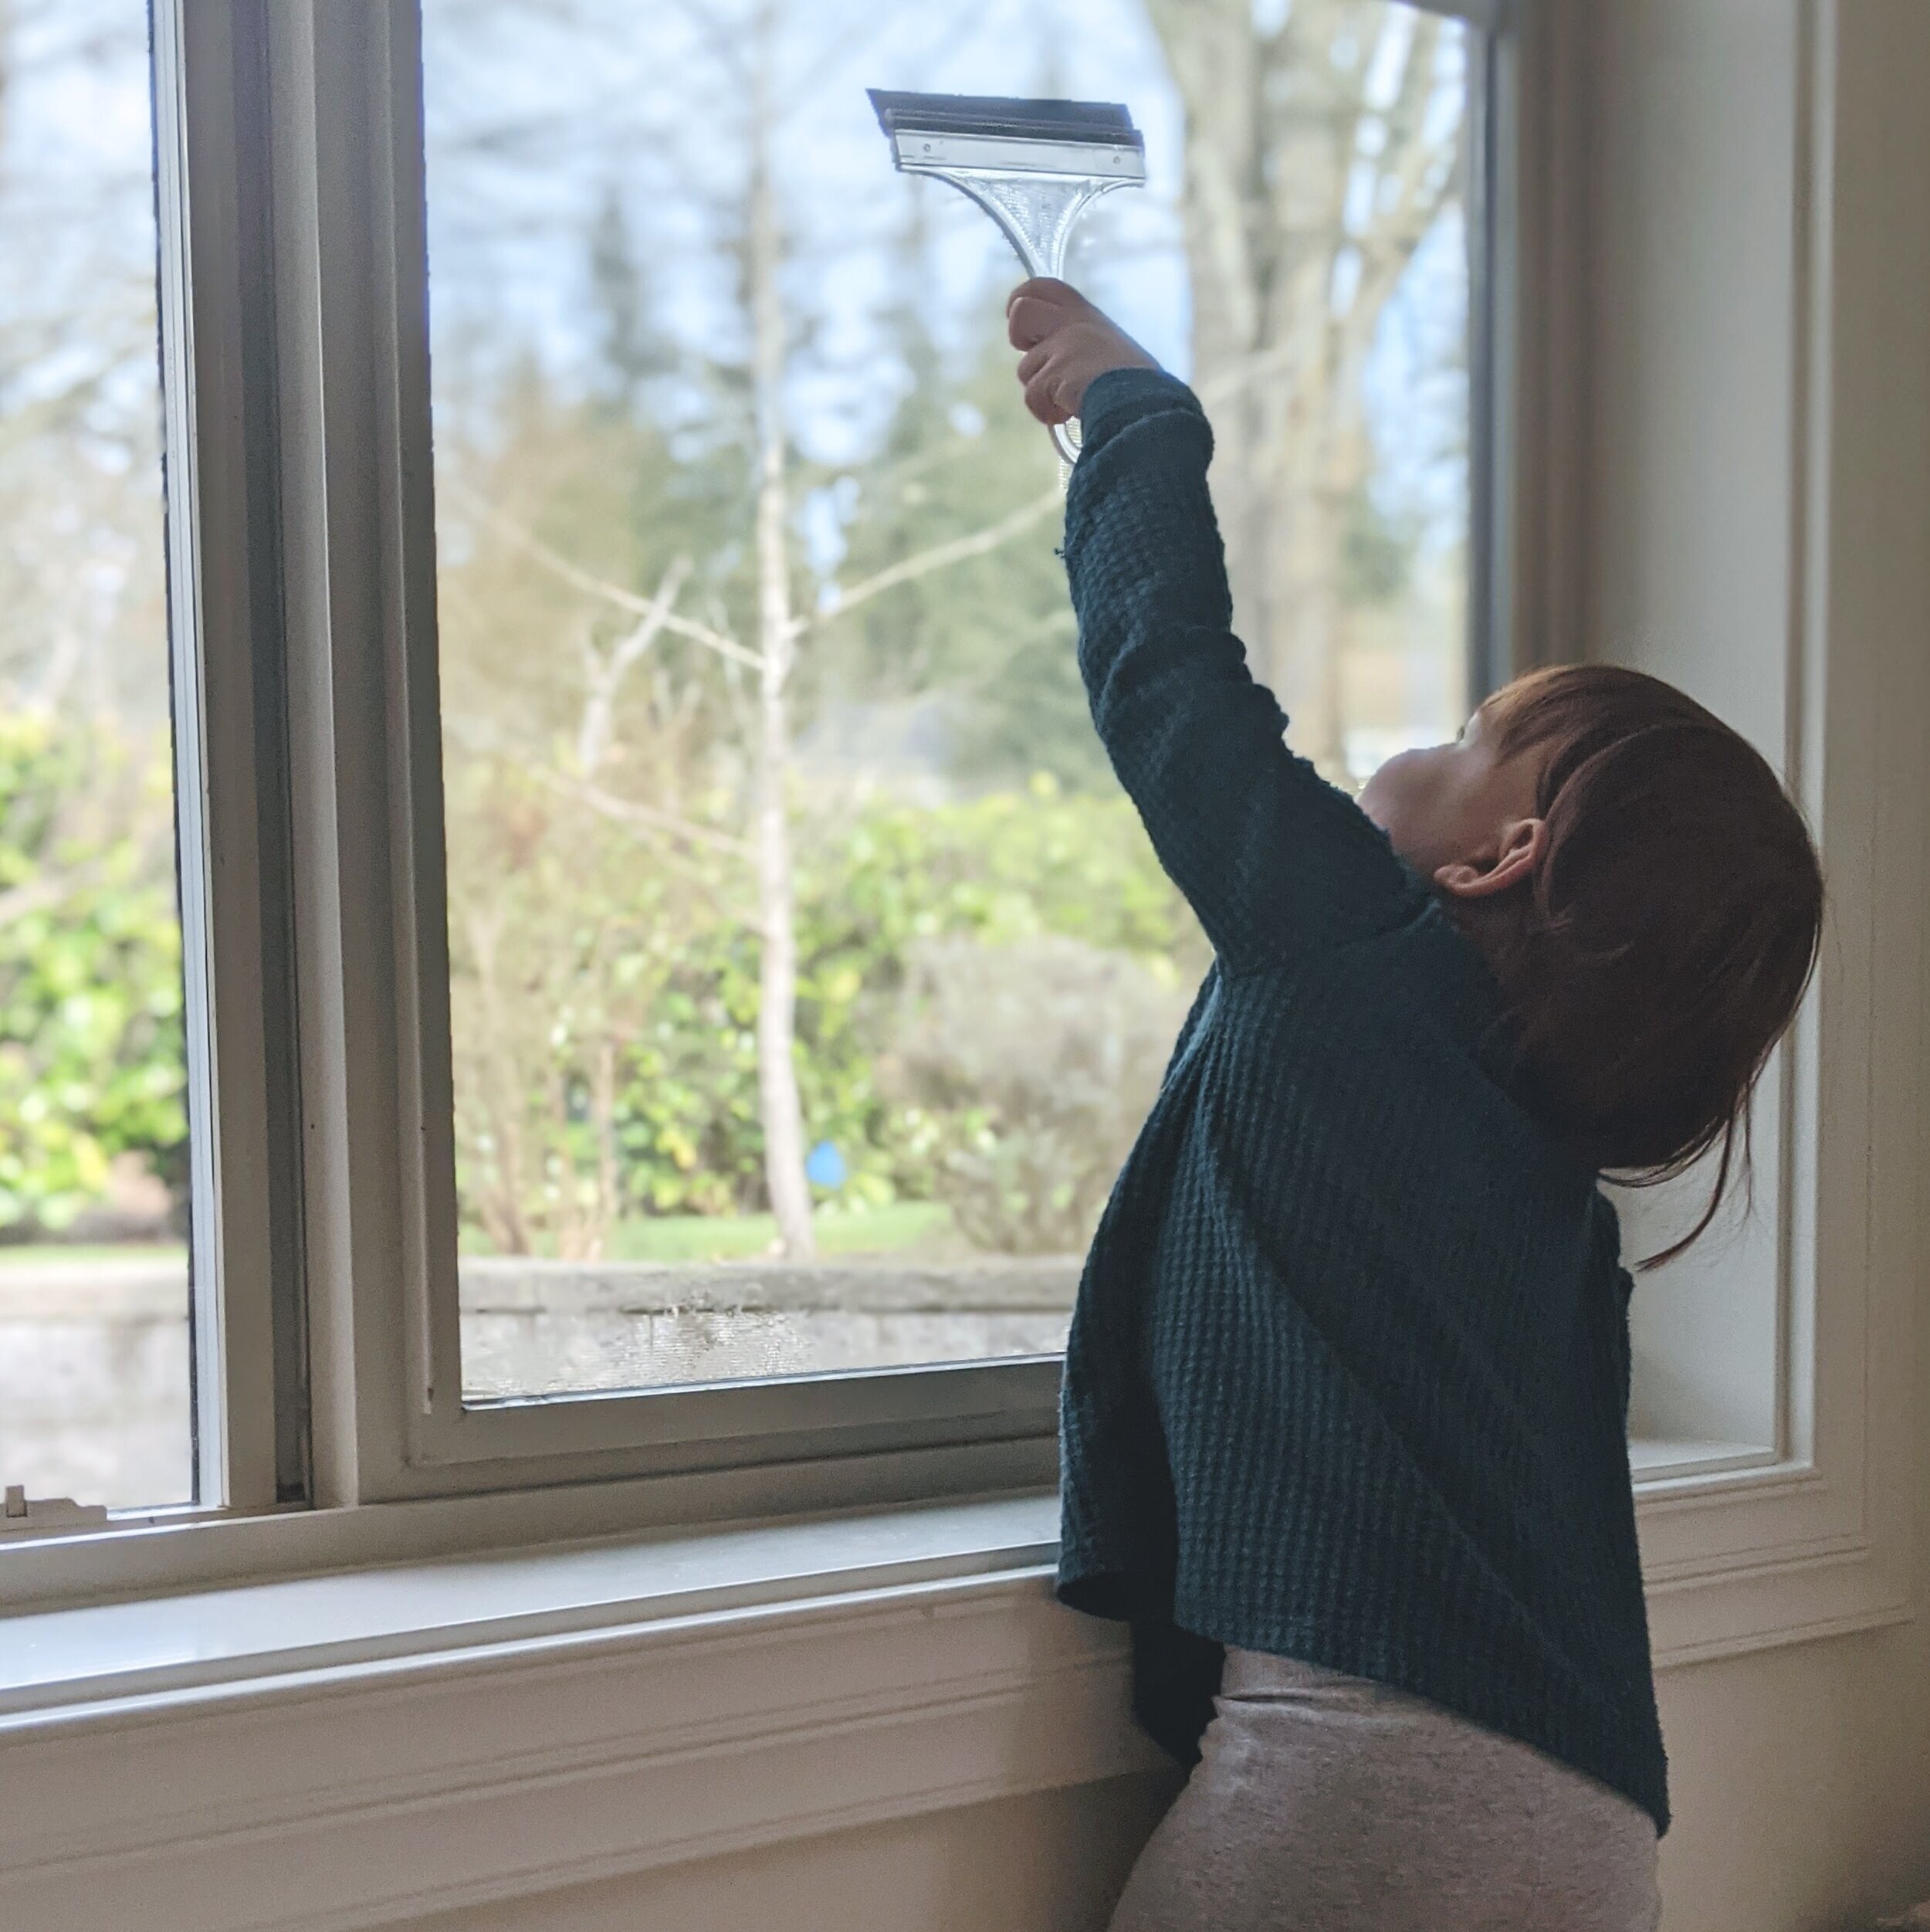
Materials to aid in fluid movements: painting, window washing, and polishing
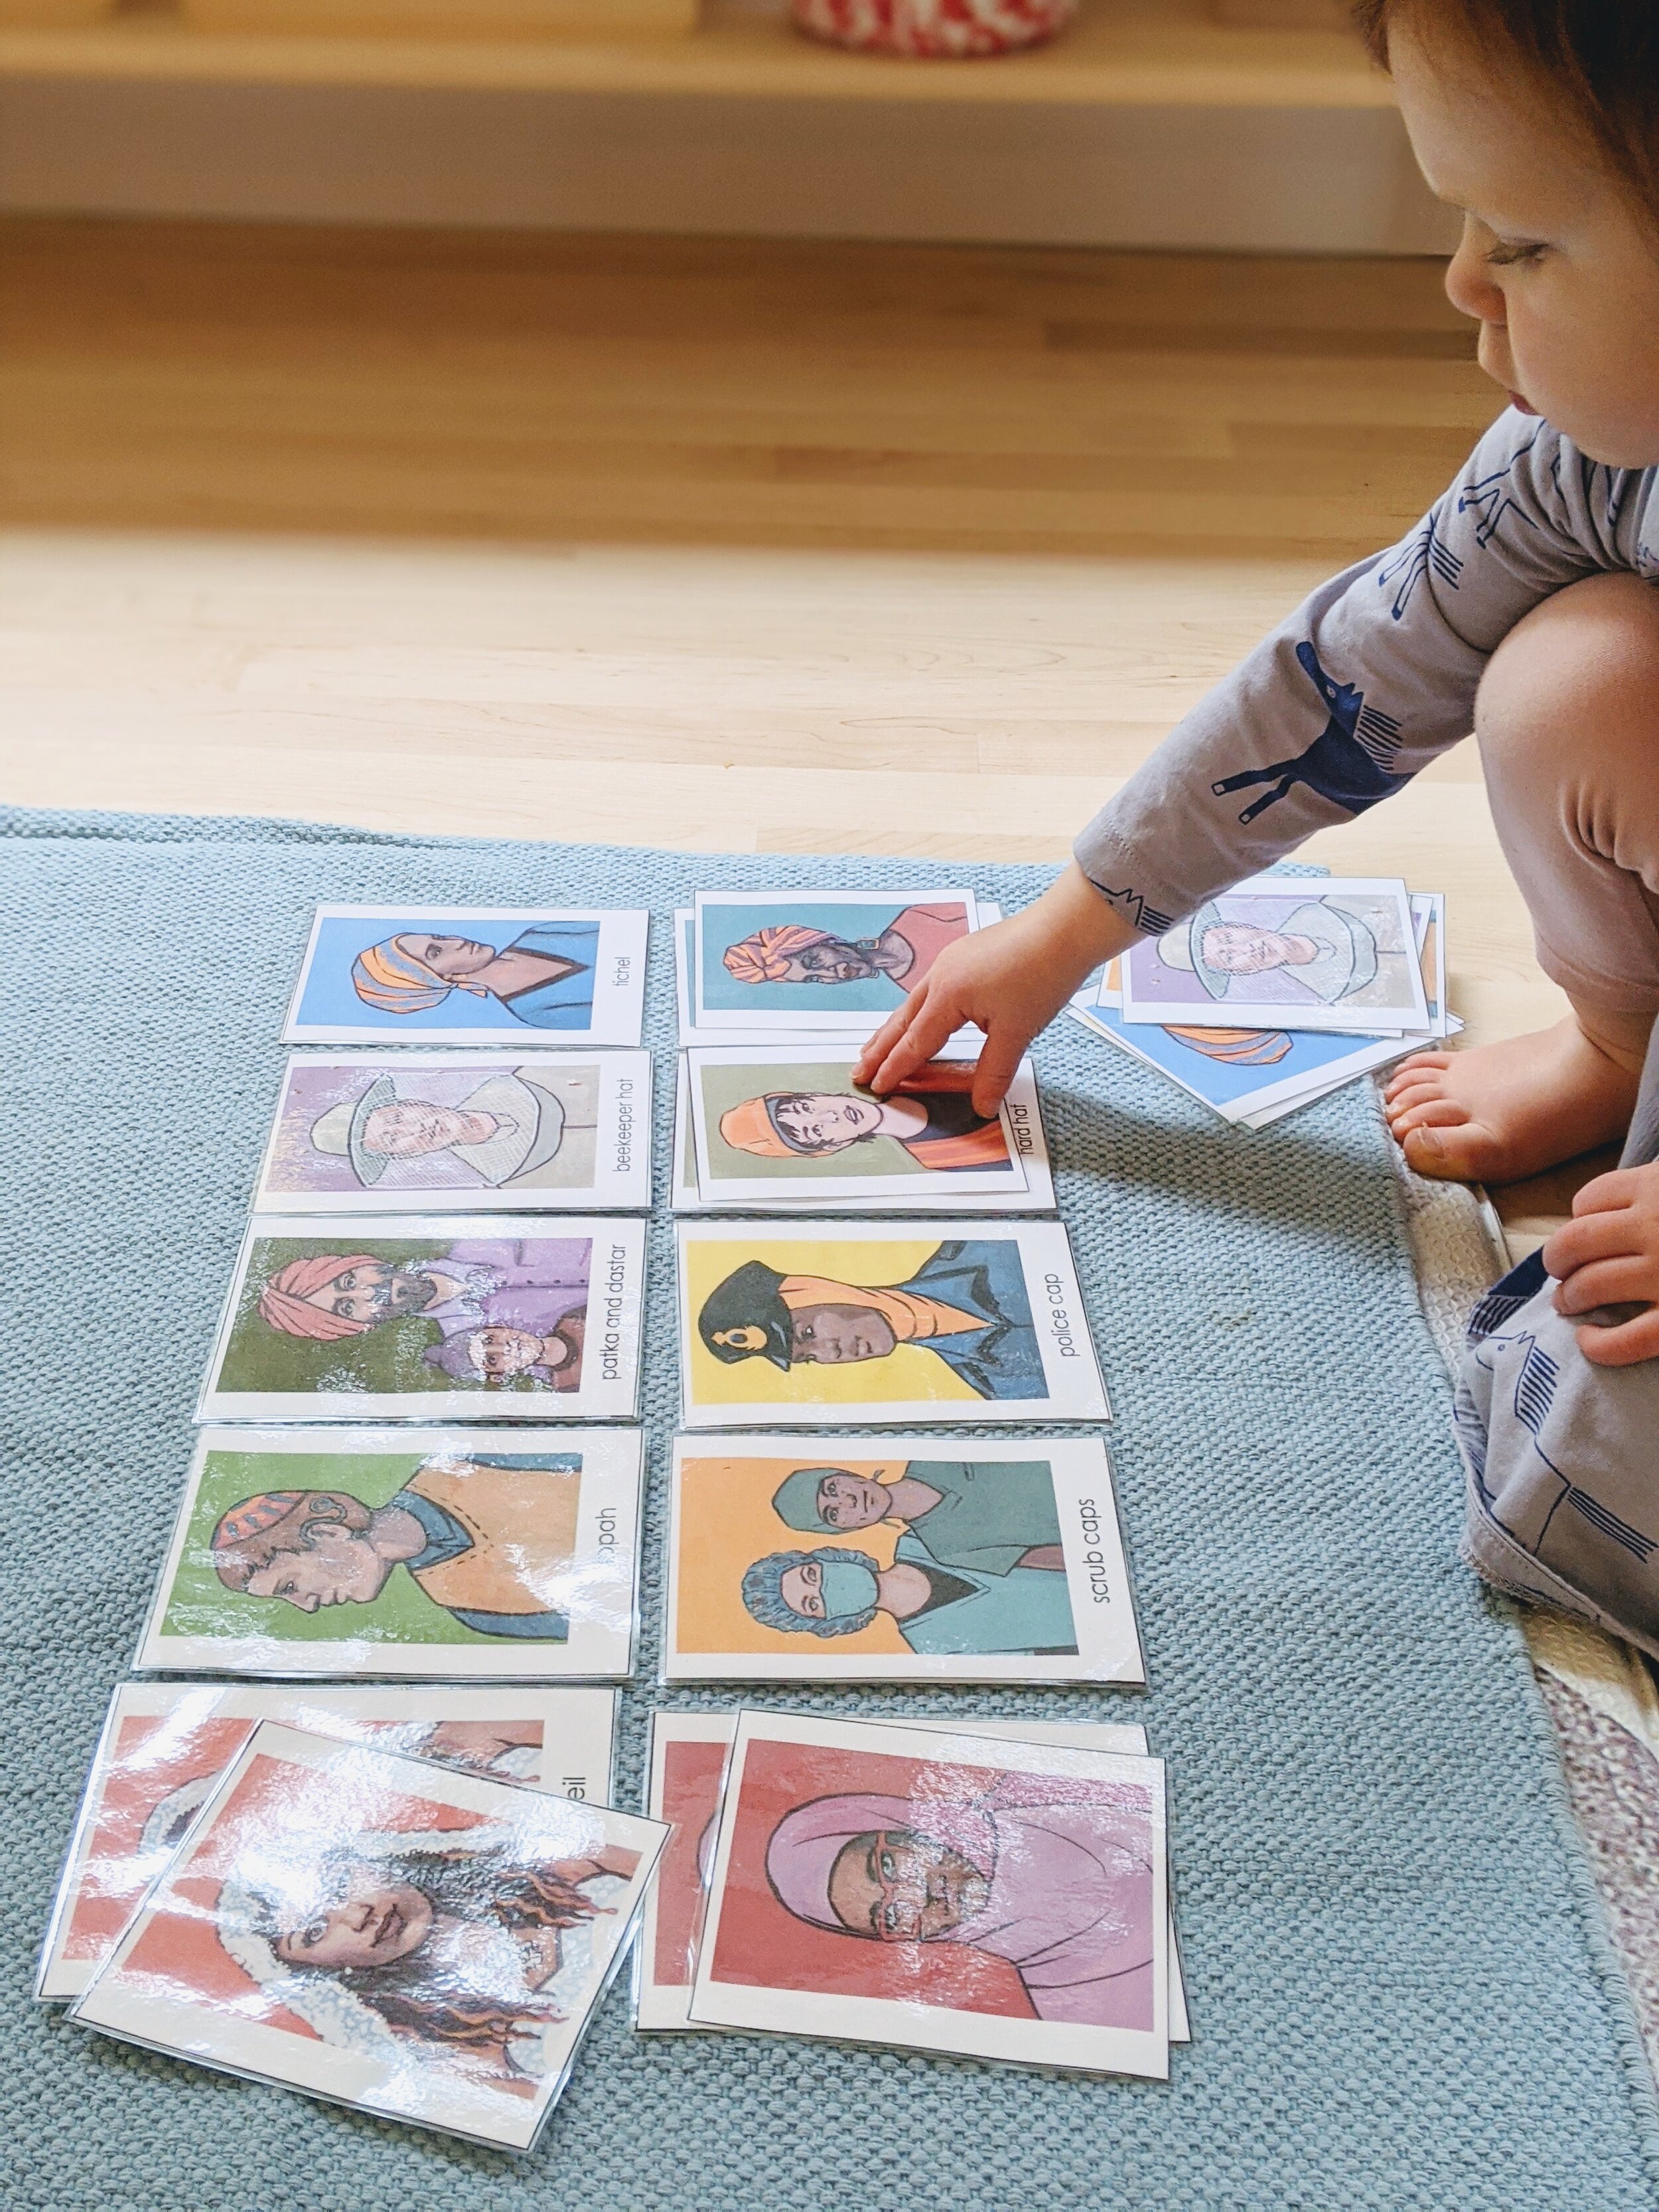
Working left to right (the same way we write): 3-part cards and matching work, cooking (when ingredients are placed in order of when to add), as well as practical life work such as transferring
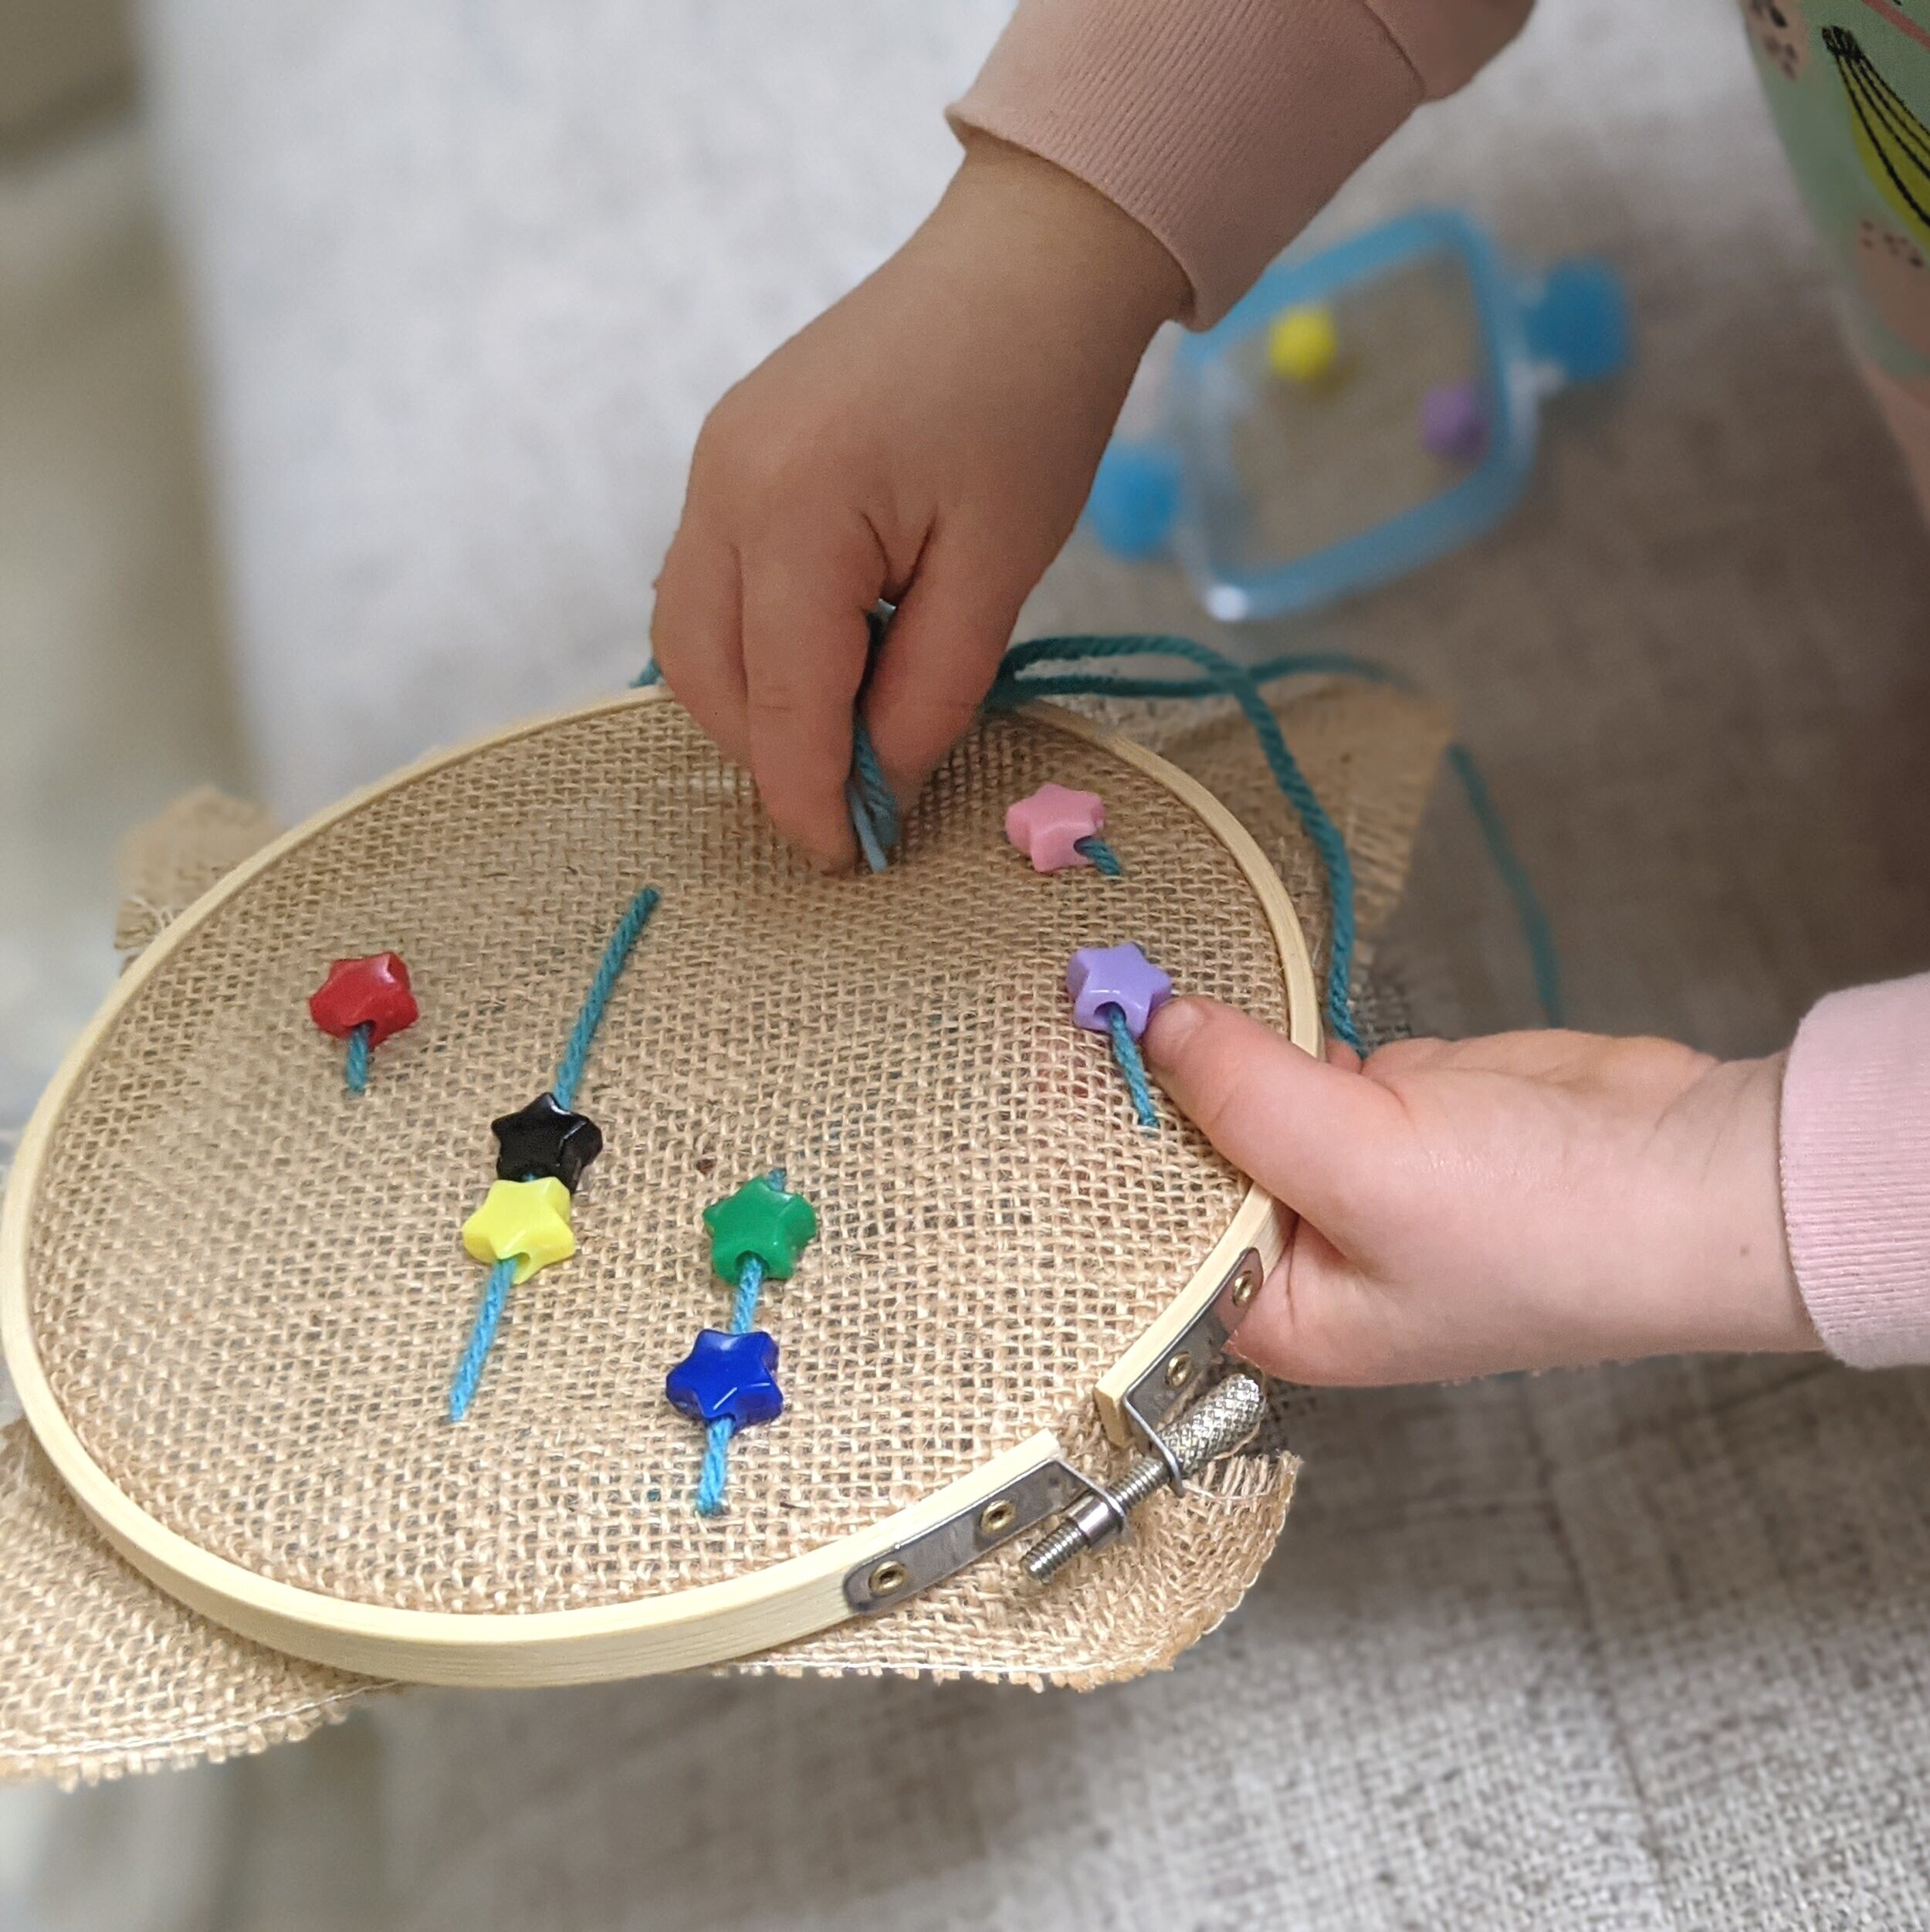
Control in movements: Beading, scooping, pouring, and pin punching.
If we lay the groundwork in this way and then wait for our children's sensitive period for writing (typically emerging between 3.5 and 4.5), they will be driven towards repetition, interest and excitement without any pressure from us!
(Click photos below for links)
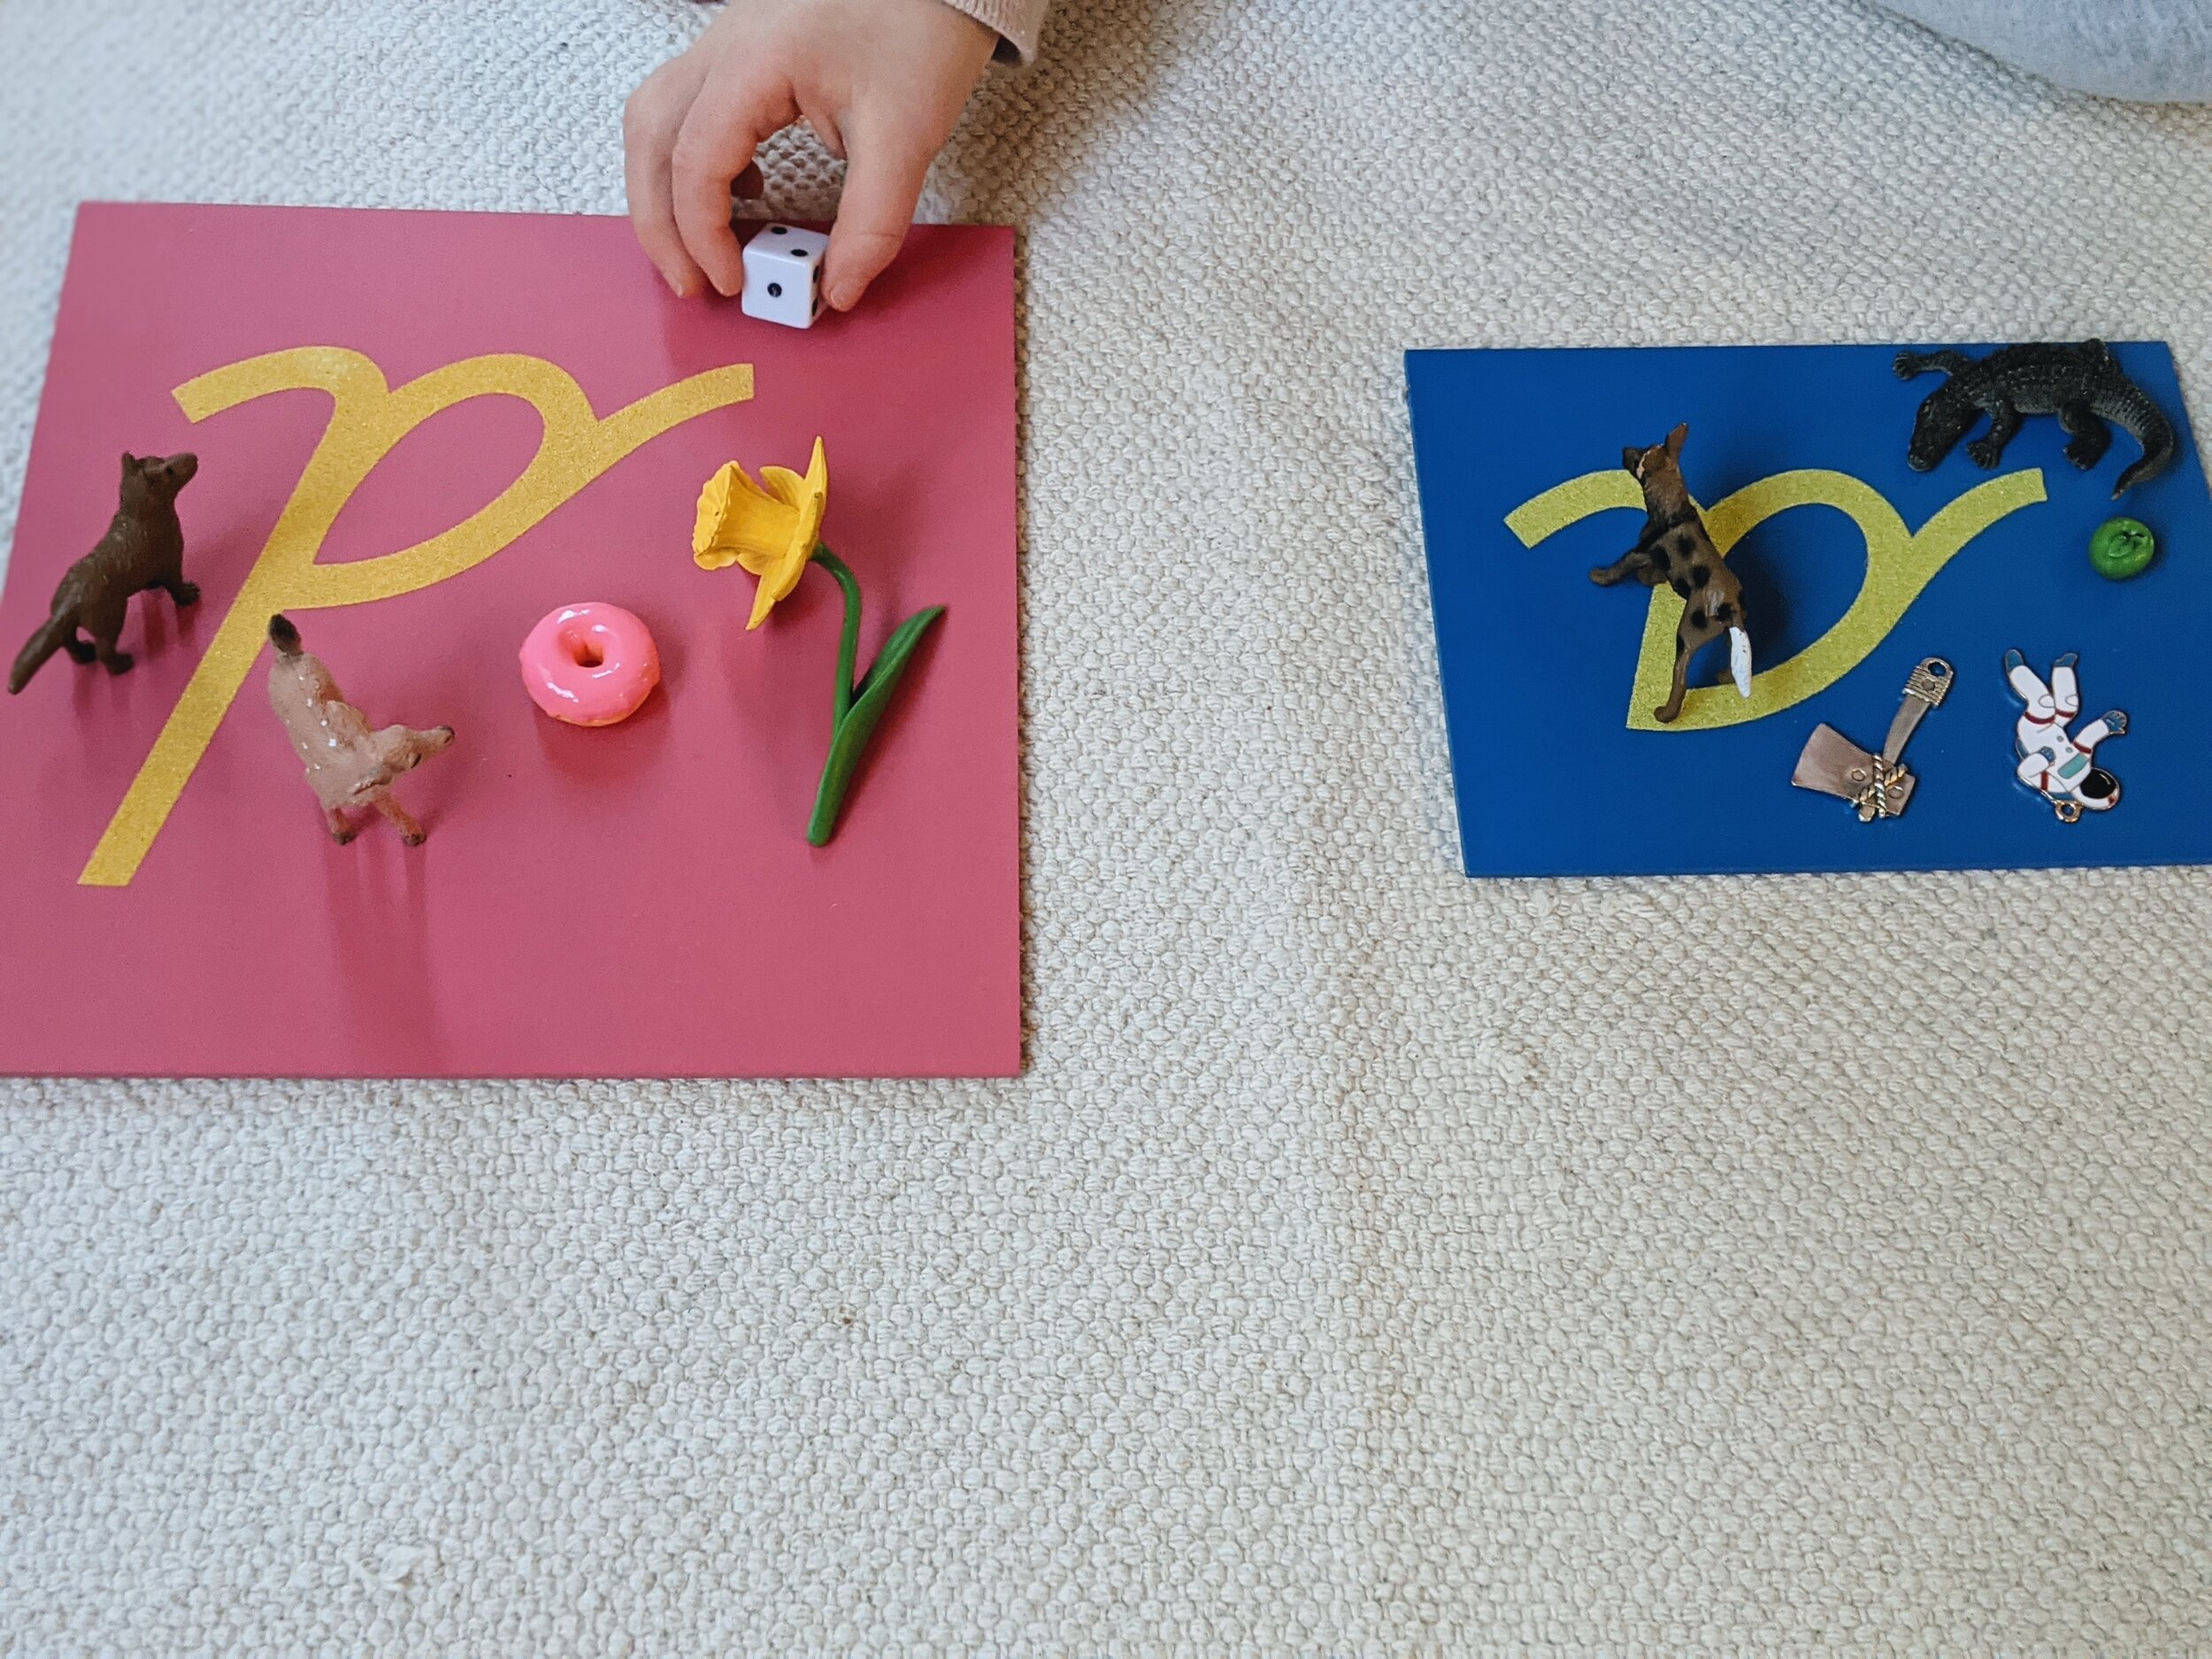
Sensitive period for writing
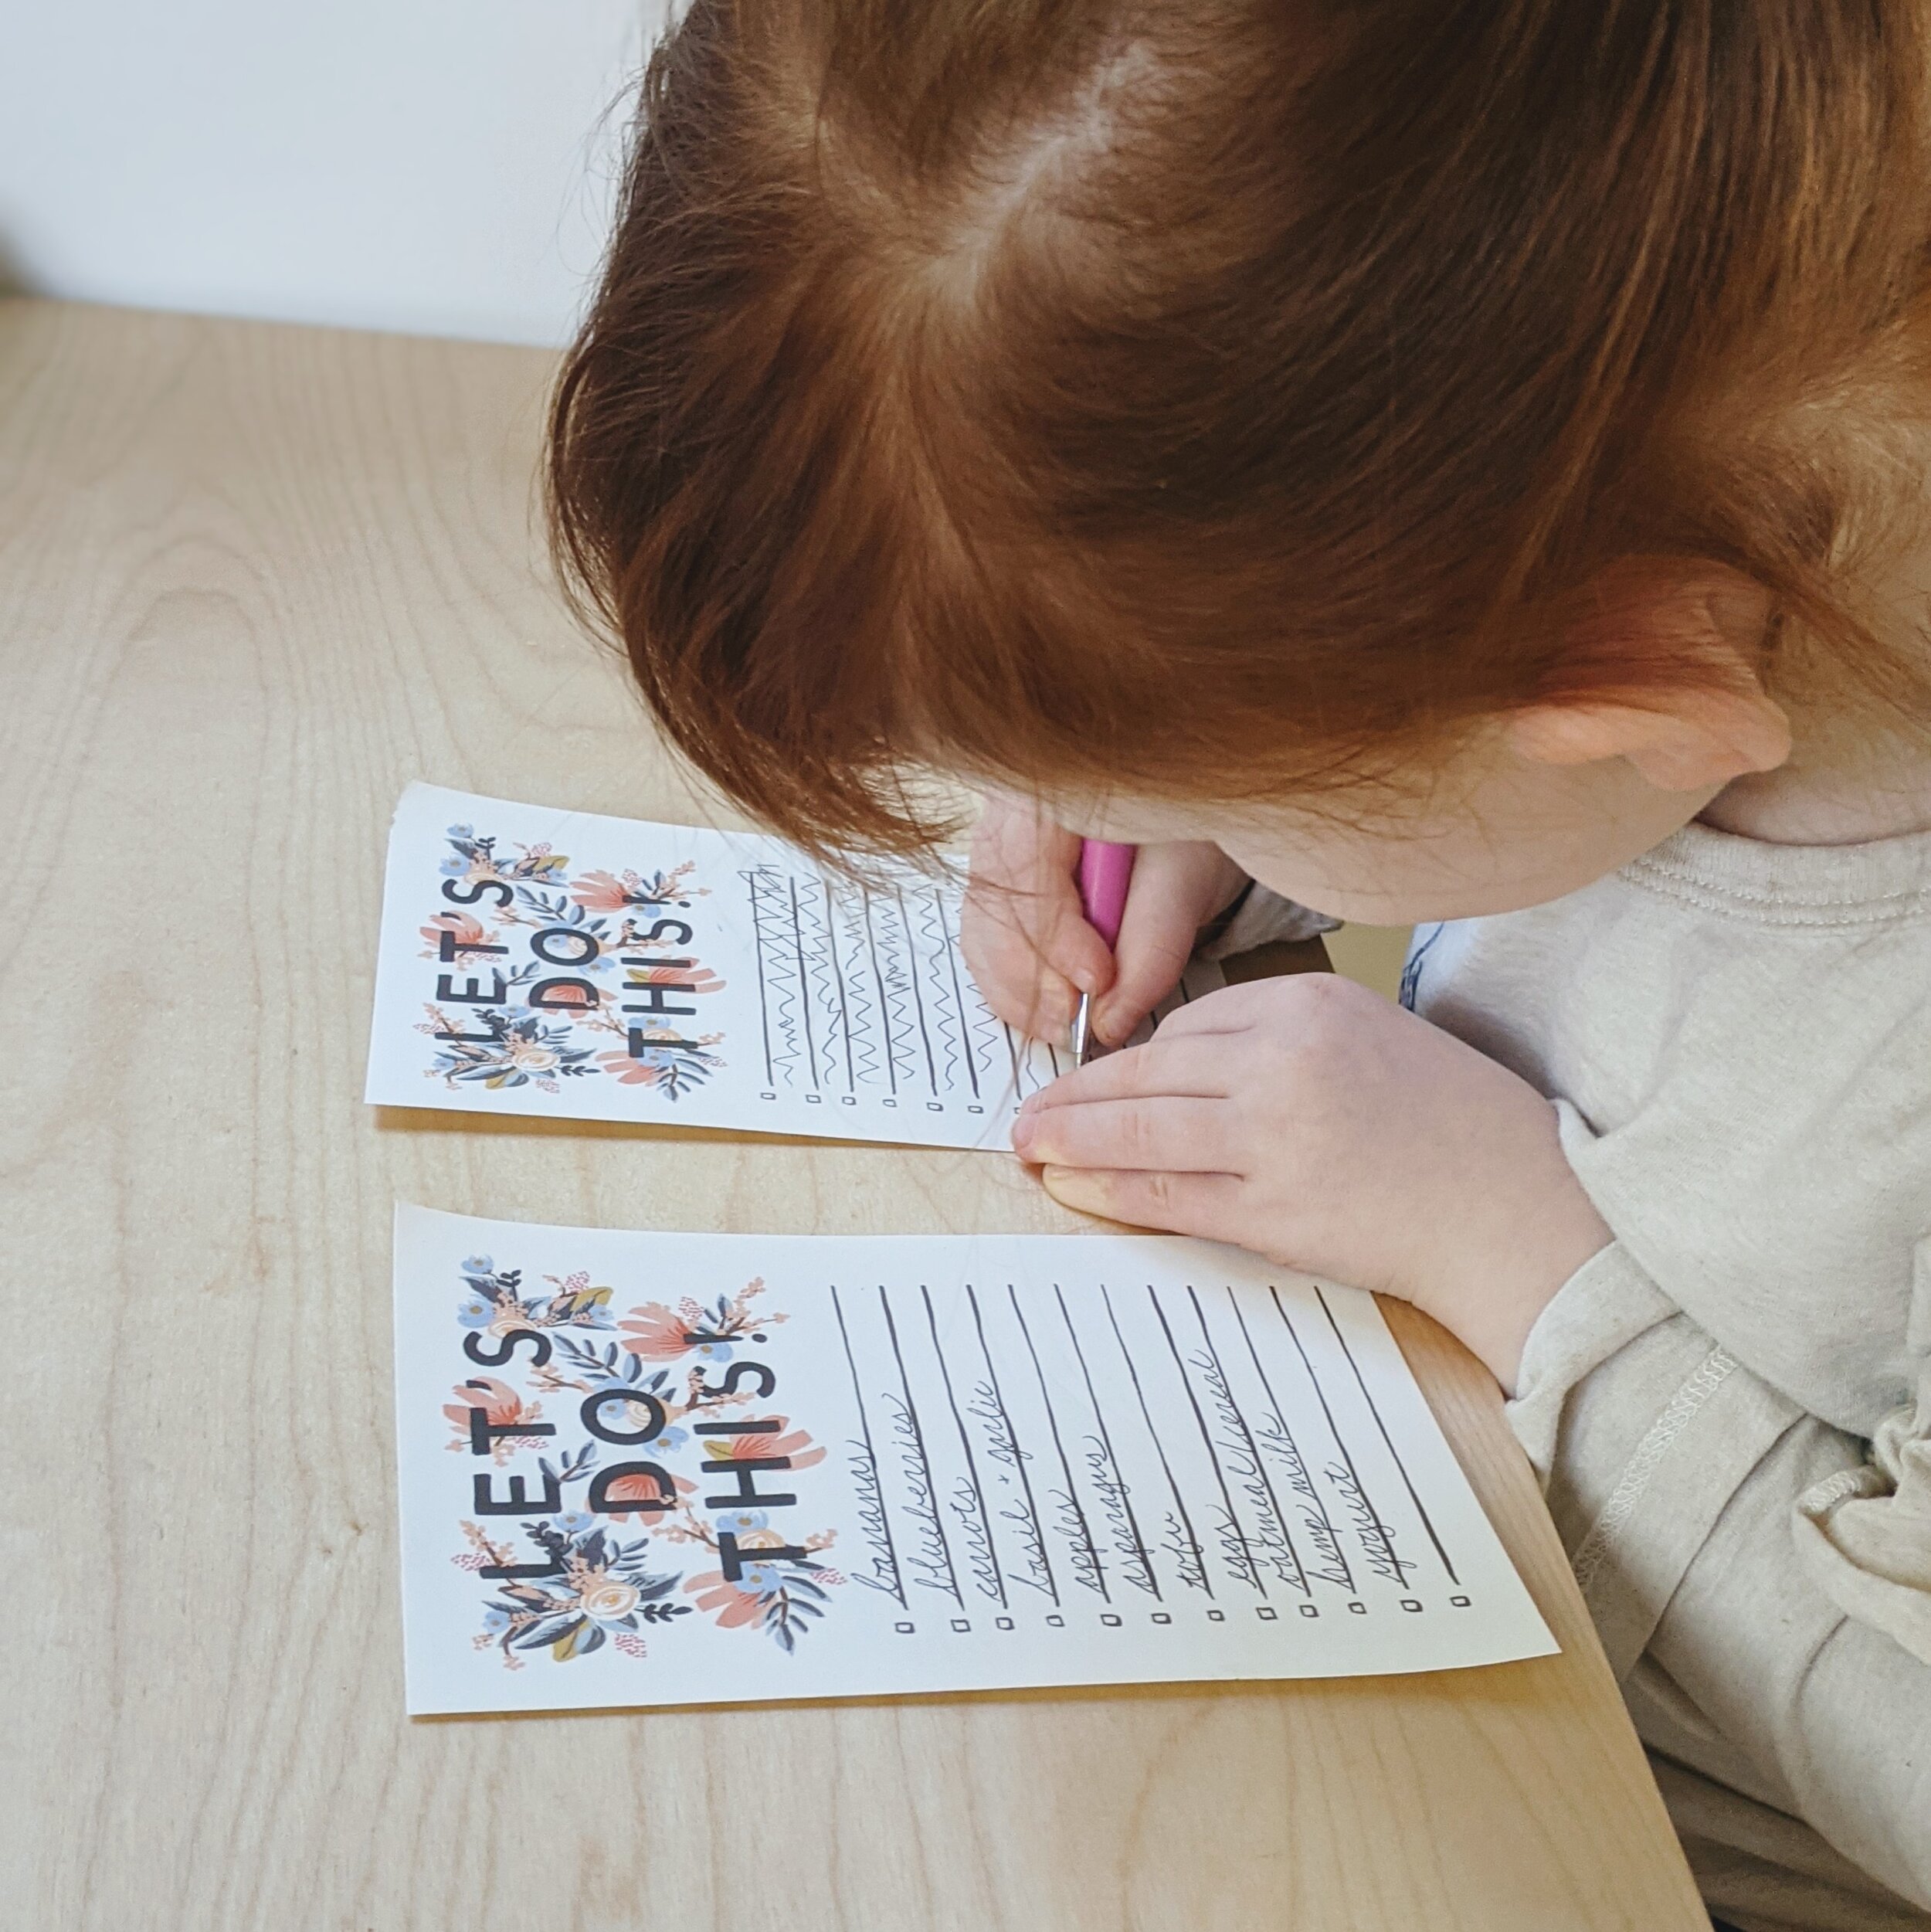
Typically the sensitive period for writing emerges between 3.5 and 4.5. There is a wide range, so it can help to look for signs that a sensitive period is emerging. Here are a few I noticed with D: At the park and at the beach, she uses sticks to make shapes and figures in the sand. At home, she scribbles grocery lists beside me and tells me exactly what each “word” says. She asks about letters and words and their associated sounds. When presented with any work that involves writing, she is 100% focused and absorbed in it.
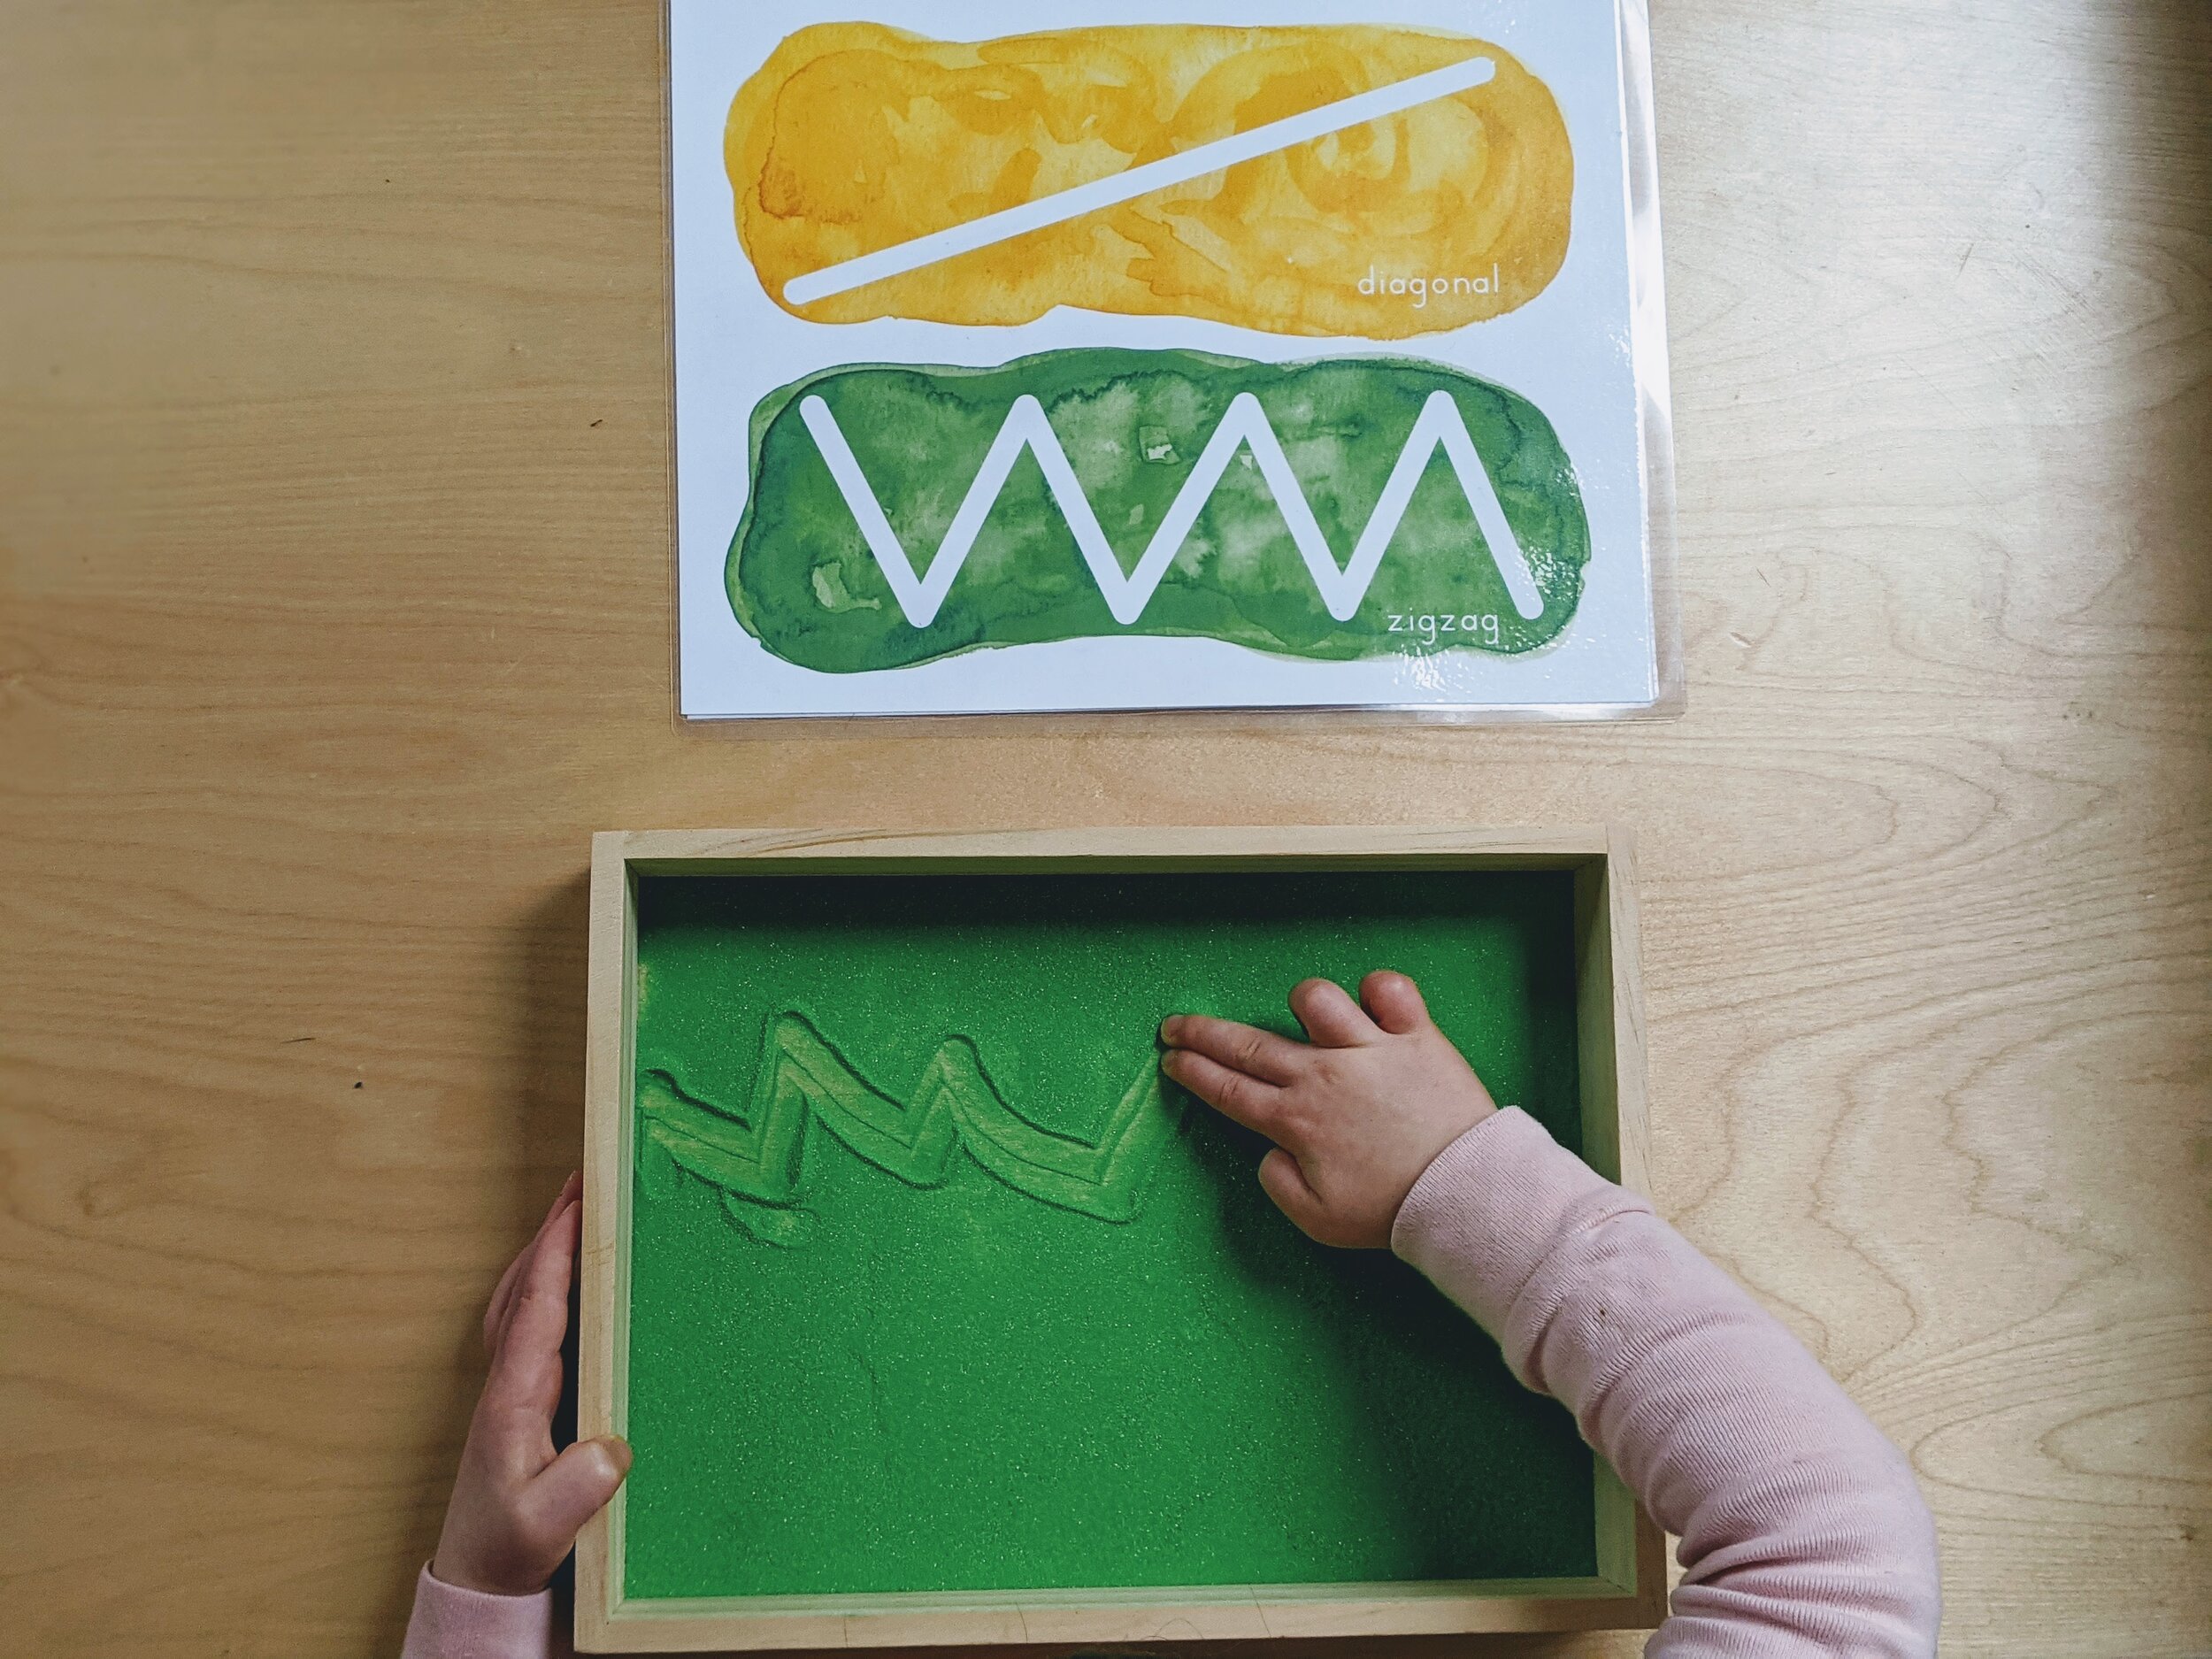
My role came next: setting up the environment to meet her interest and needs. At home, I provide simple and fun ways for her to practice writing without focusing on writing letters. For us this means shape stencils, tracing, and lines in colored sand. It also means including all the work she has enjoyed before that will continue to help her in her writing journey: beading, sewing, practical life, and sound games. Slowly but surely, with all of her newfound intrinsic motivation, and with a bit of guidance from the adults around her, she will joyfully teach herself to write.
(Click photos below for links)


Fostering a Love of Writing
To wrap this up, it’s worth noting that the most important component to fostering a love for writing is us! We are our children’s role models and the way we use our hands and write directly impacts our children’s desire to do the same. If we are not writing or working with our hands around them, they will not see why it is worthwhile to put in all of the effort necessary to learn to write. This has been something I have to remind myself of daily!
We can write shopping lists out by hand, write down ideas our children tell us, and even carve out time in the day to write for fun. We can also use our hands to create in other ways. Crochet, drawing, crafting, woodworking, and sewing are just a few ideas. It is so beneficial for our children to see our hands work in these creative ways.
(Note: This post contains affiliate links. If you purchase a product through one of these links, you won’t pay anything extra, but I will get a small commission, which helps keep this blog going. Thanks for supporting Montessori in Real Life!)